
Impala V6-3.8L VIN K (2004)
Tighten the screws to 1.5 N.m (13 lb in).
9. Install new screws that will secure the HVAC module assembly upper case to the HVAC module assembly lower case in the locations adjacent to
the heat stakes that were removed.
Tighten
Tighten the screws to 1.5 N.m (13 lb in).
10. Connect the air temperature electrical connector the air temperature actuator.
11. Install the mode actuator.
12. Install the screws that secure the mode actuator to the HVAC module assembly.
Tighten
Tighten the screws to 15 N.m (13 lb in).
13. Connect the mode actuator electrical connector to the mode actuator.
14. Install the recirculation housing to the HVAC module assembly.
15. Install the screws that secure the recirculation housing to the HVAC module assembly.
Tighten
Tighten the screws to 1.5 N.m (13 lb in).
16. Route the recirculation actuator harness through the recirculation housing clips.
17. Connect the recirculation actuator electrical connector to the recirculation actuator.
18. Install new sealing washers on the evaporator core.
19. Install the TXV to the evaporator core.
20. Install the bolts that secure the TXV to evaporator core.
Tighten
Tighten the bolts to 7 N.m (62 lb in).
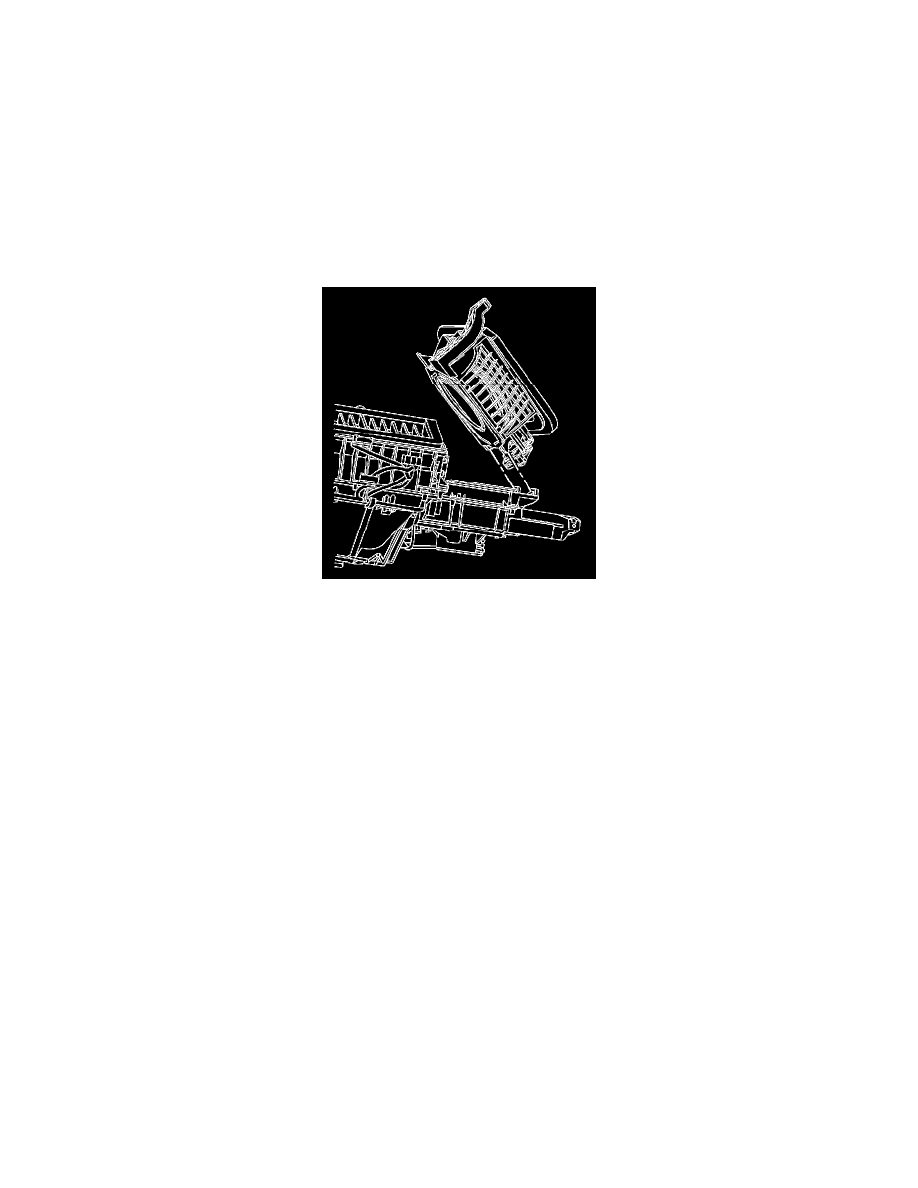
21. Install the HVAC module assembly.