
Impala V6-3.8L VIN K (2004)
8. Continue to apply pressure and rock the cover until the second locking leg is unseated. Repeat procedure for the other side of the dress cover and
remove the cover.
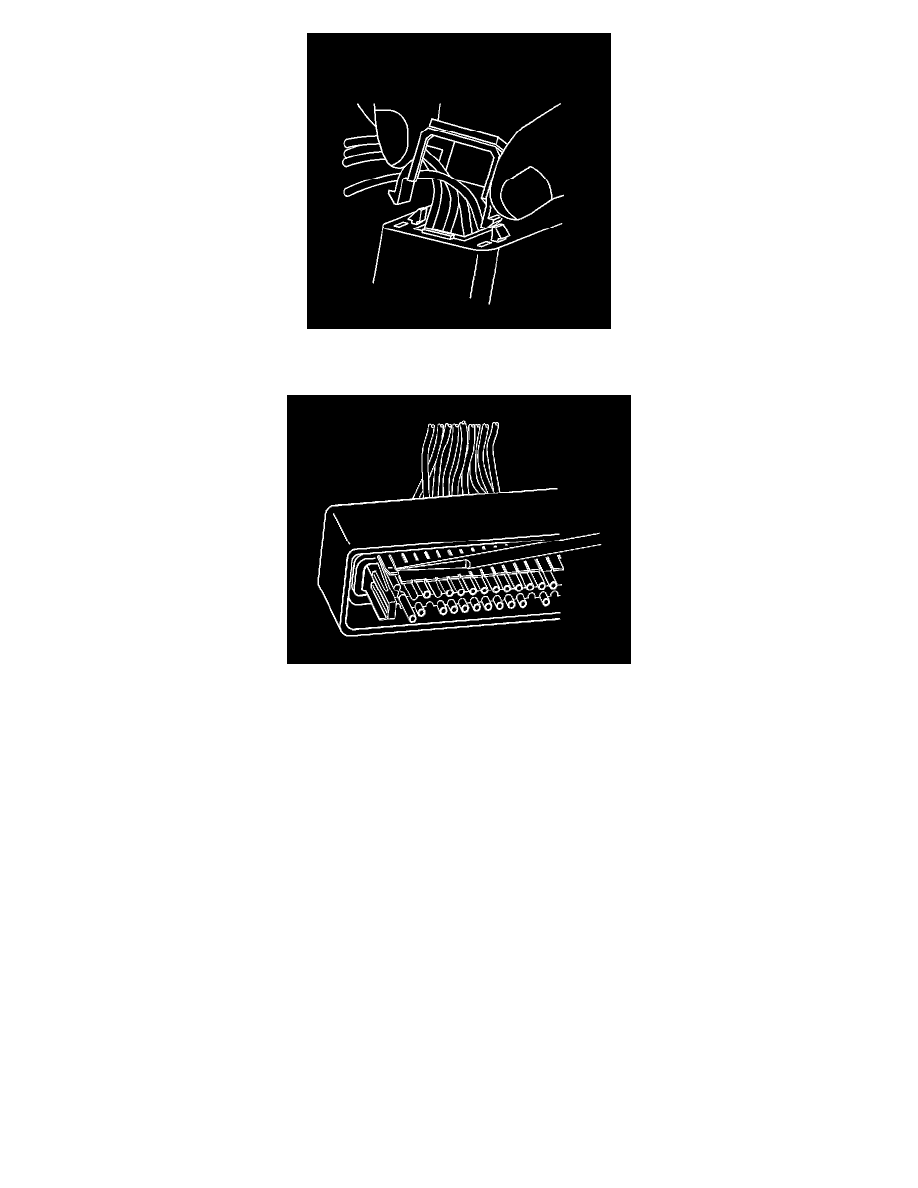
9. Use J 38125-12A tool to gently lift the terminal retaining tab while gently pulling the wire out of the back of the connector. Always remember
never use force when pulling a terminal out of a connector. If the terminal is severely bent or damaged, push the wire out of the front of the
connector instead of pulling it through. This will prevent damage to the internal seals of the connector. Once the terminal is pushed out of the
connector, cut the wire as close to the terminal as possible and pull the wire through the connector.
TERMINAL REPAIR PROCEDURE
Use the appropriate wire assembly kit available through Saturn Service Parts.
1. Slide the new terminal into the correct cavity at the back of the connector.
2. Push the terminal into the connector until it locks into place. The new terminal should be even with the other terminals. Insure that the terminal is
locked in place by gently pulling on the wire.
3. Replace the nose piece.
4. Replace the dress cover.
Micro. 64 Connectors
MICRO.64 CONNECTORS
TOOLS REQUIRED
J 44020Terminal Repair Kit
TERMINAL REMOVAL PROCEDURE