
Impala V6-3.9L (2007)
1. Install the new swage ring (2) on the neck of the outboard seal (1). Do not swage.
2. Slide the outboard seal (1) onto the halfshaft bar and position the neck of the outboard seal (1) in the seal groove on the halfshaft bar. The largest
groove below the sight groove on the halfshaft bar is the seal groove (3).
3. The swage ring is swaged using J 41048 by the following method:
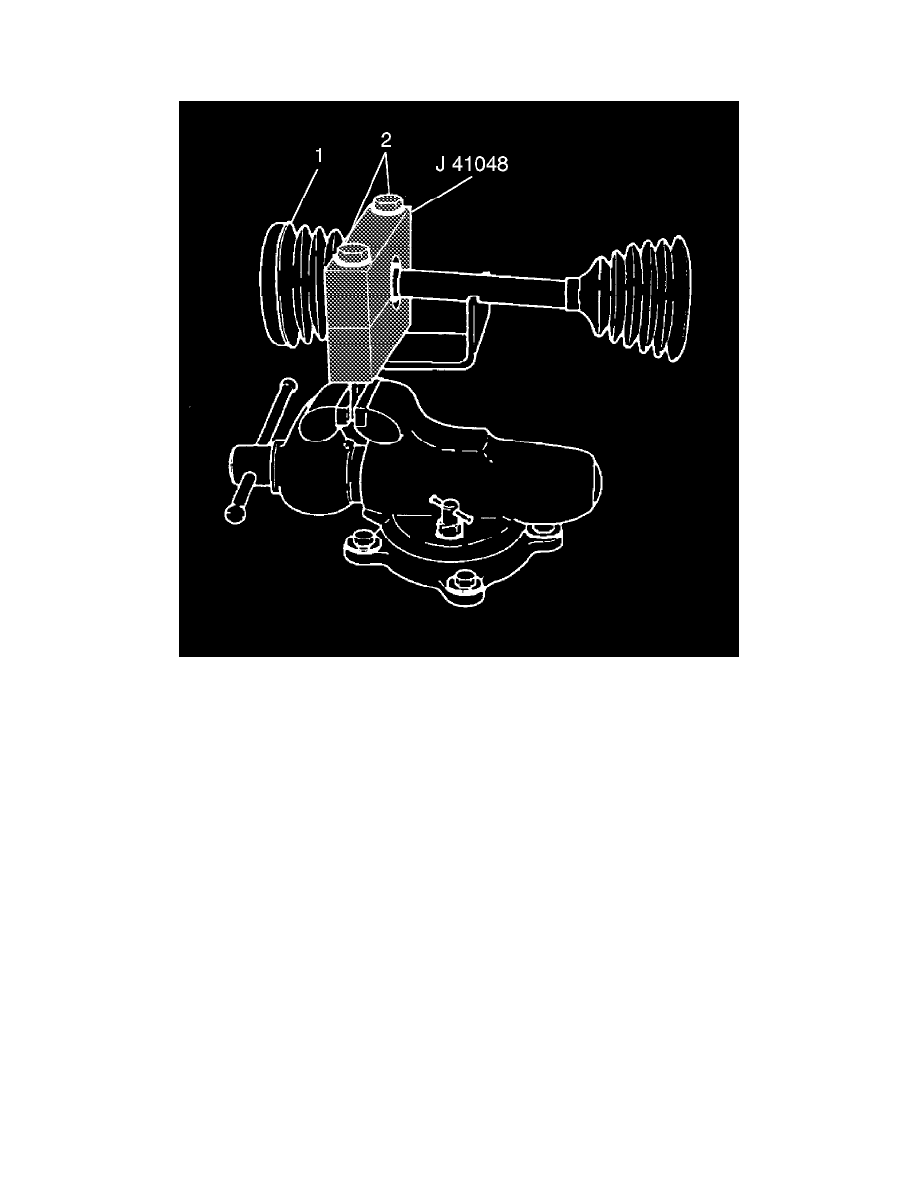
1. Position the outboard end of the halfshaft assembly (1) in J 41048.
2. Align the swage ring.
3. Place the top half of J 41048 on the lower half of J 41048.
Notice: Do not cut through the wheel drive shaft inboard seal during service. Cutting through the seal may damage the sealing surface of the
housing and the tripot bushing. Damage to the sealing surface may lead to water and dirt intrusion and premature wear of the constant velocity
joint.
Notice: Refer to Fastener Notice.
Important: Align the following items during this procedure:
*
The outboard seal (1)
*
The halfshaft bar
*
The swage ring
Insert the bolts (2) and tighten by hand until snug.
Tighten each bolt 180 degrees at a time using a ratchet wrench. Alternate between each bolt until both sides are bottomed.