
Impala V8-5.3L (2008)
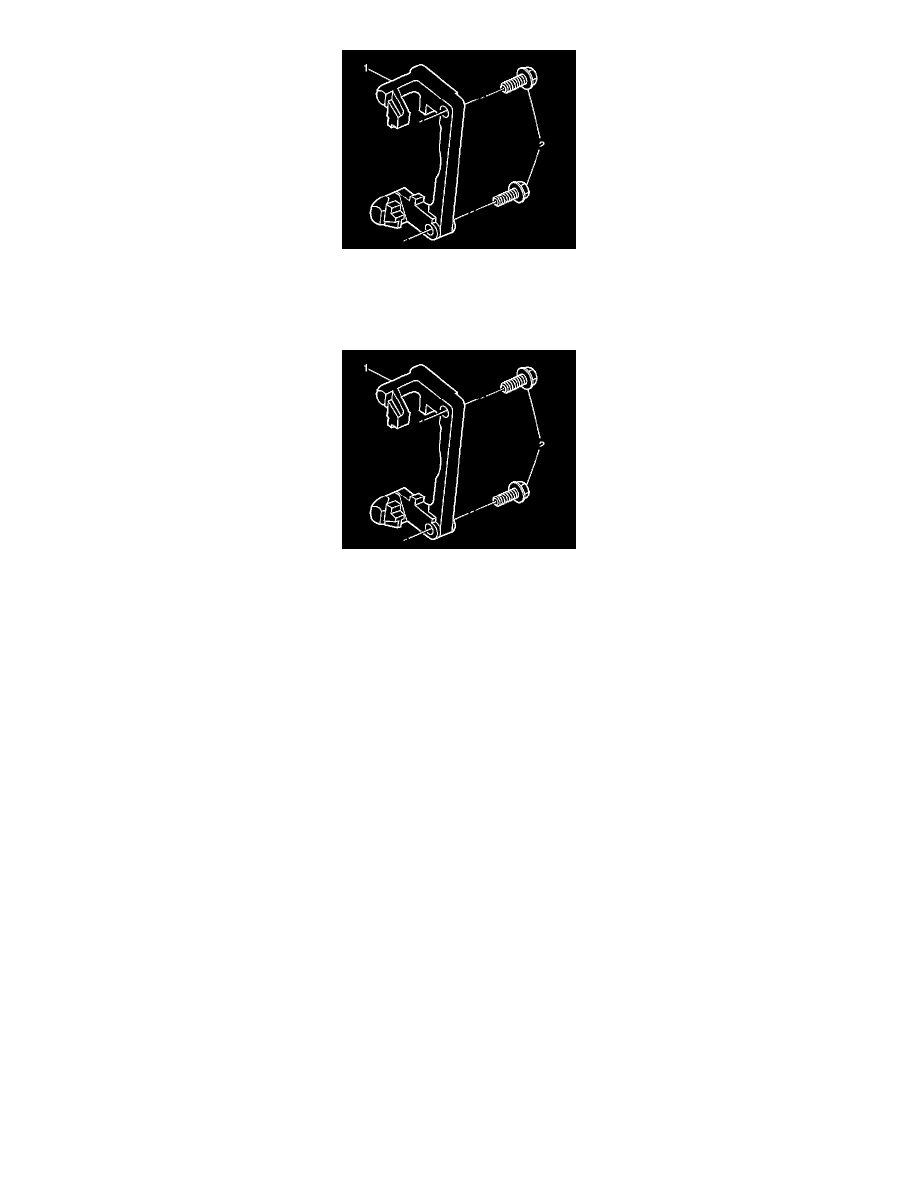
3. Remove the caliper bracket bolts (2).
4. Remove the caliper bracket (1).
Installation Procedure
Important: To ensure that the proper clamp load will be present when installed. It is imperative that the threads on the caliper bracket
bolts, as well as the mounting holes in the knuckle, be cleaned of all debris and inspected before proceeding with installation.
1. Clean and visually inspect threads of the caliper bracket bolts (2) and mounting holes in the knuckle.
2. Apply threadlocker, GM P/N 12345493 (Canadian P/N 10953488), or equivalent to the threads of the brake caliper bracket bolts (2).
Notice: Refer to Fastener Notice .
3. Install the caliper bracket (1) with the bracket bolts (2).
Tighten the caliper bracket bolts to 120 N.m (88 lb ft).
4. Install the rear brake pads.
5. Install the caliper. Refer to Rear Brake Caliper Replacement (See: Rear Brake Caliper Replacement) .