
Impala V8-5.3L (2008)
Harmonic Balancer - Crankshaft Pulley: Service and Repair
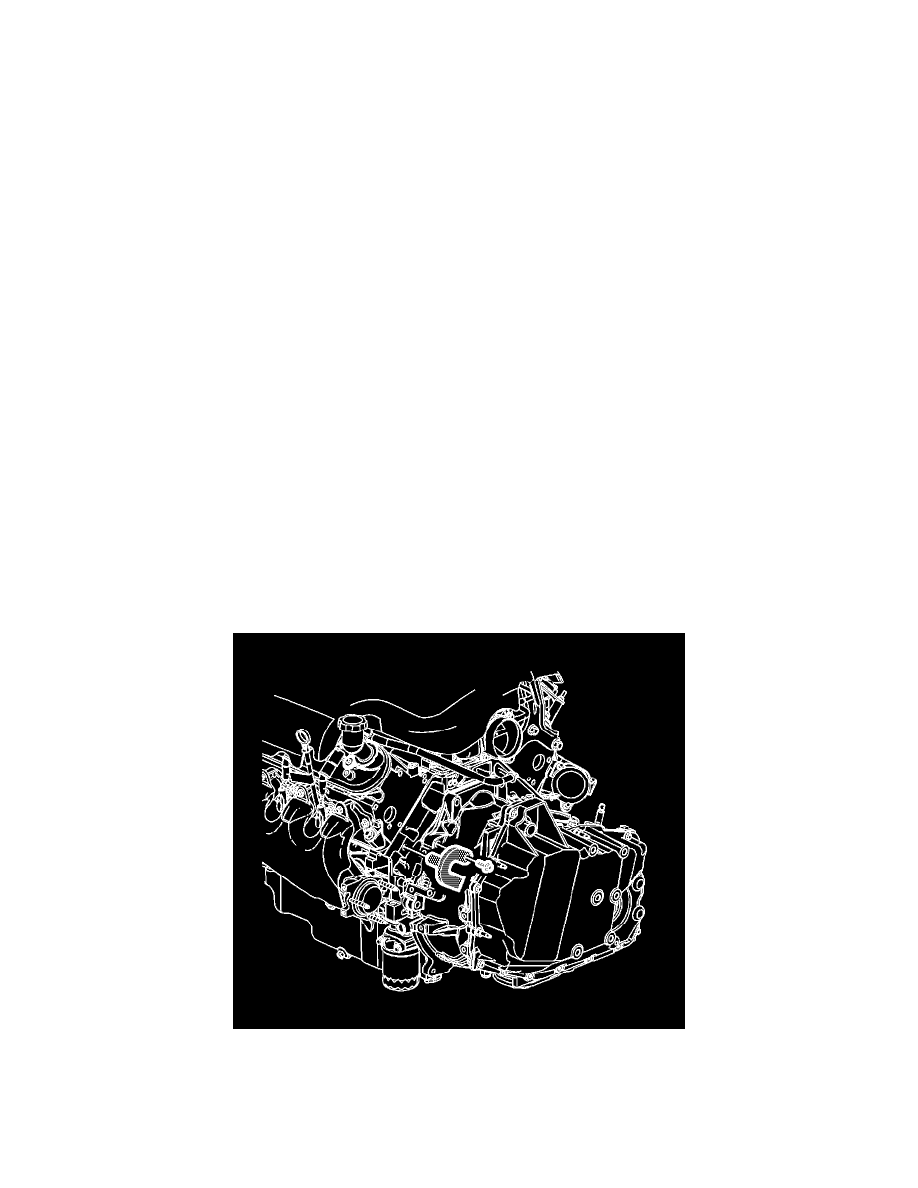
Crankshaft Balancer Replacement
Tools Required
*
EN 47699 Flywheel Holding Tool
*
J 41665 Crankshaft Balancer and Sprocket Installer
*
J 41816 Crankshaft Balancer Remover
*
J 41816-2 Crankshaft End Protector
*
J 42640 Steering Column Anti-Rotation Pin
*
J 45059 Torque Angle Meter
Removal Procedure
1. Install a J 42640 . Refer to Steering Column Replacement .
2. Remove the accessory drive belt. Refer to Drive Belt Replacement - Accessory (See: Drive Belts, Mounts, Brackets and Accessories/Drive
Belt/Service and Repair) .
3. Remove the air cleaner upper housing. Refer to Air Cleaner Assembly Replacement .
4. Remove the engine mount strut. Refer to Engine Mount Strut Replacement (See: Drive Belts, Mounts, Brackets and Accessories/Engine
Mount/Service and Repair) .
5. Remove the starter motor. Refer to Starter Motor Replacement (LS4) Starter Motor Replacement (RPOs LZE/LZ4/LZ8) .
6. Remove the front fender splash shield.
7. Disconnect the transaxle cooler lines at the transaxle. Refer to Transmission Fluid Cooler Hose/Pipe Quick-Connect Fitting Disconnection and
Connection .
8. Remove the stabilizer shaft link lower nuts. Refer to Stabilizer Shaft Link Replacement .
9. Remove the intermediate steering shaft pinch bolt and separate the shaft from the steering gear. Refer to Intermediate Steering Shaft Replacement
.
10. Remove the front lower air deflector braces and the deflector. Refer to Radiator Air Lower Baffle and Deflector Replacement (See: Cooling
System/Radiator/Service and Repair) .
11. Remove the radiator to frame braces.
12. Install the engine support fixture. Refer to Engine Support Fixture (See: Service and Repair/Removal and Replacement/Engine Support Fixture) .
13. Raise and support the vehicle. Refer to Lifting and Jacking the Vehicle .
14. Remove the frame-to-body bolts.
15. Remove the transmission-to-engine bolt located at approximately the 10 o'clock position when looking from the rear of the engine.
Notice: Refer to Fastener Notice .
16. Install the EN 47699 and bolt to the block and flywheel.
Tighten the bolt to 60 N.m (44 lb ft).