
Impala V8-5.3L (2008)
Transmission Cooler: Service and Repair
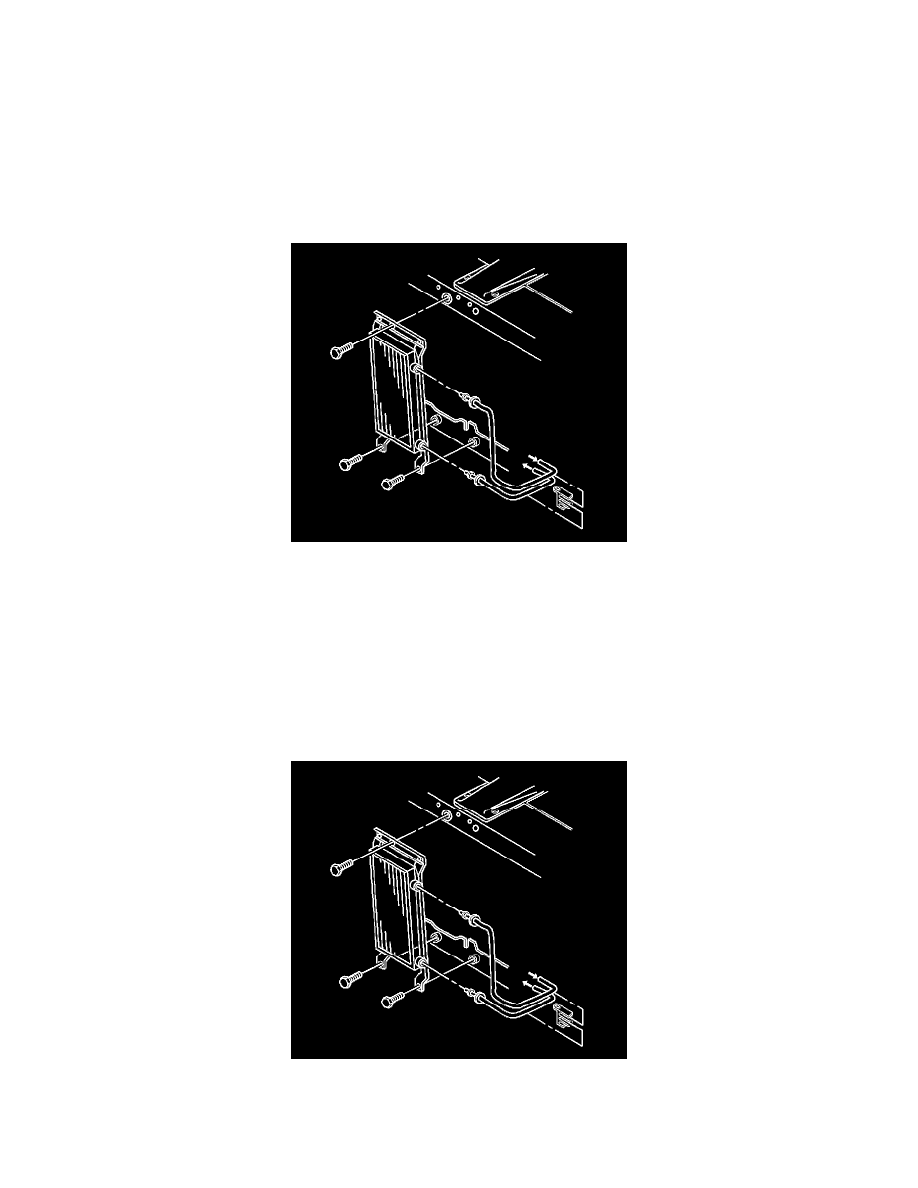
Transmission Fluid Auxiliary Cooler Replacement
Removal Procedure
Notice: Allow sufficient clearance around the transaxle oil cooler pipes and around the hoses to prevent damage or wear which may cause fluid loss.
1. Remove the upper radiator air baffle. Refer to Radiator Air Upper Baffle and Deflector Replacement .
2. Remove the auxiliary transaxle oil cooler bolt from the upper radiator support.
3. Remove the lower radiator air baffle. Refer to Radiator Air Lower Baffle and Deflector Replacement .
4. Remove the auxiliary transaxle oil cooler bolts from the lower radiator support.
5. Remove the inlet and outlet auxiliary transmission oil cooler lines from the support clips.
6. Lower the auxiliary transaxle oil cooler below the front bumper.
7. Remove the inlet and outlet auxiliary transaxle oil cooler hoses from the auxiliary transaxle oil cooler. Refer to Transmission Fluid Cooler
Hose/Pipe Quick-Connect Fitting Disconnection and Connection (See: Fluid Line/Hose/Service and Repair) .
8. Remove the auxiliary transaxle oil cooler.
Installation Procedure
1. Install the inlet and outlet auxiliary transaxle oil cooler hoses to the auxiliary transaxle oil cooler. Refer to Transmission Fluid Cooler Hose/Pipe
Quick-Connect Fitting Disconnection and Connection (See: Fluid Line/Hose/Service and Repair) .
2. Install the auxiliary transaxle oil cooler to the vehicle.
3. Install the inlet and outlet auxiliary transmission oil cooler lines to the support clips.
Notice: Refer to Fastener Notice .