
Impala V8-5.3L VIN C (2006)
1. Apply a 5 mm (0.20 inch) bead of sealant GM U.S. P/N 12378190, or equivalent 20 mm (0.80 inch) long to the oil pan to engine block junction.
2. Install the rear cover gasket (519) and cover (518).
3. Install the rear cover bolts (517) until snug. Do not overtighten.
4. Install the oil pan-to-rear cover bolts until snug. Do not overtighten.
5. Rotate the crankshaft until two opposing flywheel bolt holes are parallel to the oil pan surface.
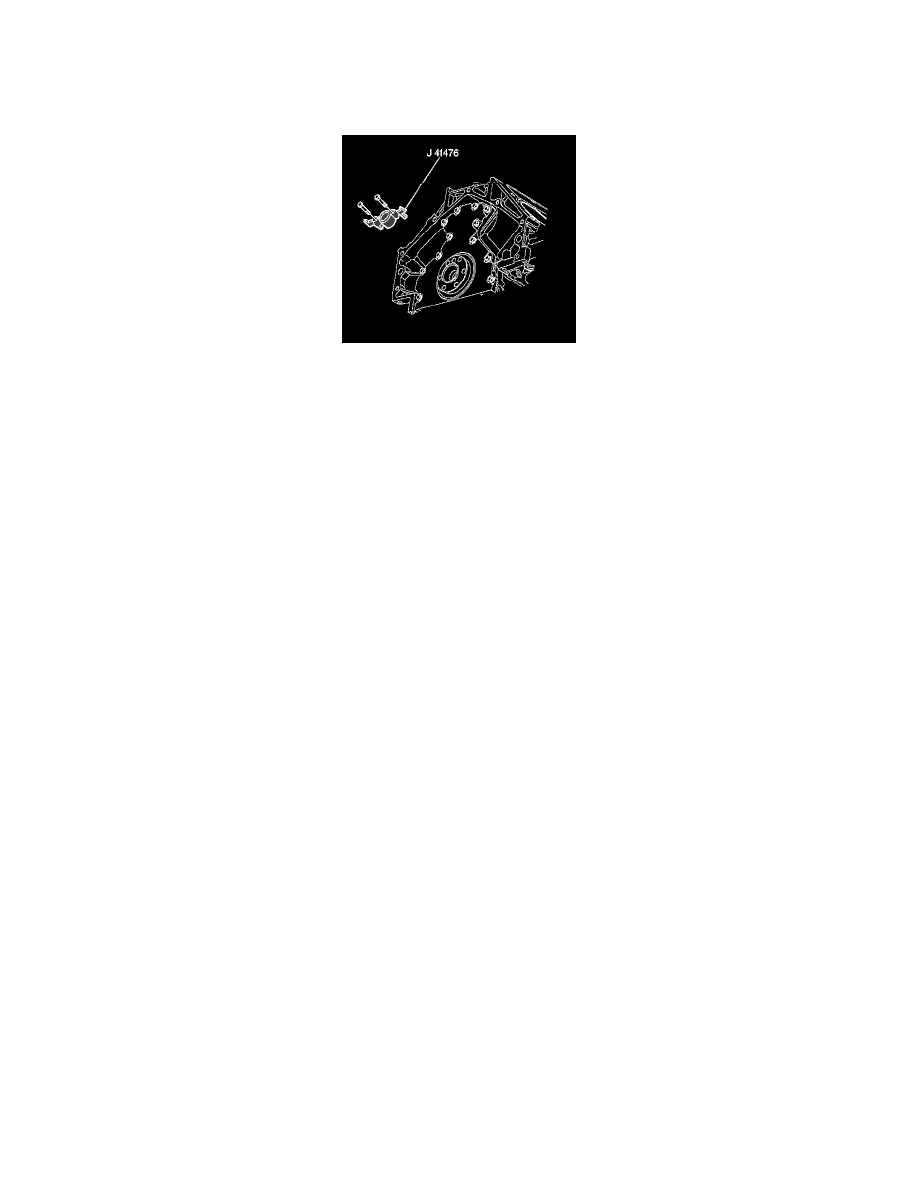
Important: The tapered legs of the alignment tool must enter the rear cover oil seal bore.
6. Install the J41476 and bolts onto the rear of the crankshaft.
7. Notice: Refer to Fastener Notice in Service Precautions.
Tighten the J41476 mounting bolts until snug. Do not overtighten.
1. Tighten the oil pan-to-rear cover bolts to 12 Nm (106 inch lbs.).
2. Tighten the engine rear cover bolts to 25 Nm (18 ft. lbs.).
8. Remove the J41476.
9. Install a NEW crankshaft rear oil seal.
10. Install the engine flywheel.