
K 1500 Suburban 4WD V8-4.8L VIN V (2003)
Power Trunk / Liftgate Lock Actuator: Service and Repair
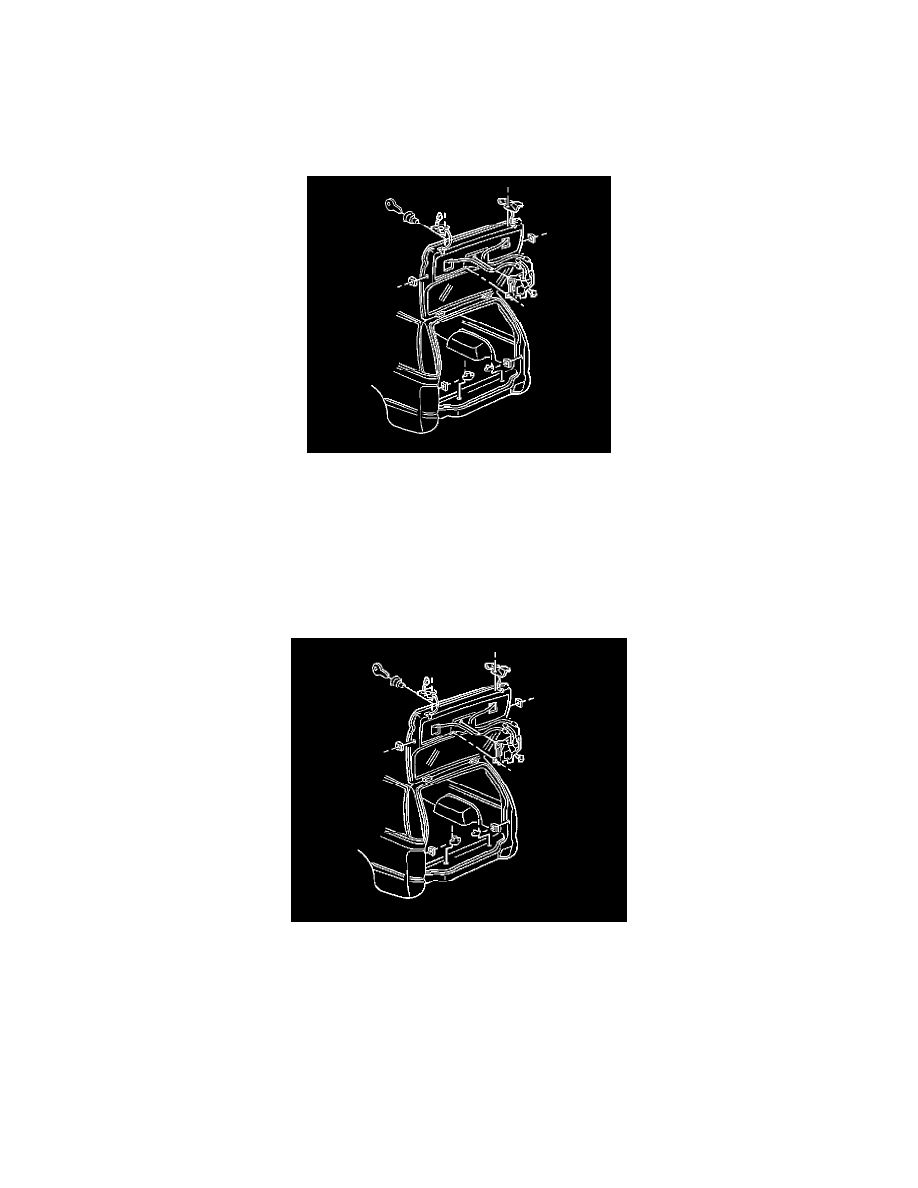
LOCK ACTUATOR REPLACEMENT - DOOR (LIFTGATE)
REMOVAL PROCEDURE
1. Remove the upper and lower trim panels.
2. Disconnect the electrical connectors.
3. Remove the cables attached to actuator assembly.
4. Remove the bolts from the latch actuator.
5. Remove the actuator from the liftgate.
6. Remove the lift gate lock cylinder.
INSTALLATION PROCEDURE
1. Install the liftgate lock cylinder.
2. Install the actuator to the liftgate.
3. Loose assemble the bolts to the latch actuator.
4. Close the liftgate glass in order to adjust the actuator.
5. Install the cables to actuator assembly.
NOTE: Refer to Fastener Notice in Service Precautions.
Tighten
Tighten the bolts to 9 N.m (80 lb in).
6. Connect the electrical connectors.
7. Install the upper and lower trim panels.