
K 1500 Suburban 4WD V8-4.8L VIN V (2003)
1. Release the park brake.
2. Raise and support the vehicle. Refer toLifting and Jacking the Vehicle in General Information.
3. Remove the tire and wheel assembly. Refer to Tire and Wheel Removal and Installation in Tires and Wheels.
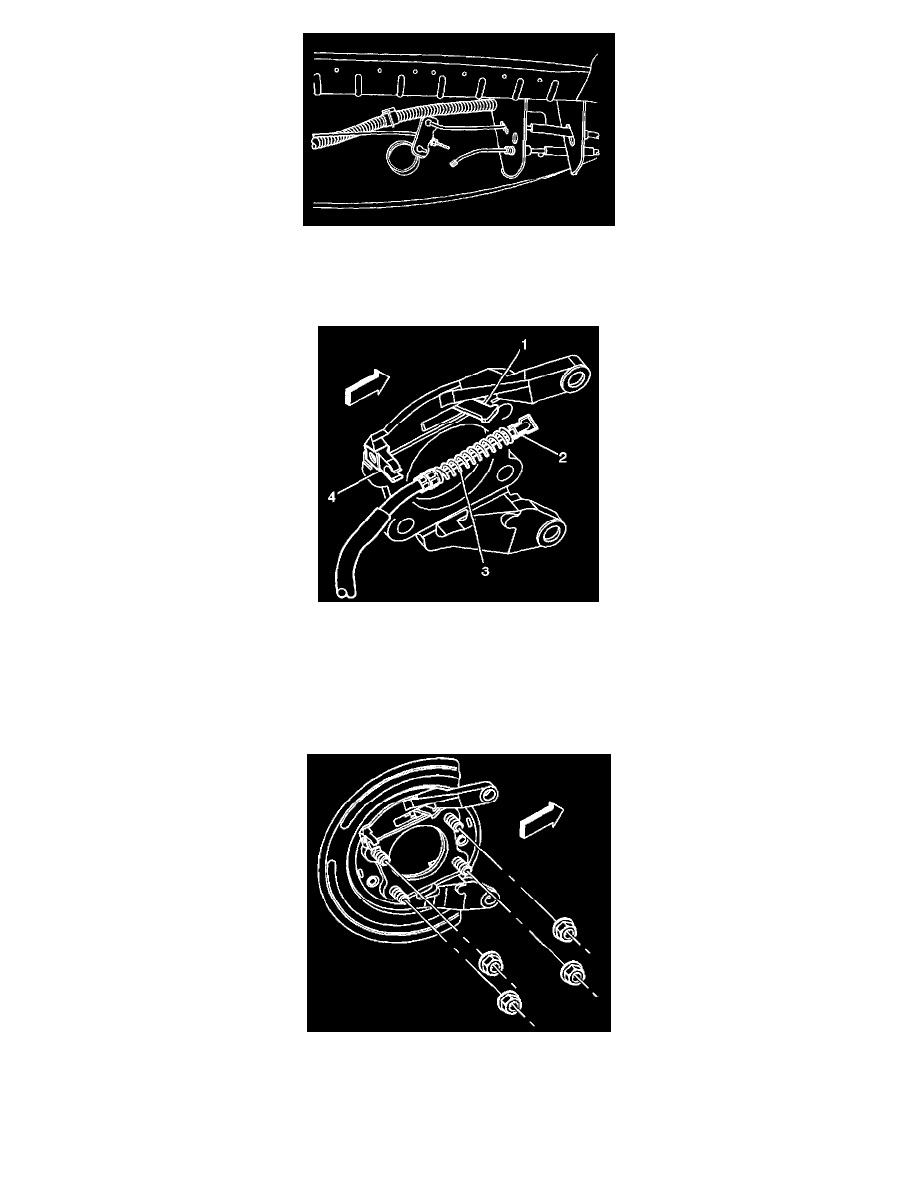
4. Relieve the tension from the park brake cable by pulling down on the cable in front of the equalizer and removing the cable from the equalizer bar.
5. Remove the park brake cable from the mounting bracket (4) by depressing the locking tabs.
6. Remove the rear park brake cable end (2) from the park brake actuator lever (1).
7. Remove the rotor. Refer toBrake Rotor Replacement - Rear (W/NYS)Brake Rotor Replacement - Rear (W/O NYS) in Disc Brakes.
8. Remove the axle shaft. Refer to Rear Axle Shaft Replacement (8.6 Inch Axle W/O JL4, 9.5 Inch Axle) Rear Axle Shaft Replacement (8.6 Inch
Axle W/JL4) Rear Axle Shaft Replacement (9.75 Inch Axle) in Rear Drive Axle.
9. Remove the park brake shoe. Refer to Park Brake Shoe Replacement (Except RPO NYS, 25 Series)Park Brake Shoe Replacement (RPO
NYS)Park Brake Shoe Replacement (25 Series).
10. Remove the backing plate nuts.
11. Remove the backing plate from axle housing flange.
Installation Procedure
1. Install the backing plate to the axle housing flange.