
K 1500 Suburban 4WD V8-4.8L VIN V (2003)
INSTALLATION PROCEDURE
1. If vehicle is a 2500 series, perform the following steps.
2. Install the EVAP canister vent pipe.
3. Remove the caps from the EVAP vent valve and canister.
4. Install the EVAP canister vent pipe clip (2) to the frame.
5. Install the EVAP canister vent pipe to the mounting clip.
6. Connect the EVAP canister vent pipe at the EVAP vent valve.
7. Install the chassis harness to the EVAP canister vent pipe clip.
8. Install the EVAP canister vent pipe clip to the canister bracket.
9. Connect the EVAP canister vent pipe (3) to the canister.
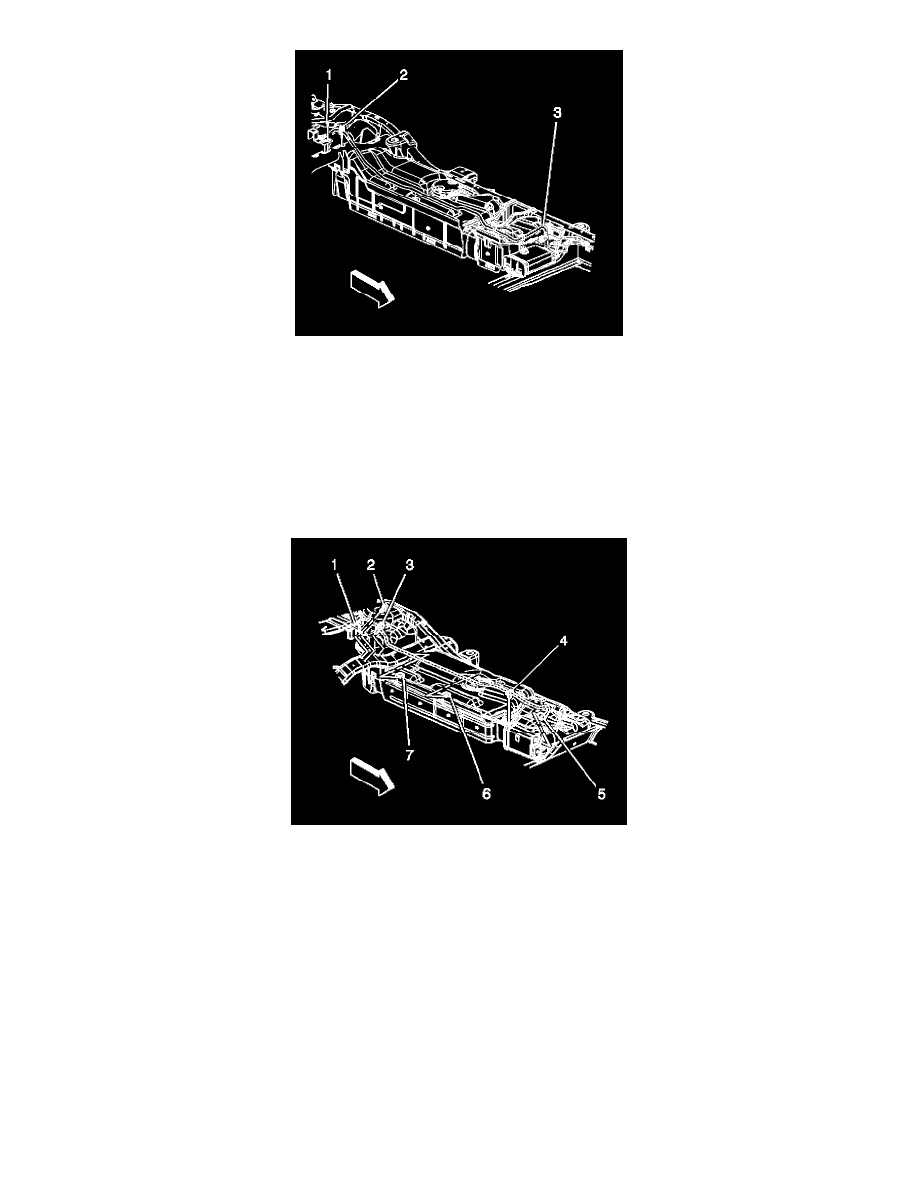
10. If vehicle is a 1500 series, perform the following steps.
11. Install the EVAP canister vent pipe.
12. Remove the caps from the EVAP vent valve and canister.
13. Install the EVAP canister vent pipe clip (3) to the frame.
14. Install the EVAP canister vent pipe to the mounting clip.
15. Connect the EVAP canister vent pipe at the EVAP vent valve.
16. Install the chassis harness to the EVAP canister vent pipe clips (6, 7).
17. Install the EVAP canister vent pipe clip (4) to the canister bracket.
18. Connect the EVAP canister vent pipe (5) to the canister.
19. Lower the vehicle.