
K 1500 Suburban 4WD V8-4.8L VIN V (2003)
Removal Procedure
1. Raise the vehicle. Refer to Vehicle Lifting.
2. Remove the tire and wheel.
3. Remove the flange bolts.
4. Lightly tap the axle shaft with a soft-faced hammer in order to loosen the shaft.
5. Grip the rib on the axle shaft flange with a locking pliers. Twist the axle shaft flange in order to start the axle shaft removal.
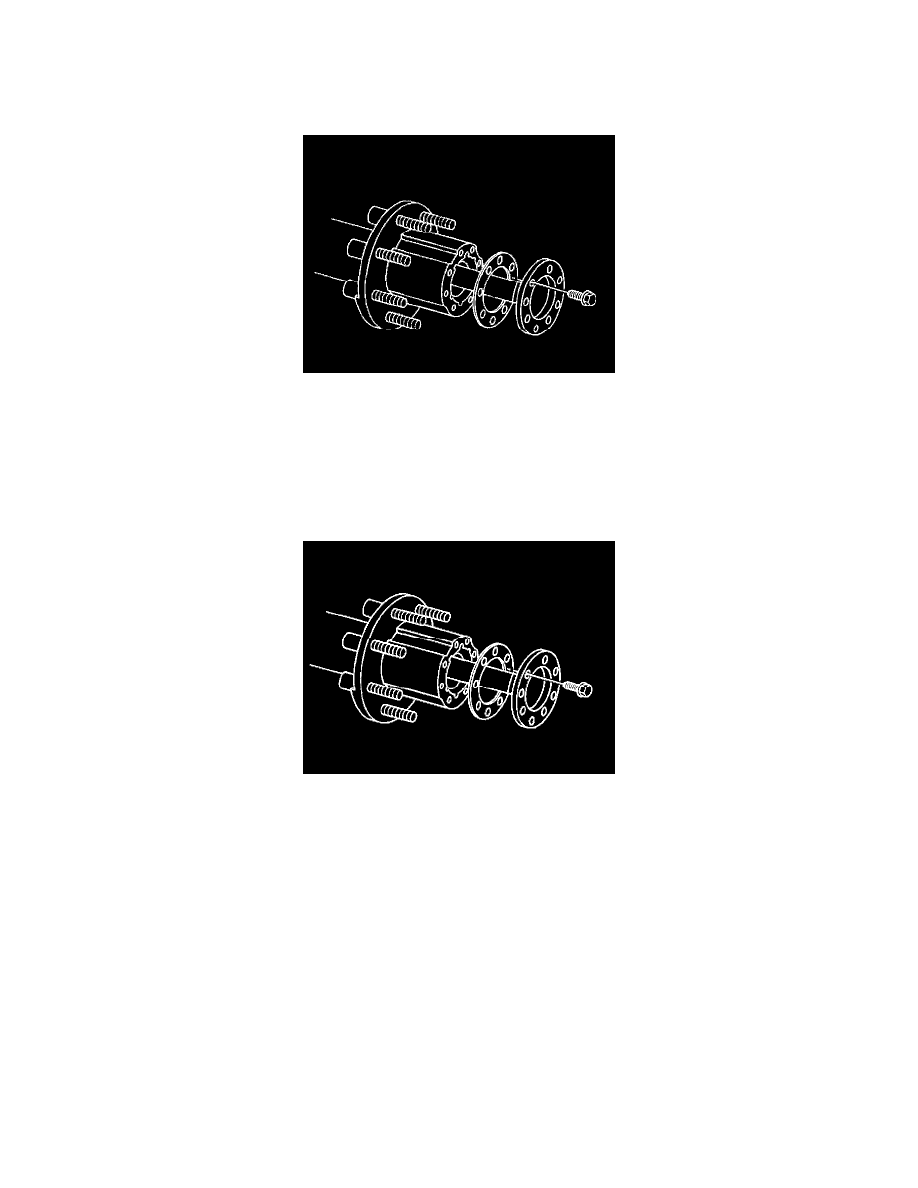
6. Remove the axle shaft from the tube.
7. Remove the gasket.
8. Clean the axle shaft flange and the outside face of the hub assembly
Installation Procedure
1. Install the gasket onto the axle shaft.
2. Install the gasket and the axle shaft into the axle tube.
2.1.
Ensure the shaft splines mesh into the differential side gear.
2.2.
Align the holes in the axle flange and the gasket with the holes in the hub.
Notice: Refer to Fastener Notice in Service Precautions.
3. Install the axle flange bolts.
Tighten the rear axle flange bolts to 156 Nm (115 ft. lbs.).
4. Install the tire and wheel assembly.
5. Inspect and add axle lubricant to the axle housing, if necessary.
6. Lower the vehicle.
Drive Pinion Flange/Yoke and/or Oil Seal Replacement (9.75 Inch Axle)
Drive Pinion Flange/Yoke and/or Oil Seal Replacement (9.75 Inch Axle)
Tools Required
^
J8614-01 Flange and Pulley Holding Tool
^
J45710 Pinion Bearing Oil Seal Installer
Removal Procedure