
K 1500 Suburban 4WD V8-4.8L VIN V (2003)
4. Inspect the rear output shaft bushing for scoring or wear.
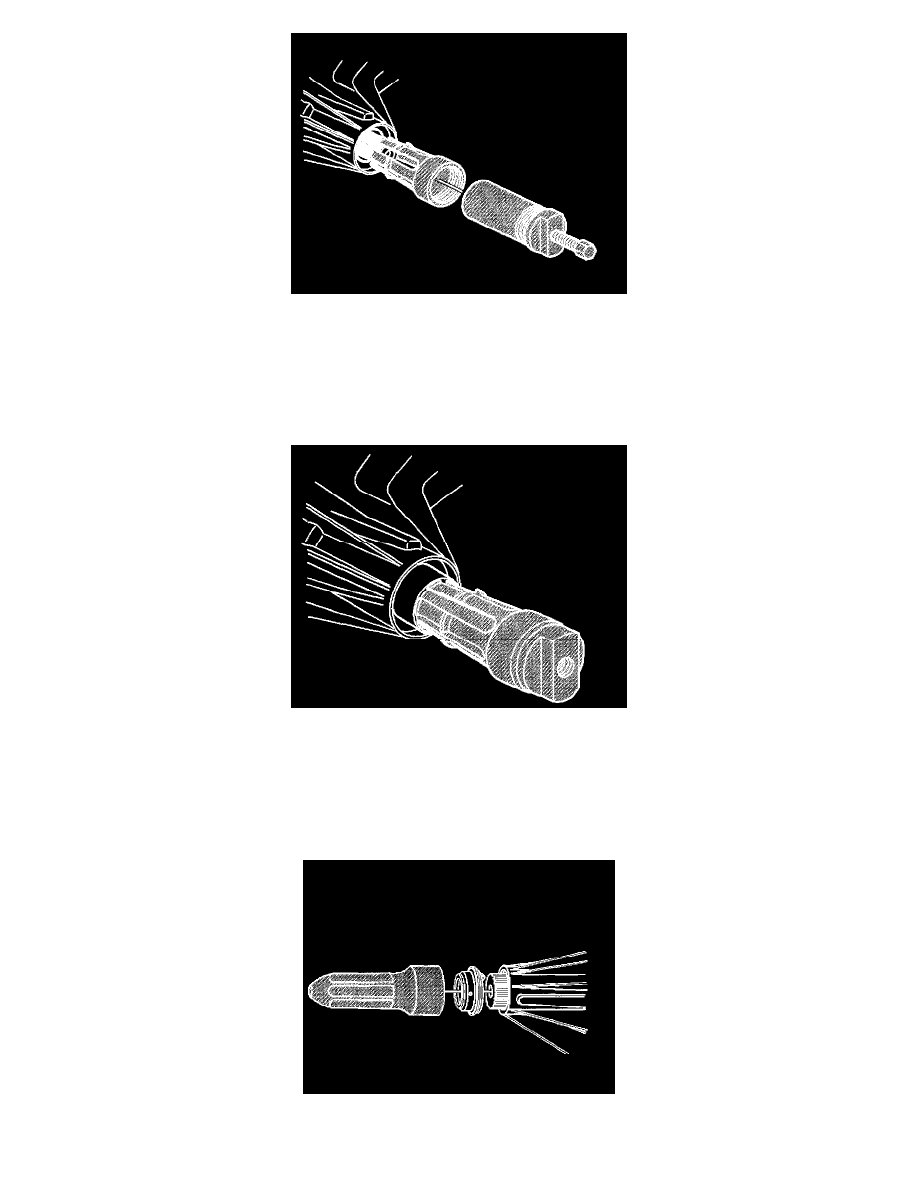
5. Remove the rear output shaft bushing if required, using the J45380.
^
Install the finger section of the J45380 in front of the bushing.
^
Install the tube and forcing screw to the finger section. Ensure the forcing screw is backed out.
^
Using a wrench on the forcing screw, remove the rear output shaft bushing.
Installation Procedure
1. Using the J45380, install a NEW output shaft bushing.
1.1.
Install the bushing or the finger section of the J45380.
1.2.
Install the finger section to the main body of the J45380.
1.3.
Position the bushing and tool to the case.
1.4.
Using a hammer and the J45380, install the bushing.
Important: Ensure the drain hole on the boot of the rear output shaft seal is facing down toward the ground.
2. Using the J37668-A, install a NEW front output shaft seal.
3. Install the rear propeller shaft.