
K 1500 Suburban 4WD V8-5.3L VIN Z Flex Fuel (2003)
42675 Flat Wire Probe Adapter Kit in order to frontprobe terminals. Do not use paper clips or other substitutes as they can damage terminals and cause
incorrect measurements.
Using Fused Jumper Wires
TOOLS REQUIRED
J 36169-A Fused Jumper Wire
IMPORTANT: A fused jumper may not protect solid state components from being damaged.
The J 36169-A includes small clamp connectors that provide adaptation to most connectors without damage. This fused jumper wire is supplied with a
20-A fuse which may not be suitable for some circuits. Do not use a fuse with a higher rating than the fuse that protects the circuit being tested.
Connector Position Assurance Locks
The connector position assurance (CPA) is a small plastic insert that fits through the locking tabs of all the SIR system electrical connectors. The CPA
ensures that the connector halves cannot vibrate apart. You must have the CPA in place in order to ensure good contact between the SIR mating
terminals.
Terminal Position Assurance Locks
The terminal position assurance (TPA) insert resembles the plastic combs used in the control module connectors. The TPA keeps the terminal securely
seated in the connector body. Do not remove the TPA from the connector body unless you remove a terminal for replacement.
Push to Seat Connectors
TERMINAL REMOVAL
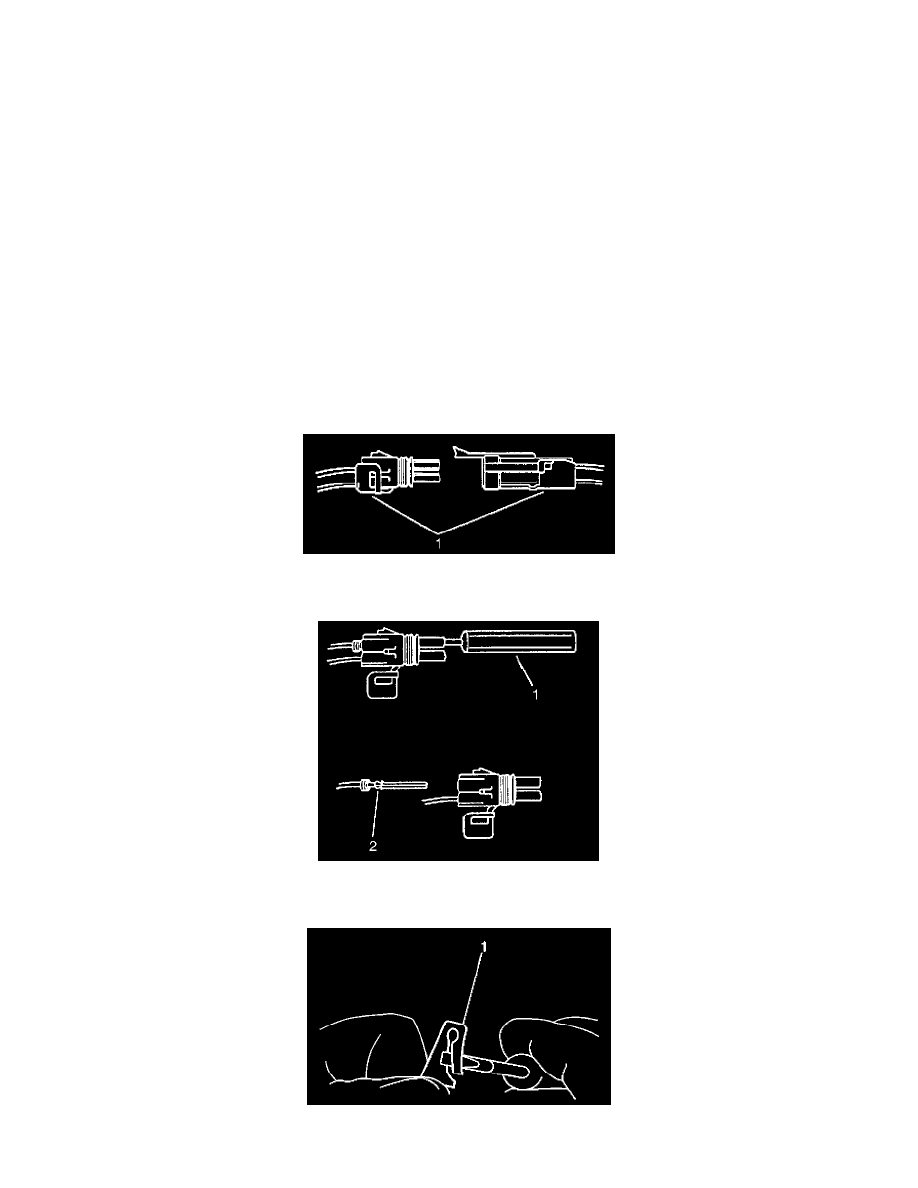
Follow the steps below in order to repair push to seat connectors.
1. Remove the terminal position assurance (TPA) device, the connector position assurance (CPA) device, and/or the secondary lock.
2. Separate the connector halves (1).
3. Use the proper pick or removal tool (1) in order to release the terminal.
4. Gently pull the cable and the terminal (2) out of the back of the connector.
5. Re-form the locking device if you are going to reuse the terminal (1).