
K 1500 Suburban 4WD V8-5.3L VIN Z Flex Fuel (2003)
^
Tighten the two (2) long screws to 3.38 N.m (30 lb in).
^
Tighten the two (2) short screws to 2.25 N.m (20 lb in).
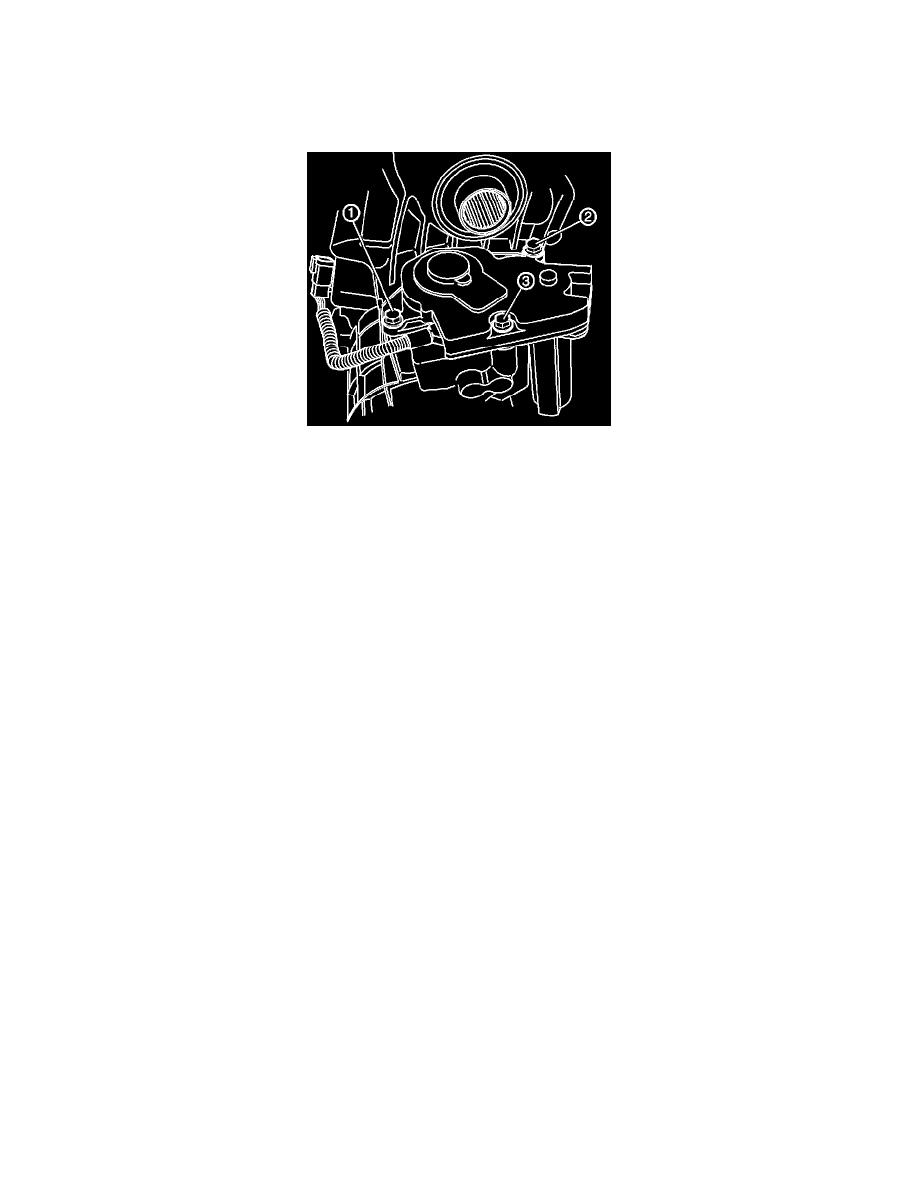
20.
Place the encoder to transfer case gasket into position on the dowel pins in the transfer case.
21.
Reinstall the encoder motor assembly to the transfer case.
Tighten
Tighten the bolts in the sequence shown to 20 N.m (15 lb ft).
22.
Reconnect the encoder motor wiring harness connector.
23.
Reinstall the front propeller shaft.
24.
Reinstall the transfer case skid plate, if equipped.
25.
Disconnect the wiring from the front axle actuator motor and the axle housing.
26.
Remove the right stabilizer shaft link assembly.
27.
Remove the six (6) right front wheel axle shaft companion flange bolts. Reposition the right front axle shaft away from the companion flange.
28.
Remove the five (5) inner axle shaft housing bolts from the differential carrier case.
29.
Remove the two (2) axle shaft housing nuts from the bracket.
Important:
When the right front axle tube is removed from the vehicle, several components may fall out. Position a receptacle such as the engine oil drain
with screen under the front differential carrier to catch these components.
30.
Position an oil drain pan under the front axle, as about 1/2 cup of differential fluid may drain from the differential as the right front axle tube and
shaft assembly is removed from the vehicle.
31.
Remove the right front axle tube and shaft assembly from the vehicle.
32.
Inspect the engagement sleeve for damage to the internal teeth. If damage is found, replace the sleeve. This sleeve is powdered metal and will
fracture if dropped.
33.
Clean the end of the axle/tube assembly and the differential carrier flange of the original sealer.
34.
Clean any metal shavings out of the axle housing if there are any, including flushing the fluid if needed.
35.
Position the axle/tube assembly with the companion flange resting on the bench.
Important: