K 1500 Suburban 4WD V8-5.3L VIN Z Flex Fuel (2003)

4.
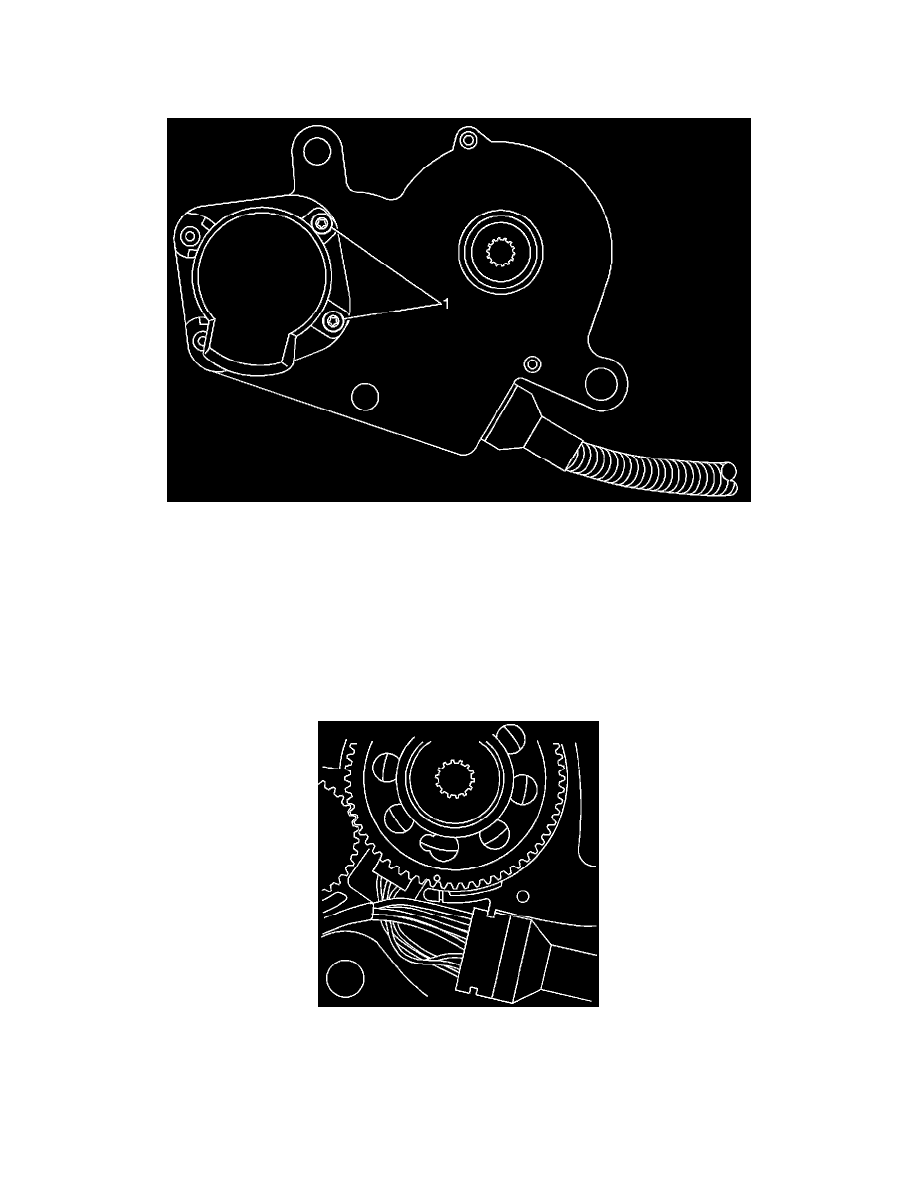
Remove the three (3) bolts that retain the encoder motor to the transfer case.
5.
Separate the encoder motor assembly from the transfer case and place it on a work bench.
Important:
DO NOT REMOVE THE SCREWS INDICATED WITH THE (1) IN THE ABOVE ILLUSTRATION.
6.
Remove the four screws on the outer perimeter of the encoder motor housing.
Important:
For proper timing and ease of reassembly, hold the gear in place as your remove the cover from the encoder motor assembly with your thumb
or finger.
7.
Carefully remove the cover from the encoder motor assembly. The cover has a seal on the bottom side. Place the cover in a position to protect this
seal from damage and/or contamination.
Important:
Observe the location of the punch mark on the large gear in relation to the timing mark on the housing if the transfer case was placed in the
2H1 for the NV263 (NPI), or Neutral for the NV246 (NP8). The timing marks should be within one tooth of proper alignment. If not, you must
note the timing mark positions for reassembly.
8.
Locate the two shims; one on the small gear and another on the larger gear. Set them aside on a clean surface for reuse.
