
K 1500 Suburban 4WD V8-6.5L DSL Turbo VIN F (1999)
Rear Door Exterior Handle: Service and Repair
REMOVAL PROCEDURE
1. Remove the trim panel.
2. Remove the water deflector.
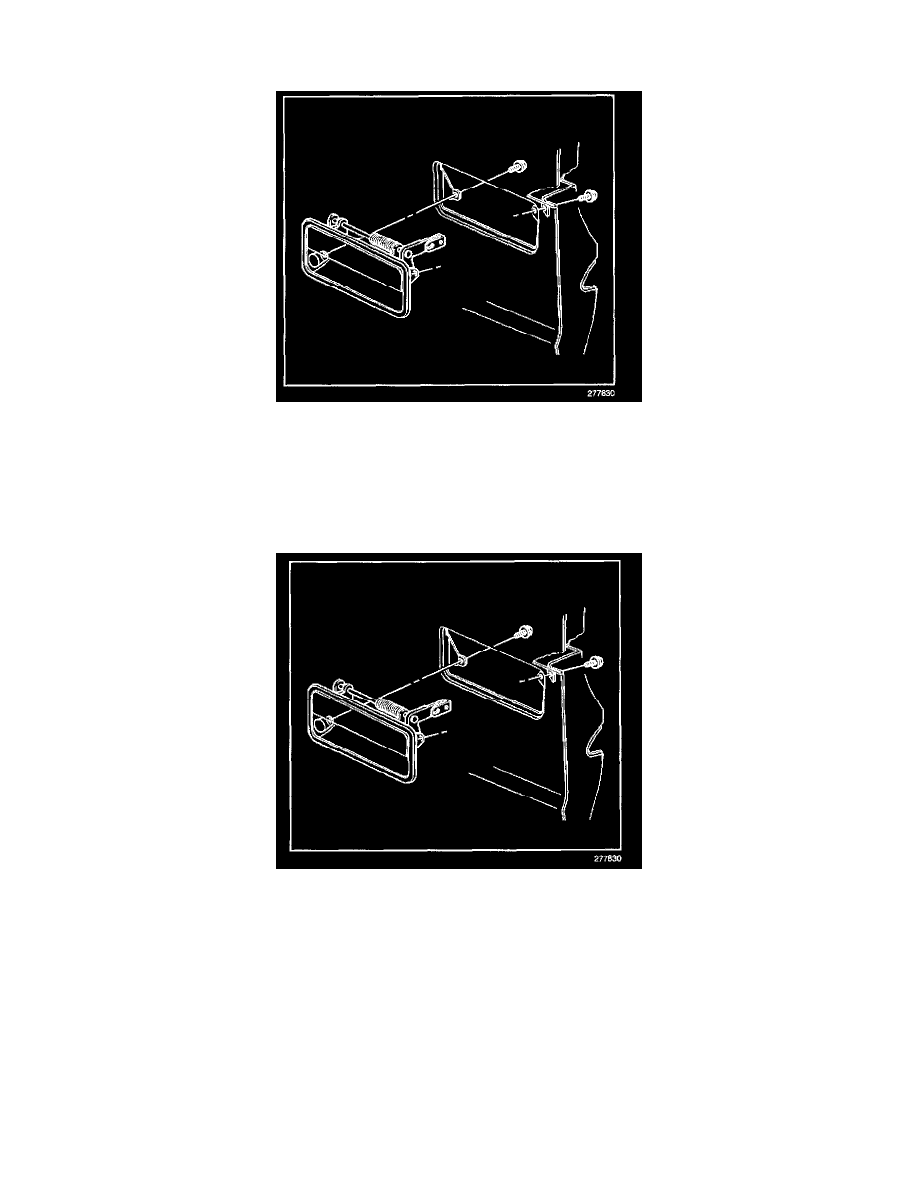
3. Remove the outside handle mounting bolts.
4. Remove the handle control rod from the clip retainer.
5. Remove the outside handle from the door.
INSTALLATION PROCEDURE
1. Install the handle control rod to the handle clip retainer.
2. If the lock cylinder is a replacement, apply a coating of GM P/N 12345120 or a similar lubricant to the inside of the lock case and to the cylinder
keyway prior to installing the cylinder.
3. Install the handle to the vehicle by completing the following steps:
3.1.
Hold the handle assembly upside down.
3.2.
Insert the handle control rod into the hole in the lock.
3.3.
Turn the handle assembly right side up.
NOTE: Refer to Fastener Notice in Service Precautions.
4. Install the outside handle mounting bolts.
Tighten
Tighten the bolts to 4 N.m (35 lb in).