
K 1500 Suburban 4WD V8-6.5L DSL Turbo VIN F (1999)
Rear Door Panel: Service and Repair
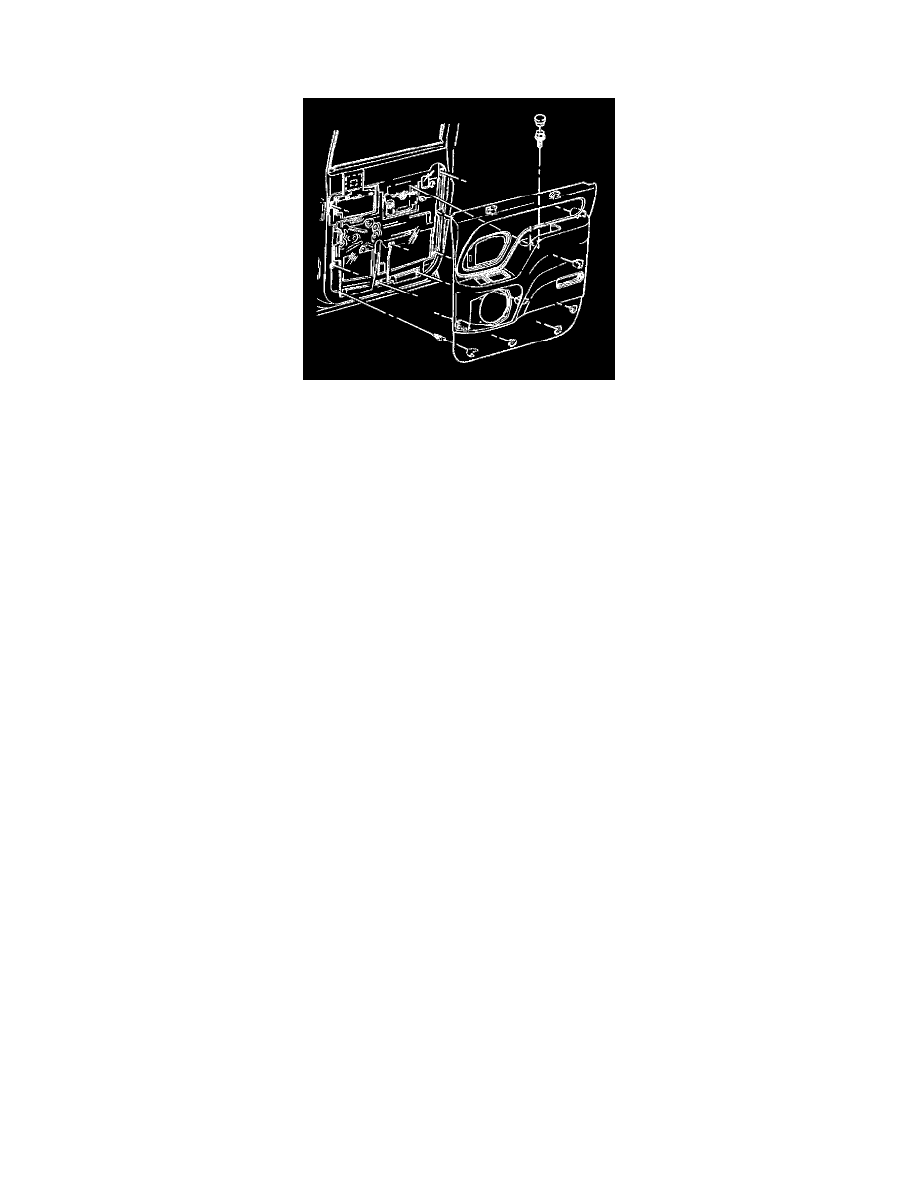
Side Rear Door Trim Panel
REMOVAL PROCEDURE
TOOLS REQUIRED
J 38778 Trim Panel Remover
CAUTION: Refer to Battery Disconnect Caution in Cautions and Notices.
1. Disconnect the negative battery cable.
2. Remove the door handle bezel.
3. Remove the window regulator handle, as necessary.
4. Remove the speaker, as necessary.
5. Remove the trim panel armrest screws.
6. Using the J 38778, carefully pry the retainers from the retainer seats.
Remove the trim panel from the door.
7. Disconnect the following components:
^
The courtesy light connector, as necessary.
^
The power window switch connector, as necessary.
^
The speaker wiring, as necessary.
8. Remove the courtesy lamp lens.
9. Remove the power window switch, as necessary.
INSTALLATION PROCEDURE
1. Install the retainers to the trim panel.
2. Install the power window switch, as necessary.
3. Install the courtesy lamp lens or the reflector, as necessary.
4. Install the speaker, as necessary.
5. Connect the following components:
^
The courtesy light connector, as necessary.
^
The power window switch connector, as necessary.
^
The speaker wiring, as necessary.
6. Align the retainers with the holes in the door.
7. Install the trim panel to the door by applying pressure in order to seat the retainers.
8. Install the window regulator handle, as necessary.
NOTE: Refer to Fastener Notice in Cautions and Notices.
9. Install the trim panel armrest screws.
Tighten
Tighten the trim panel armrest screws to 2 N.m (18 lb in).
10. Install the door handle bezel.
11. Connect the negative battery cable.