
K 1500 Suburban 4WD V8-6.5L DSL Turbo VIN F (1999)
Oil Pan: Service and Repair
REMOVAL PROCEDURE
IMPORTANT: Do not raise the engine block by the crankshaft balancer to perform this service procedure. Damage to the crankshaft balancer or the
crankshaft may occur.
1. Disconnect both the battery negative cables from the batteries. Refer to Battery Cable in Powertrain Management.
2. Remove the oil level indicator and tube from the engine. Refer to Oil Level Indicator and Tube Replacement.
3. Raise the vehicle.
4. Support the vehicle with safety stands.
5. Drain the engine oil.
6. Remove the transmission (2 wheel drive models only) from the vehicle.
^
For the 4L80-E automatic transmission removal, refer to Transmission Replacement in Transmission and Drivetrain.
^
For the NV 4500 manual transmission removal, refer to Transmission Replacement in Transmission and Drivetrain.
7. Remove the clutch assembly (if equipped). Refer to Clutch Assembly Replacement in Transmission and Drivetrain.
8. Remove the front propeller shaft (4 wheel drive models only).
^
For vehicles equipped with the non active transfer case, refer to Propeller Shaft Replacement (Front Axle - All Except NP8) in Transmission
and Drivetrain.
^
For vehicles equipped with the active transfer case, refer to Propeller Shaft Replacement (Front Axle - NP8) in Transmission and Drivetrain.
9. Remove the front differential carrier from the vehicle. Refer to Differential Carrier Assembly Replacement in Front Axle.
10. Remove the flywheel from the crankshaft. Refer to Engine Flywheel Replacement.
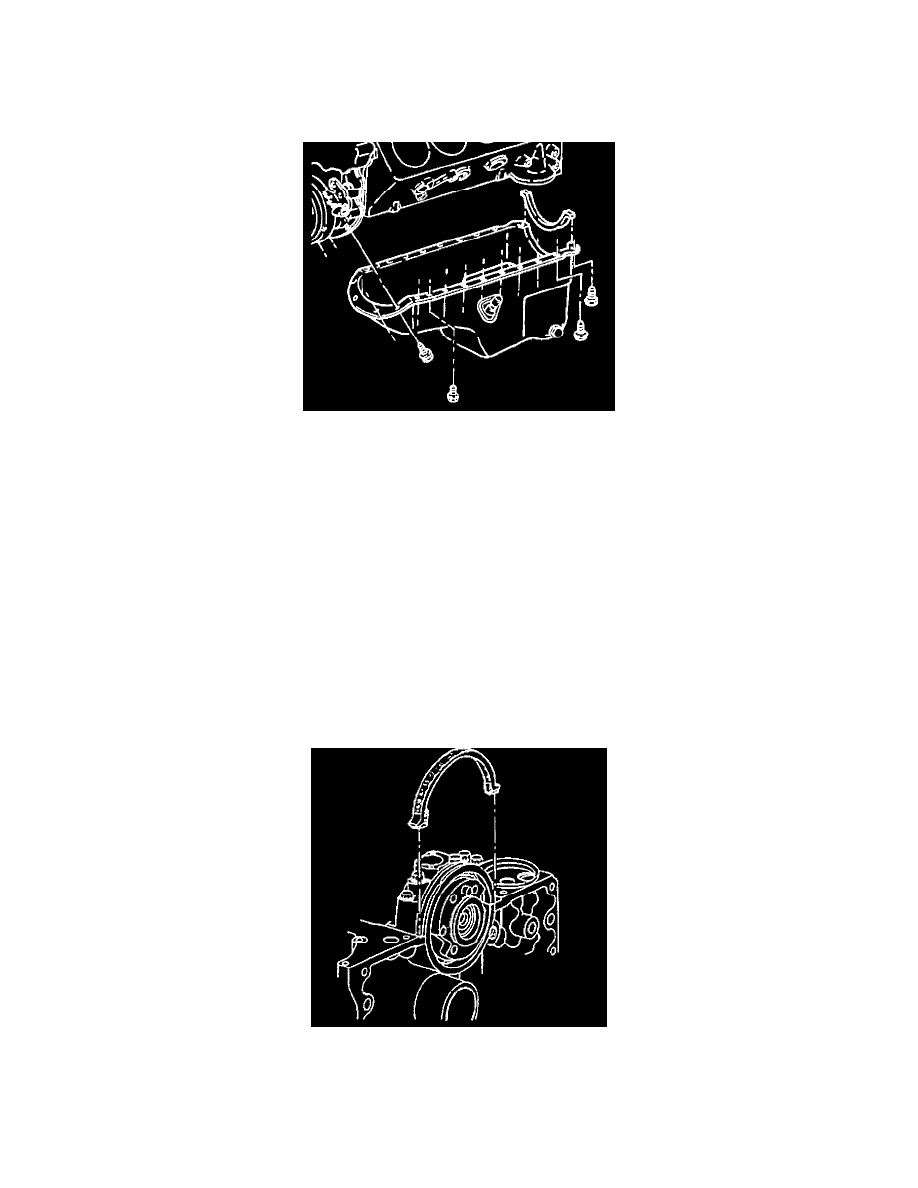
11. Remove the oil pan bolts from the oil pan.
12. Using a block of wood and a hammer, tap the side of the oil pan until seal is broken.
13. Remove the oil pan from the engine block.
14. Remove the rear seal on the from the oil pan.
15. Clean the old RTV sealant from the oil pan and engine block.
16. Clean all the oil and grease from the sealing surfaces.
INSTALLATION PROCEDURE