
K 1500 Suburban 4WD V8-6.5L DSL Turbo VIN F (1999)
Intake Manifold: Service and Repair
Upper Intake Manifold Replacement
REMOVAL PROCEDURE
1. Disconnect both the battery negative cables from the batteries. Refer to Battery Cable in Powertrain Management.
2. Remove the upper intake manifold cover from the upper intake manifold.
3. Remove the brace (long for the L65 and short for the L56) from the turbocharger to the upper intake manifold. Refer to Turbocharger
Replacement.
4. Remove the boost pressure sensor from the upper intake manifold. Refer to Boost Sensor Replacement in Powertrain Managements 6.5L.
5. Remove the intake air temperature sensor from the upper intake manifold. Refer to IAT Sensor Replacement in Powertrain Managements.
6. Loosen the clamps on the hose between the turbocharger and the upper intake manifold.
IMPORTANT: In order to loosen the sealer, run a small screw driver (flat blade) between the hose and the upper intake manifold. Use caution as
not to damage the hose.
7. Loosen the hose connecting the upper intake manifold and the turbocharger.
8. Remove the EGR Valve (L56 only) from the upper intake manifold. Refer to EGR Valve Replacement in Powertrain Managements.
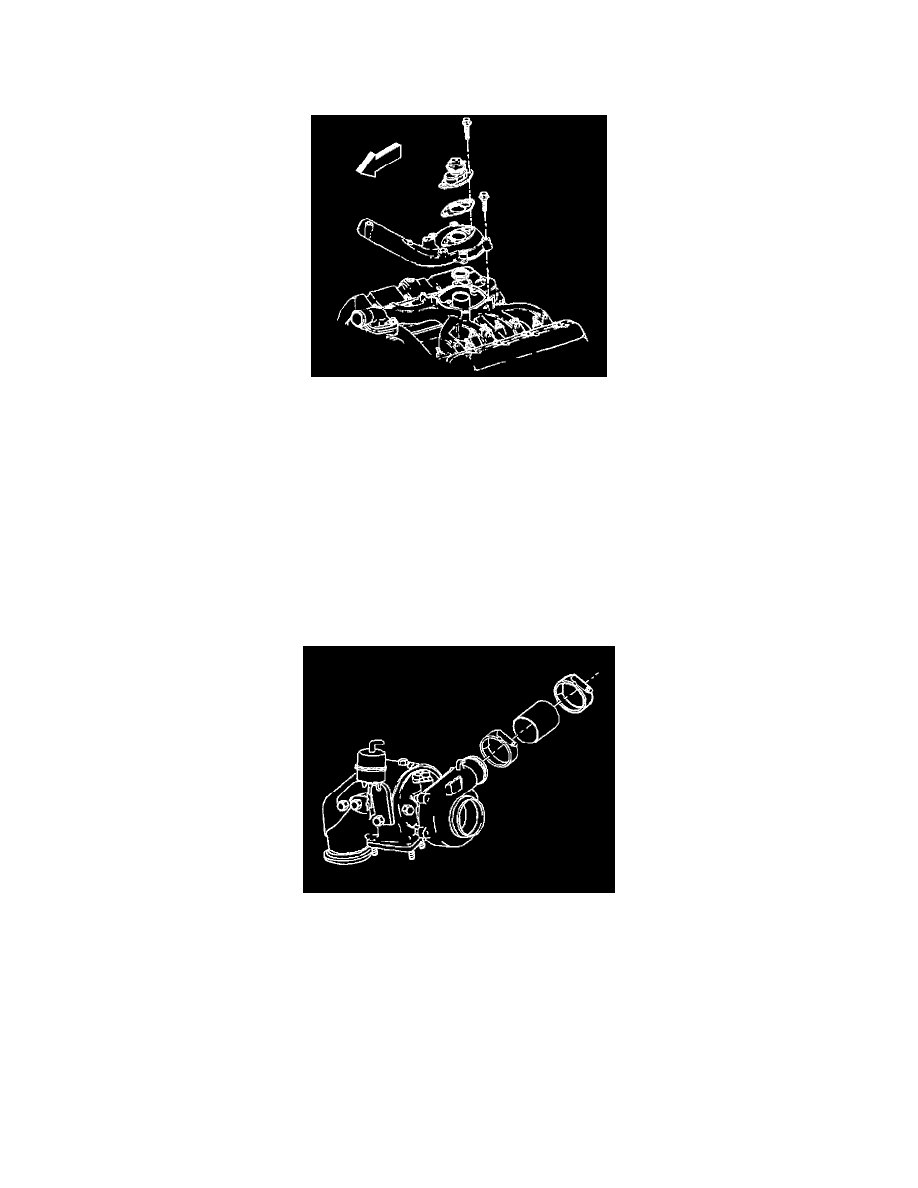
9. Remove the upper intake manifold bolts from the lower intake manifold.
IMPORTANT: When removing the upper intake manifold, rotate the upper intake manifold in a downward then in a upward motion to help loose
the silicone sealant on the air intake hose.
10. Remove the upper intake manifold and the gasket from the lower intake manifold.