
K 1500 Suburban 4WD V8-6.5L DSL Turbo VIN F (1999)
Blower Motor Resistor: Service and Repair
Heating and Ventilation
Blower Motor Resistor Replacement
REMOVAL PROCEDURE
CAUTION: Refer to Battery Disconnect Caution in Cautions and Notices.
1. Disconnect the negative battery cable.
2. Roll the instrument panel back. Refer to IP Carrier Replacement in Instrument Panel, Gauges and Console.
3. Remove the plenum tray.
4. Disconnect the electrical connector.
5. Remove the screws.
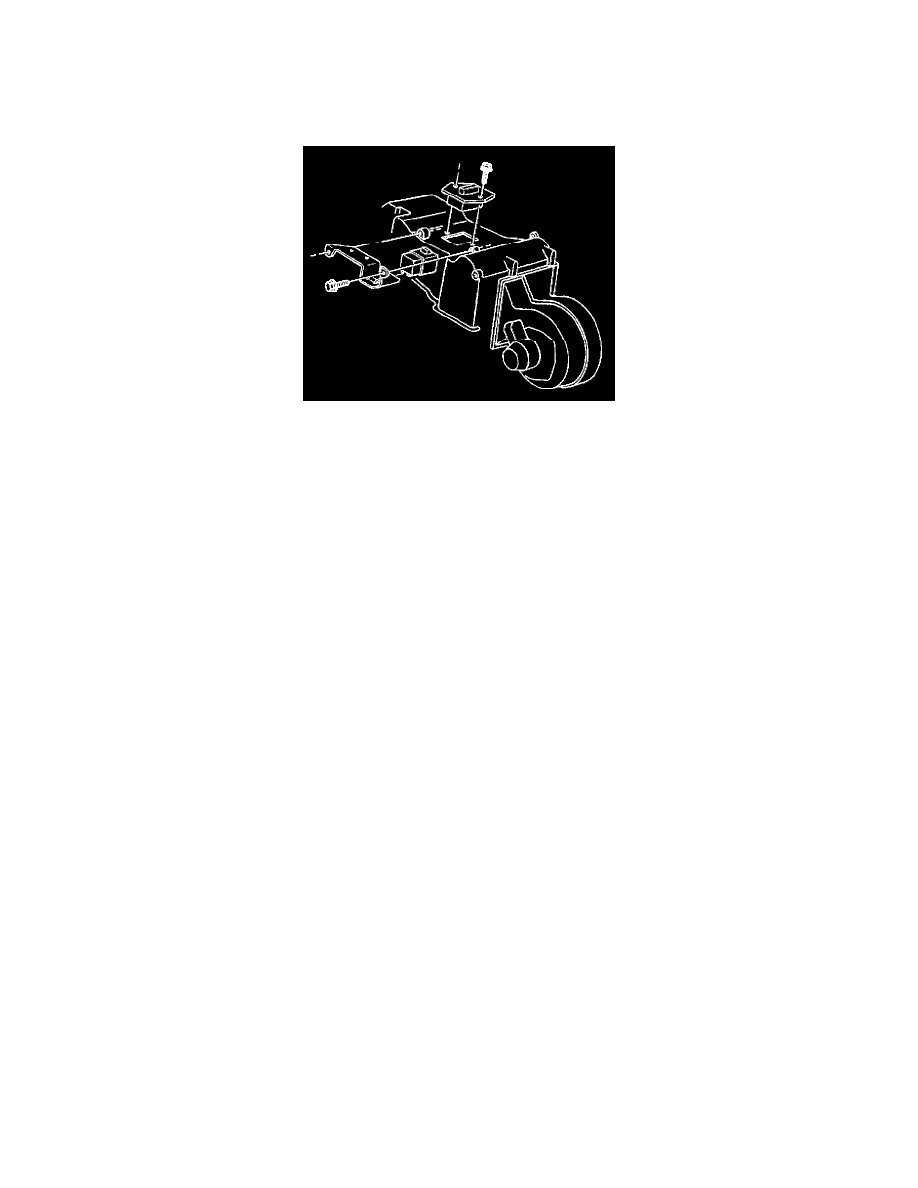
6. Remove the resistor.
INSTALLATION PROCEDURE
NOTE: Do not allow the resistor coils to touch. Improper operation or damage to the vehicle may result.
1. Install the resistor.
Ensure that you install the new resistor so that the part number is oriented on the forward side of the blower motor assembly.
NOTE: Refer to Fastener Notice in Cautions and Notices.
2. Install the screws.
Tighten
Tighten the screws to 1.4 N.m (12 lb in).
3. Connect the electrical connector.
4. Install the plenum tray.
5. Roll the instrument panel forward. Refer to IP Carrier Replacement in Instrument Panel, Gauges and Console.
6. Connect the negative battery cable.
7. Verify the circuit operation.
Blower Motor Resistor Replacement - Auxiliary