
K 1500 Suburban 4WD V8-6.5L DSL Turbo VIN F (1999)
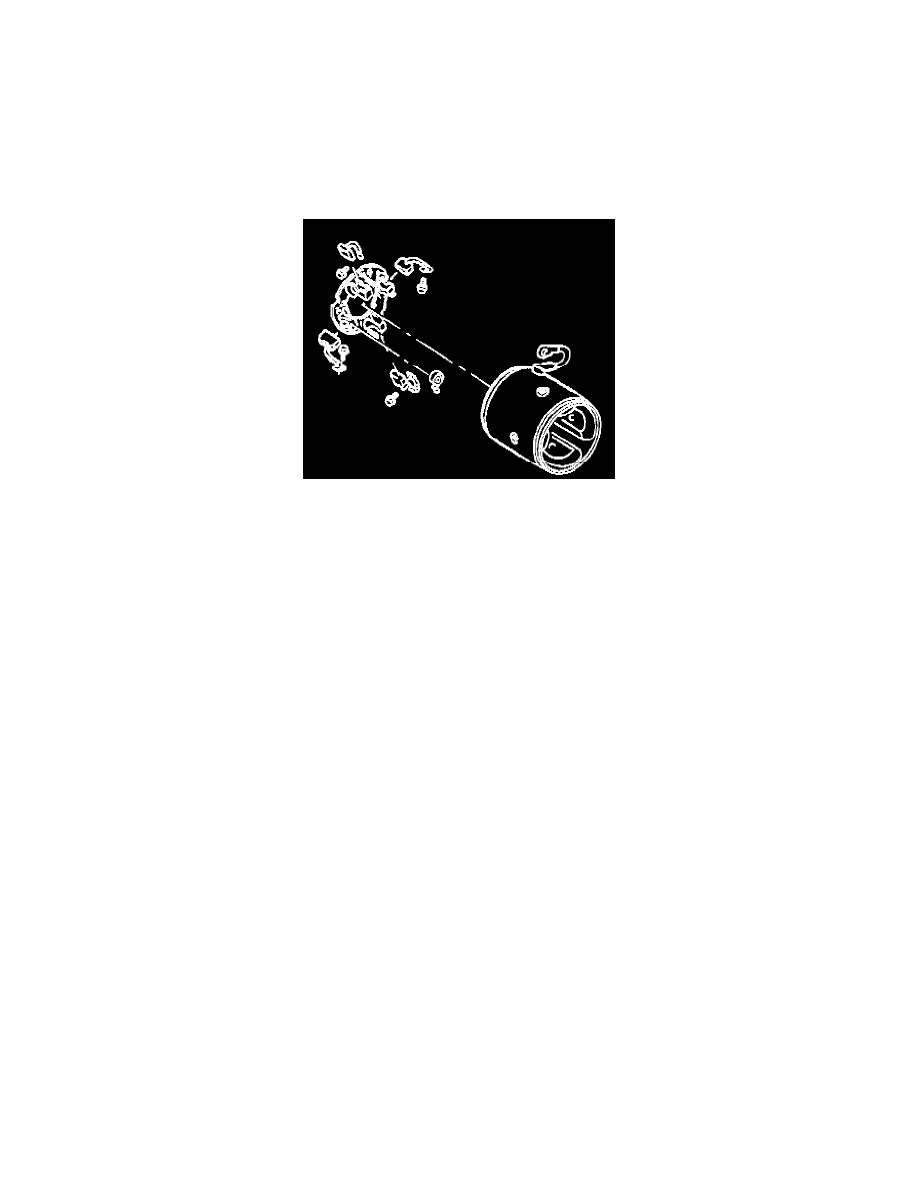
10.2. Tighten the through-bolts by hand, but do not close the gap between the commutator end frame and the frame and field assembly where the
O-ring seal will be located.
10.3. Roll the O-ring seal down into the normal position. The normal position is between the commutator end frame and the frame and field
assembly.
10.4. Align the timing ribs on the edge of the commutator end frame to the timing spots on the frame and field assembly in order to ensure proper
alignment of the brushes.
10.5. Although the marks are located in 2 places on the motor, the marks will only match in 1 way.
Tighten
Tighten the through-bolts to 8.5 N.m (75 lb in).
11. Use the following procedure in order to install the motor lead onto the frame and field assembly.
11.1. Remove the nut from the terminal on the solenoid.
11.2. Install the motor lead terminal.
11.3. Reinstall the solenoid motor terminal nut.
Tighten
Tighten the solenoid motor terminal nut to 11 N.m (100 lb in).