
K 1500 Suburban 4WD V8-6.5L DSL Turbo VIN F (1999)
Tie Rod End: Service and Repair
Tie Rod Adjuster Replacement
REMOVAL PROCEDURE
-
Tools Required
-
J 6627-A Tie Rod / Wheel Stud Remover
1. Raise and support the vehicle.
2. Remove the outer tie rod.
Important: The tie rod adjuster parts often become rusted in service. Discard the rusted nuts and bolts if the torque to remove the tie rod clamp
nut from the tie rod clamp bolt after the breakaway exceeds 9 Nm (80 ft. lbs.). Apply penetrating oil between the tie rod clamp and the adjuster.
Rotate the steering linkage clamps until they move freely. Install the new bolts and nuts that are the same part number to ensure proper clamp at
the specified torque.
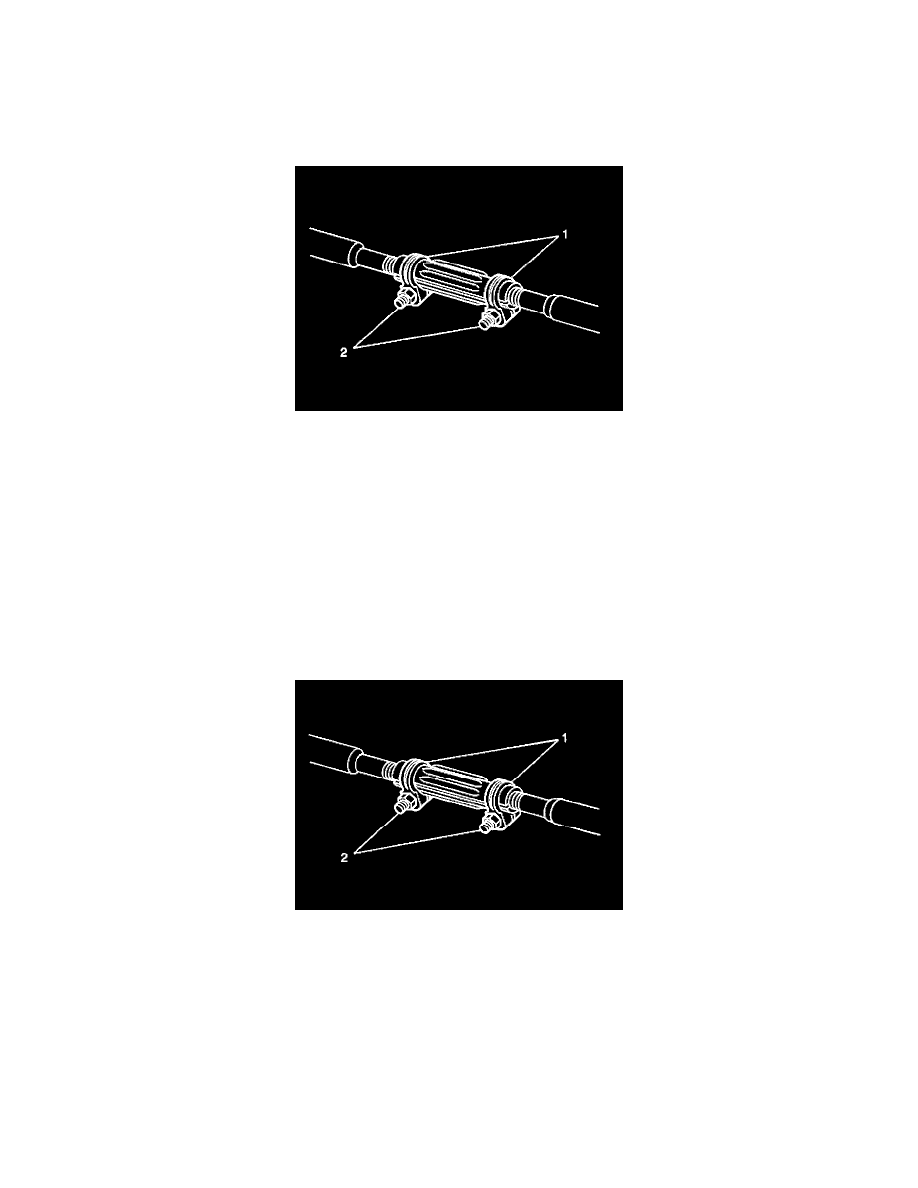
3. Loosen the tie rod adjuster clamp bolt (2) at the inner tie rod end of the tie rod adjuster.
4. Remove the inner tie rod adjuster from the inner tie rod.
Important: Count the number of turns required to remove the tie rod adjuster from the inner tie rod.
INSTALLATION PROCEDURE
1. Use EP Chassis Lubricant, GM P/N 1052356 or equivalent, to lubricate the tie rod threads.
2. Use the same number of turns as counted in the removal procedure to thread the tie rod adjuster to the inner tie rod.
Ensure the clamps are positioned over the adjuster slots.
Important: Ensure that both ends of the tie rod adjuster are threaded equally onto the inner and the outer tie rods.
3. Install the outer tie rod.
4. Install the tie rod adjuster clamp bolts (2).
-
Tighten the tie rod adjuster clamp bolts to 15 Nm (11 ft. lbs.).
Notice: Refer to Fastener Notice in Service Precautions.
5. Lower the vehicle.