
K 1500 Suburban 4WD V8-6.5L DSL Turbo VIN F (1999)
14. Remove the lower control arm nuts and the washers.
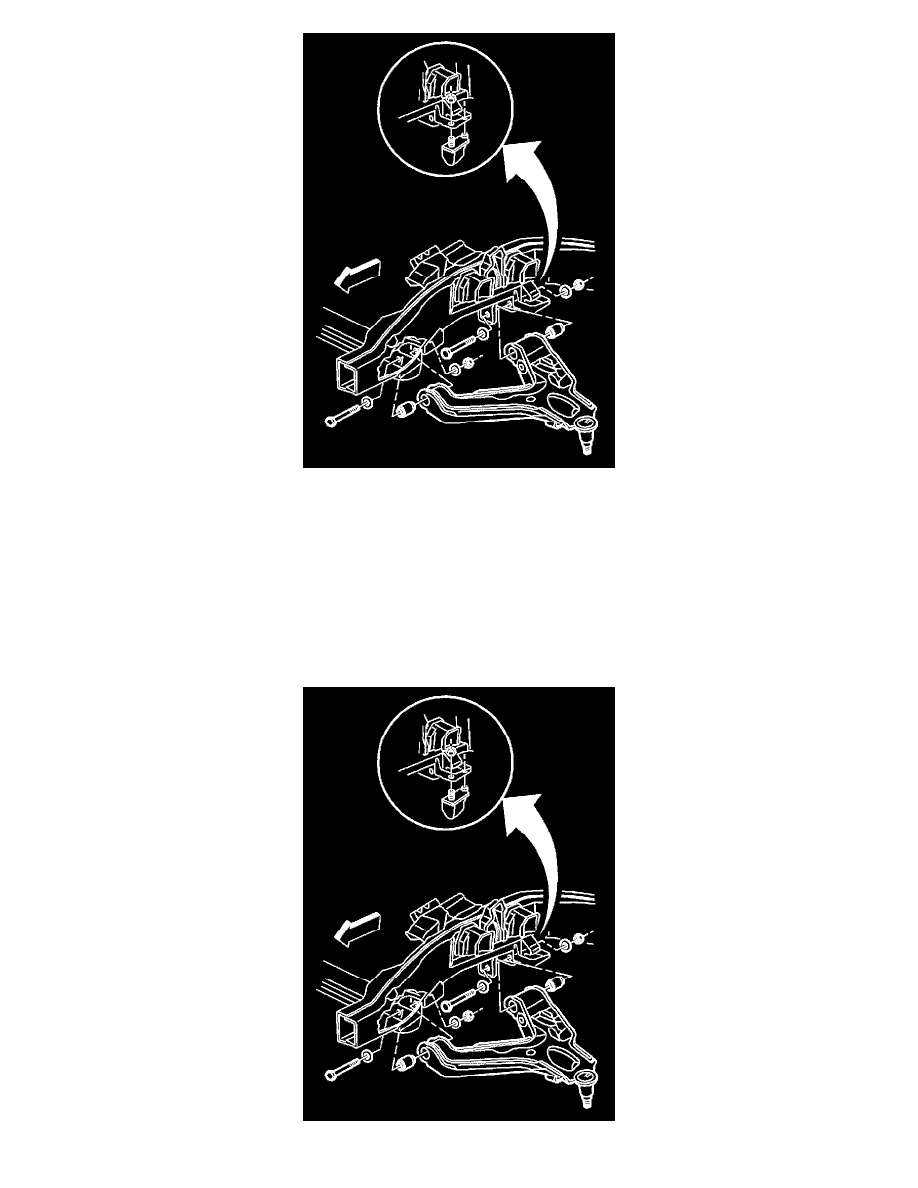
15. Remove the bolts.
16. Remove the lower control arm and the knuckle as a unit.
17. Remove the front bushing.
17.1. Using a punch, unbend the crimps.
17.2. Remove the bushing using J 36618-2, J 9519-23, J 36618-4, and J 36618-1.
18. Remove the rear bushing (no crimp).
18.1. Removing the bushing using J 36618-5, J 36618-3, J 36618-2, and J 9519-23.
18.2. If the bushings on the K1 and K2 vehicles are worn or damaged, replace the lower control arm.
INSTALLATION PROCEDURE