
K 1500 Suburban 4WD V8-6.5L DSL Turbo VIN F (1999)
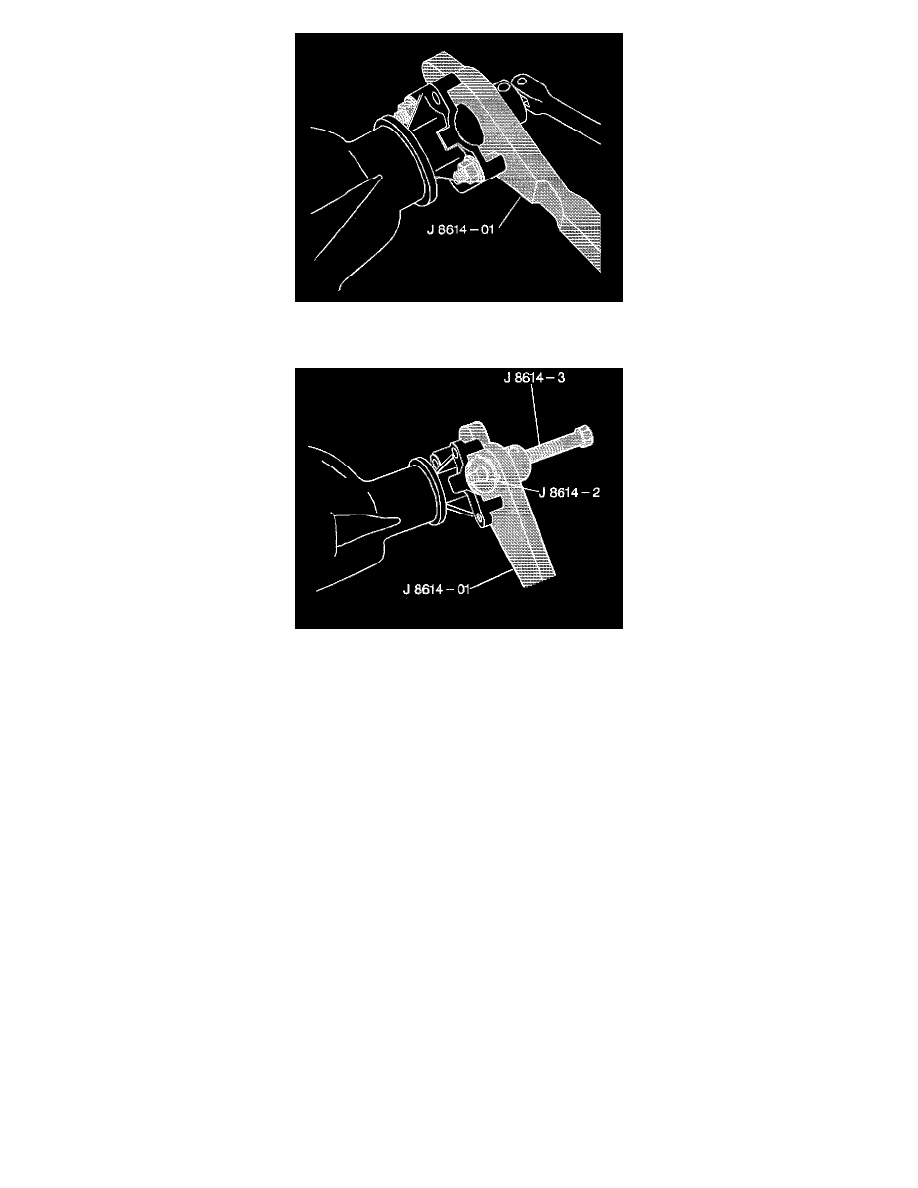
7. Hold the pinion flange with the J 8614-01.
8. Remove the pinion flange nut and washer.
9. Remove the pinion flange using the J 8614-01.
10. Use a container to catch any lubricant.
Important: Do not damage the machined surfaces
11. Pry the oil seal from the bore.
12. Thoroughly clean foreign material from the contact area
13. Replace parts as necessary.
Installation Procedure
^
Tools Required
-
J 8614-01 Companion Flange Holder/Remover
-
J 24384 Pinion Oil Seal Installer
-
J 5853-B Torque Wrench
Notice: Use the correct fastener in the correct location. Replacement fasteners must be the correct part number for that application. Fasteners
requiring replacement or fasteners requiring the use of thread locking compound or sealant are identified in the service procedure. Do not use paints,
lubricants, or corrosion inhibitors on fasteners or fastener joint surfaces unless specified. These coatings affect fastener torque and joint clamping
force and may damage the fastener. Use the correct tightening sequence and specifications when installing fasteners in order to avoid damage to parts
and systems.