
K 1500 Suburban 4WD V8-6.5L DSL Turbo VIN F (1999)
Drive/Propeller Shaft: Service and Repair
Propeller Shaft Replacement (Front Axle - NP8)
Removal Procedure
Note: NP8 is the Regular Production Option (RPO) code for "Two Speed Case Pushbutton Control".
^
Tools Required
-
J 43213 Clamp Pliers
1. Position the transmission range select lever to Neutral (N) and release the park brake.
2. Raise and support the vehicle.
3. Remove the transfer case shield, if equipped.
4. Remove the nut securing the transmission control lever to the manual control shaft.
5. Remove the transmission control lever from the manual control shaft.
6. Check the universal joints for looseness.
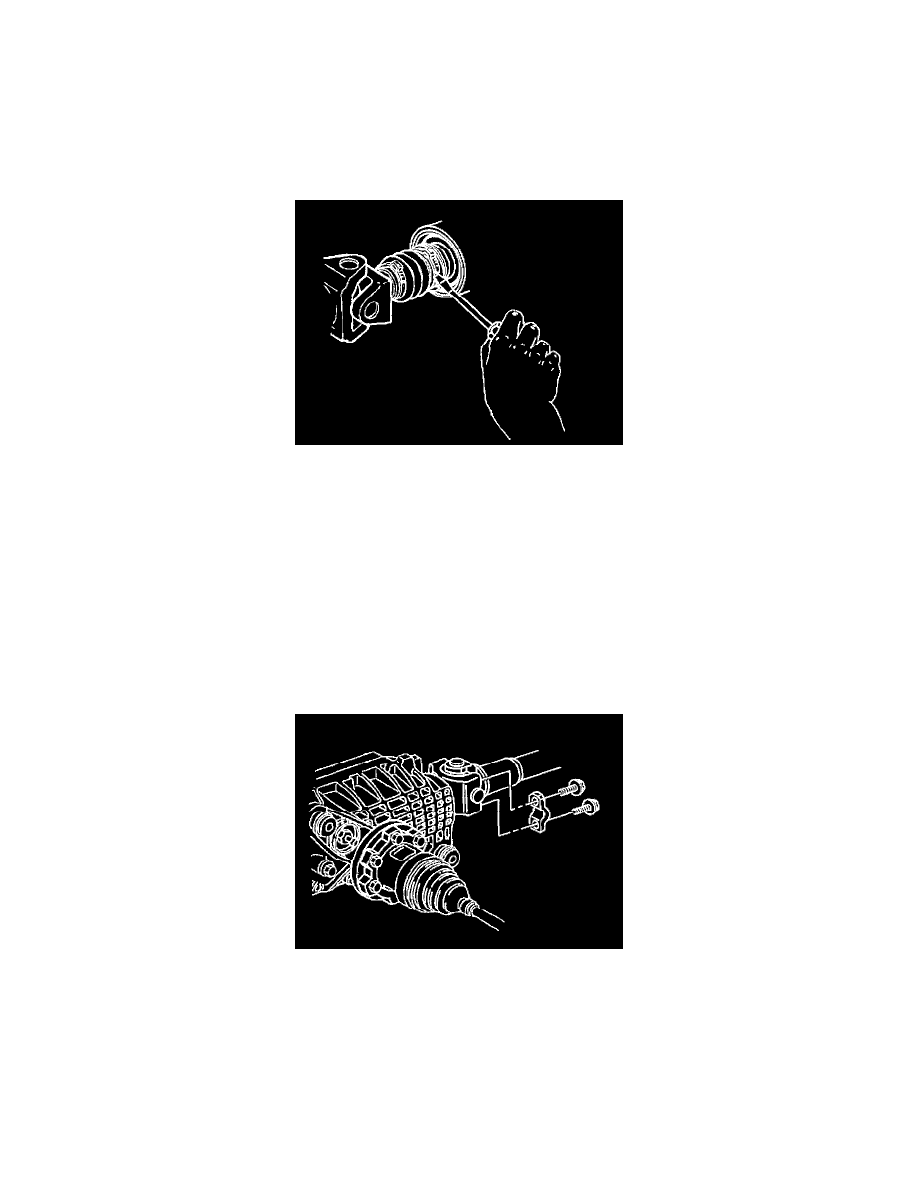
7. Remove the boot clamp at the transfer case end by prying up the exposed end of the clamp with a flat bladed tool.
Important: Observe and accurately reference mark all driveline components relative to the propeller shaft and axles before disassembly. These
components include the propeller shafts, drive axles, pinion flanges, output shafts, etc. All components must be reassembled in the exact relationship
to each other as they were when removed. In addition, published specifications and torque values, as well as any measurements made prior to
disassembly must be followed.
8. Reference mark the relationship of the propeller shaft to the front axle.
9. Remove the bolts and the retainers from the front axle.