
K 1500 Truck 4WD V6-4.3L VIN W (1997)
^
Tighten the stud to 16 Nm (12 ft. lbs.).
15. Install the intake manifold.
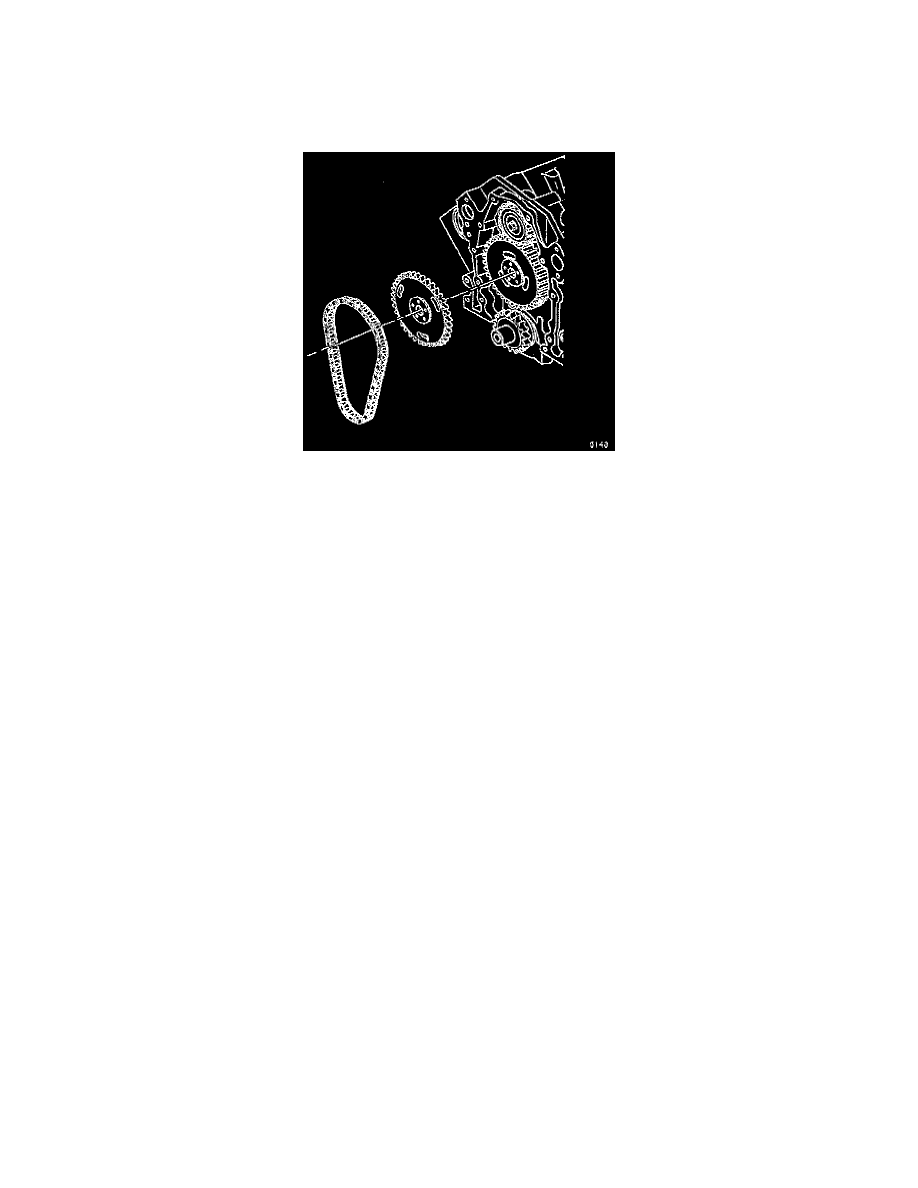
NOTE: Line up the timing marks on the camshaft sprocket and the crankshaft sprocket dot to dot. When these marks are lined up dot to dot, the
number four cylinder is at the top dead center of its compression stroke. Position the distributor rotor facing the cap hold down mount nearest the
flat side of the housing.
16. Install the camshaft sprocket and the timing chain.
17. Install the camshaft sprocket bolts.
^
Tighten the camshaft sprocket bolts to 25 Nm (18 ft. lbs.).
18. Install the distributor.
NOTE: Use care when engaging the front of the oil pan seal with the bottom of the front cover. Lubricate the front of the oil pan seal with engine
oil to aid in reassembly.
19. Install the front cover.
20. Install the oil pan.
21. Install the crankshaft balancer.
22. Install the accessory drive pulley.
23. Install the water pump.
24. Install the engine cooling fan.
25. Install the air conditioning condenser.
26. Install the radiator.
27. Install the air conditioning compressor, the bracket, and the accessory drive bracket.
28. Install the air cleaner box and the intake duct.
29. Connect the negative battery cable.
30. Fill the crankcase with the proper quantity and grade of engine oil.
31. Fill the cooling system with the proper quantity and grade of engine coolant.
32. Charge the air conditioning system.