
K 1500 Truck 4WD V8-305 5.0L VIN M SFI (1996)
Clean: Use a wire brush to remove any corrosion from the machined surfaces of the anchor plate and caliper.
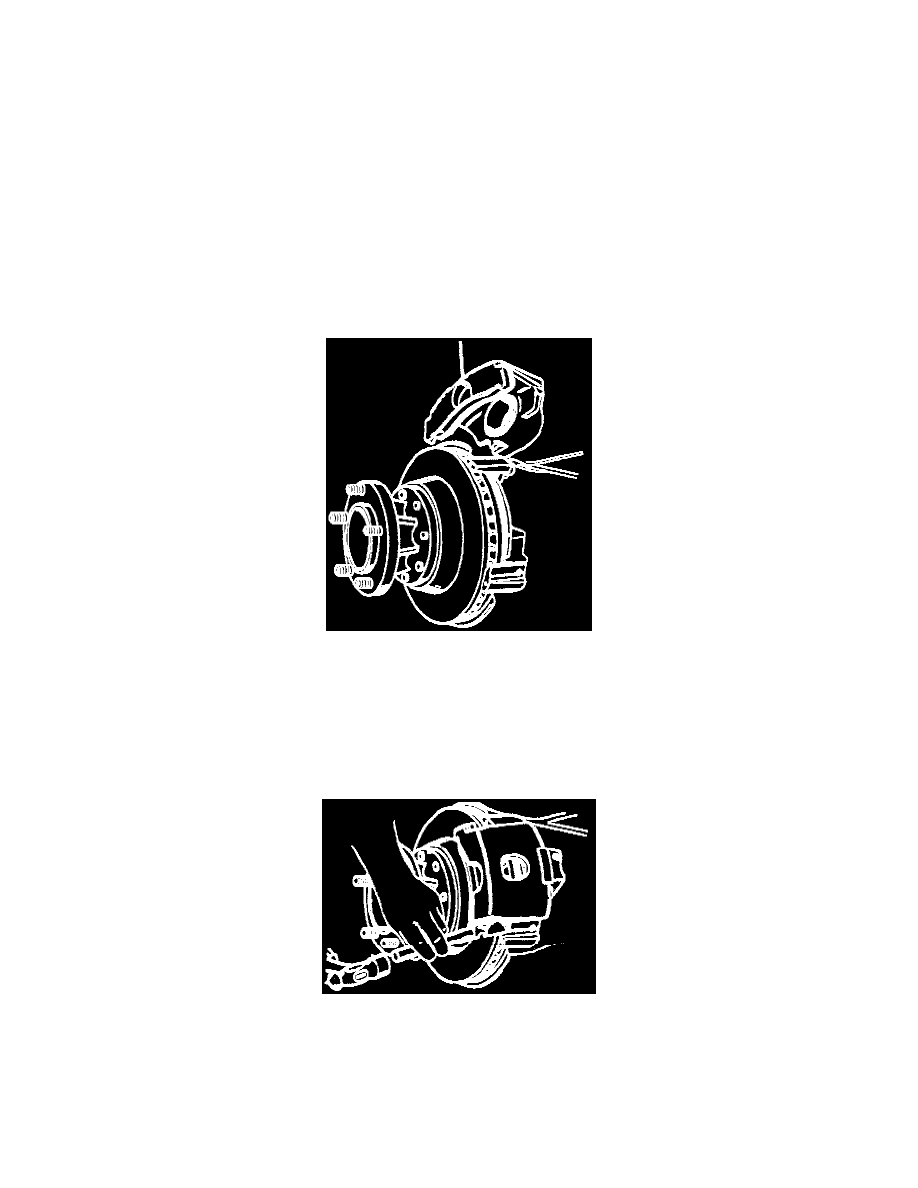
Install or Connect
CAUTION: Always use the correct fastener in the proper location. When you replace a fastener, use ONLY the exact part number for that application.
General Motors will call out those fasteners that require a replacement after removal. General Motors will also call out the fasteners that require thread
lockers or thread sealant. Unless otherwise specified, do not use supplemental coatings (paints, greases, or other corrosion inhibitors) on threaded
fasteners or fastener joint interfaces. Generally, such coatings adversely affect the fastener torque and joint clamping force, and may damage the fastener.
When you install fasteners, use the correct tightening sequence and specifications. Following these instructions can help you avoid damage to parts and
systems.
NOTE: Any new rotor must have the protective coating removed from the friction surfaces before being placed in service. Use Goodwrench Brake
Parts Cleaner (GM P/N 12345754), or equivalent, and wipe the surface clean with clean cloths. Do not use gasoline, kerosene or other oil-based solvents
which may leave an oily residue. This residue is damaging to brake linings and flammable.
1. Lubricate caliper and anchor plate sliding surfaces with Shell Aeroshell Grade 5 lubricant or equivalent.
Suspending The Caliper
2. Caliper assembly.
CAUTION: Make sure the brake hose Is not twisted or kinked after installation. Damage to the hose could result.
CAUTION: Do not use "never sieze" type products on the caliper V-ways and anchor plate guide way surfaces. These products are not lubricants
and result in high caliper slide forces, which can cause increased wear of the brake pads.
Installing The Caliper Support Key
3. Spring (4) and support key (3). Use a brass punch and hammer to drive the support key in place.
4. Caliper lock mounting bolts. The boss on the bolt must fit into the circular cutout in the key.
^
Tighten bolts to 20 Nm (15 lb. ft.).
5. Brake hose.
^
Tighten brake hose bolt to 45 Nm (33 lb. ft.).
6. Bleed brake system. Refer to Hydraulic System Service and Repair.