
K 1500 Truck 4WD V8-4.8L VIN V (2003)
Heated Glass Element: Service and Repair
Bus Bar/Antenna Terminal Repair
BUS BAR/ANTENNA TERMINAL REPAIR
1. Buff the repair area with fine steel wool. This will remove the oxide coating formed during window manufacturing.
2. Apply paste-type rosin flux in small quantities to the rear defogger bus bar lead wire, antenna or defogger terminal repair area using a brush.
3. Coat the solder iron tip with solder. Use only enough heat to melt the solder and only enough solder to ensure a complete repair.
4. Apply solder to the bus bar.
Draw the soldering iron tip across the fluxed area thinly coating bus bar with solder.
5. Apply a small amount of flux to the underside of the rear defogger bus bar lead wire, antenna or defogger terminal.
6. Apply solder to the underside of the rear defogger bus bar lead wire, antenna or defogger terminal.
Draw the soldering iron tip across the fluxed area thinly coating the wire or terminal with solder.
-
Apply heat to the top of the rear defogger bus bar lead wire antenna and/or defogger terminal, causing the solder spot to melt and fuse together.
IMPORTANT: Do not overheat the terminal when soldering it to the bus bar. Soldering iron tip temperature should be just enough to melt the
solder allowing the solder to run freely. The iron should be in contact with the bus bar for as short a time as possible.
-
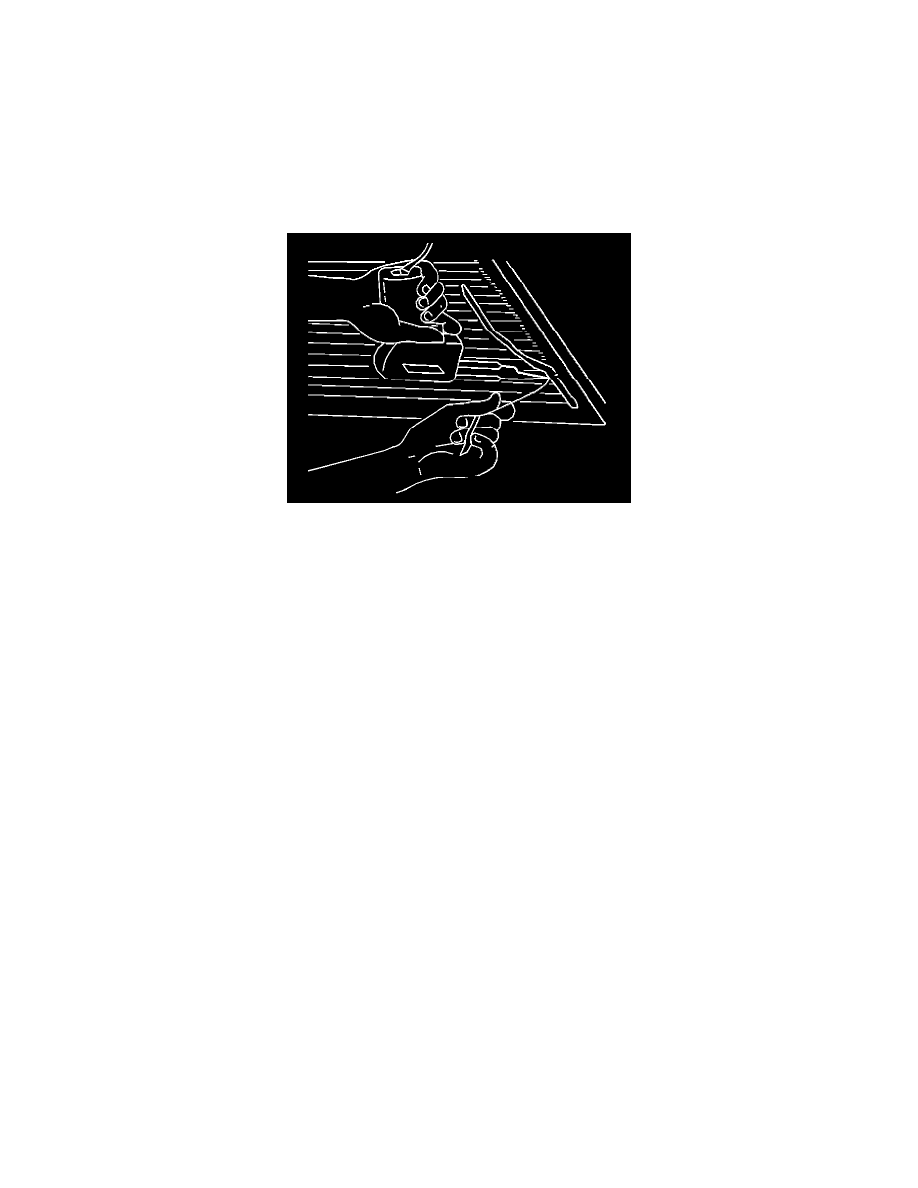
Use pliers to hold the rear defogger bus bar lead wire, antenna or defogger terminal.
-
Holding force should not be removed until the solder has solidified.
7. Solder the wire or terminal to the bus bar.
8. Wipe off any excess flux.
9. Connect the electrical connector.