
K 1500 Truck 4WD V8-5.7L VIN R (1997)
Crankshaft: Service and Repair
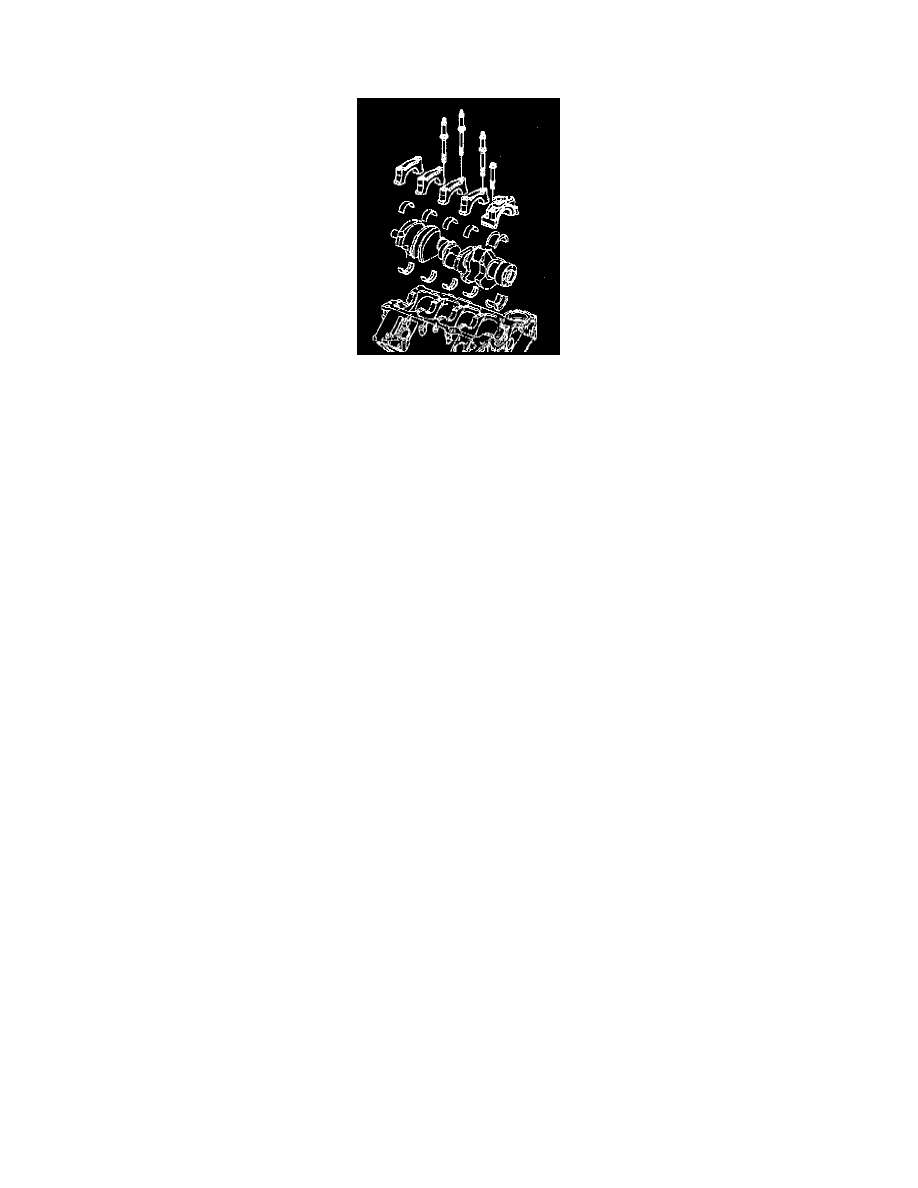
Replacement
REMOVAL
1. Remove the engine. Refer to Engine Replacement.
2. Remove the crankshaft bearing caps.
3. Remove the crankshaft.
4. Remove crankshaft bearings.
INSTALLATION
NOTE: If undersized bearings are used, ensure that the bearings are fitted to the proper journals.
1. Install the upper crankshaft bearings to block.
2. Install the lower crankshaft bearings to the bearing caps. Lubricate the crankshaft bearings with clean oil.
3. Install the crankshaft.
CAUTION: In order to prevent the possibility of cylinder block or crankshaft bearing caps are tapped into the cylinder block cavity using a brass,
lead, or leather mallet before the attaching bolts are installed. Do not use attaching bolts to pull the crankshaft bearing caps into the seats. Failure
to observe this information may damage a cylinder block or a bearing cap.
NOTE: Ensure that the arrows on the crankshaft bearing caps are facing the front of the engine.
4. Install the crankshaft bearing caps and the bolts to the block in their correct position and location. Do not Install the rear crankshaft bearing cap at
this time.
-
Tighten the inboard crankshaft bearing cap bolts to 100 Nm (74 ft. lbs.).
-
On the four bolt bearing caps, tighten the outer bolts to 90 Nm (67 ft. lbs.).
5. Install the rear crankshaft bearing cap to the block.
6. Install the rear crankshaft bearing cap bolts to the block.
-
Temporarily tighten the bolts to 4 Nm (35 inch lbs.).
7. Measure the crankshaft end play:
a. Firmly thrust the crankshaft first rearward then forward. This movement will line up the rear crankshaft bearing and the crankshaft thrust
surfaces.
-
Tighten the rear crankshaft bearing cap bolts to 100 Nm (74 ft. lbs.).
b. With the crankshaft wedged forward, measure at the front end of the rear crankshaft bearing with a feeler gauge. The proper clearance is
0.05-0.02 mm (0.002-0.008 inch).
c. .If the correct end play cannot be obtained, ensure the correct size rear crankshaft bearing has been installed. Production engines may have rear
crankshaft bearings that are 0.2032 mm (0.008 inch) wider across the thrust faces than standard, as explained previously.
8. Inspect the crankshaft for binding. Complete the-following steps:
a. Try turning the crankshaft in order to check for binding.
b. If the crankshaft does not turn freely, loosen the crankshaft bearing cap bolts on one cap at a time until the tight bearing is located.
9. A lack of clearance at the bearing may be caused by the following conditions:
-
Burrs on the bearing cap
-
Foreign matter between the bearing and the block
-
Foreign matter between the bearing and the bearing cap
-
A bent crankshaft
10. Install the engine. Refer to Engine Replacement.