
K 1500 Truck 4WD V8-5.7L VIN R (1997)
Engine Front Cover: Service and Repair
Replacement
REMOVAL
NOTE: Any time the composite front cover is removed, the cover needs to be replaced upon reassembly. If the cover that was removed is reinstalled,
oil leaks may develop.
1. Remove the crankshaft balancer (external).
2. Remove the water pump.
3. Loosen the oil pan, please refer to Engine, Cooling and Exhaust/Engine/Engine Lubrication/Oil Pan, Engine/Service and Repair/ See: Engine
Lubrication/Oil Pan/Service and Repair
4. Remove the crankshaft position sensor. Refer to Powertrain Management.
5. Remove the front cover bolts.
NOTE: Use care when removing the front cover from the front of the oil pan seal.
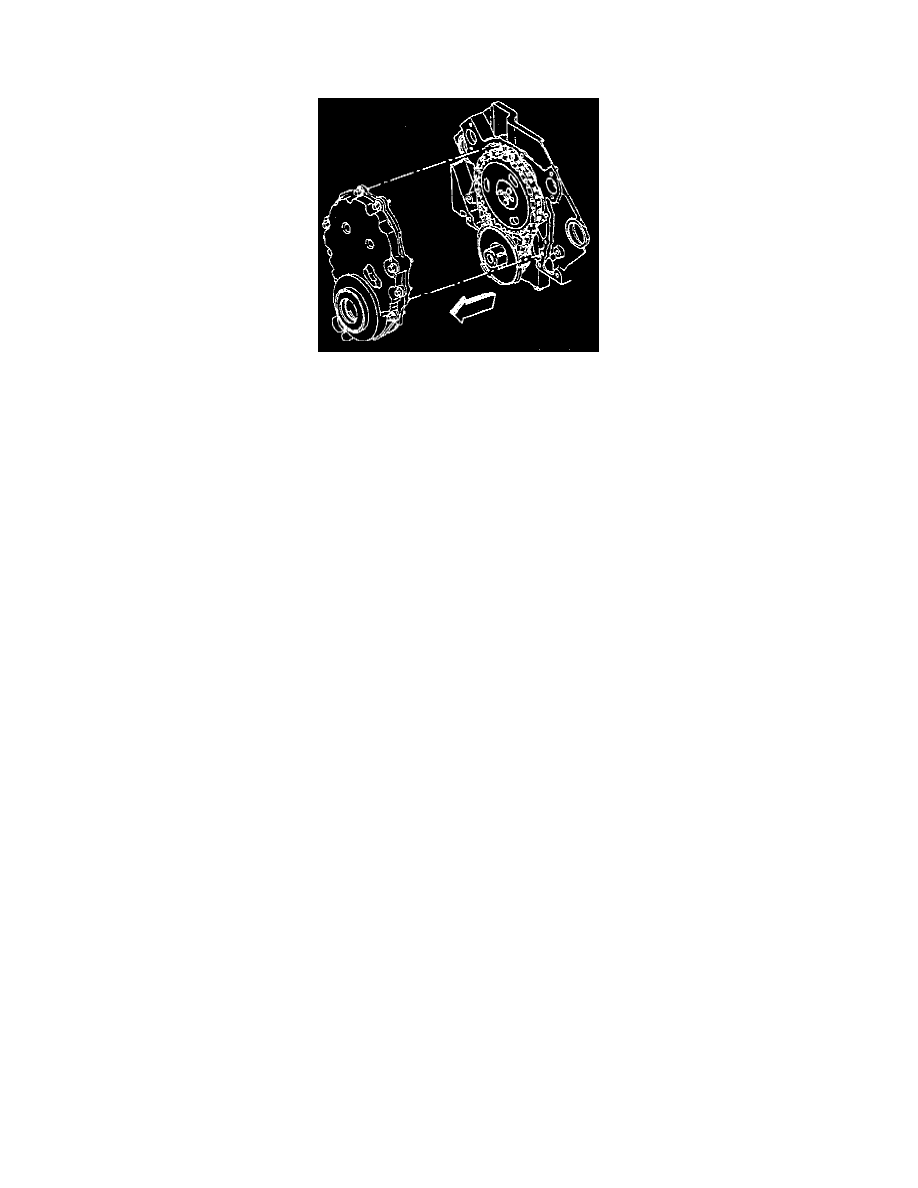
6. Remove the front cover.
7. Clean the varnish and sludge build up from the front cover area.
INSTALLATION
NOTE: Any time the composite front cover is removed, the cover needs to be replaced upon reassembly. If the cover that was removed is reinstalled,
oil leaks may develop.
1. Install the front cover and: bolts Use care when engaging the front of the oil pan sealing surface and Gasket with the bottom of the front cover.
Install RTV to the lower corners of the front cover to aid in sealing.
-
Tighten the front cover bolts to 12 Nm (106 inch lbs.).
2. Install the crankshaft position sensor. Refer to Powertrain Management.
3. Install the oil pan, please refer to Engine, Cooling and Exhaust/Engine/Engine Lubrication/Oil Pan, Engine/Service and Repair/ See: Engine
Lubrication/Oil Pan/Service and Repair
4. Install the water pump.
5. Install the crankshaft balancer (external). Refer to Engine