
K 1500 Truck 4WD V8-6.5L DSL Turbo VIN F (1999)
Exhaust Manifold: Service and Repair
Exhaust Manifold Replacement - Right
REMOVAL PROCEDURE
1. Disconnect both the battery negative cables from the batteries. Refer to Battery Cable in Powertrain Management.
2. Remove the air cleaner assembly from the vehicle. Refer to Air Cleaner Assembly Replacement in Powertrain Managements.
3. Raise the vehicle just enough to remove the right front wheel.
4. Remove the right front inner wheel housing from the vehicle.
IMPORTANT: The exhaust crossover pipe does not have to be removed when performing this service procedure, unless both exhaust manifolds
are being replaced.
5. Remove the turbocharger assembly from the exhaust manifold. Refer to Turbocharger Replacement.
6. Remove the heat shield from the exhaust manifold.
7. Remove the glow plugs from the cylinder head. Refer to Glow Plug Replacement - Right Side in Powertrain Managements.
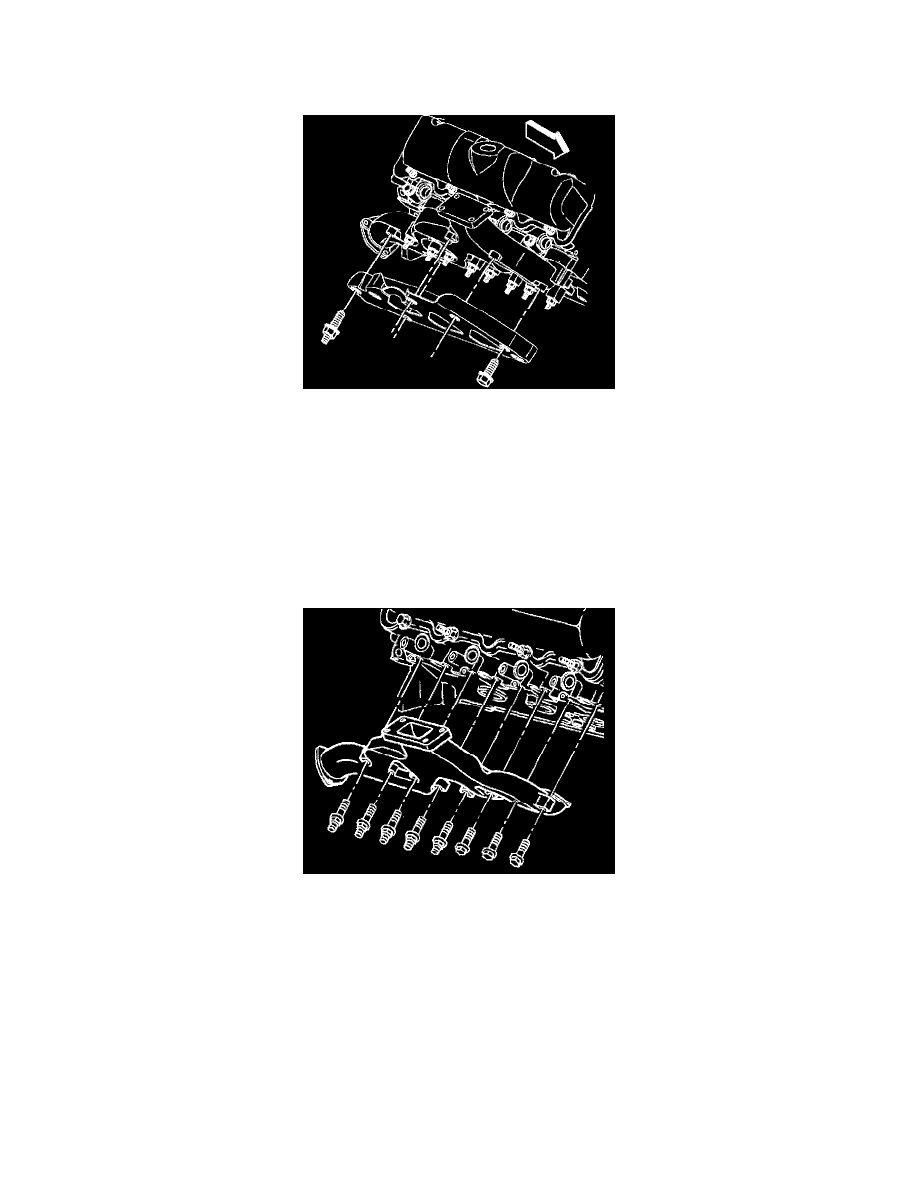
8. Remove the exhaust manifold bolts and stud/nuts from the cylinder head.
9. Remove the exhaust manifold from the cylinder head.
10. Clean and inspect the sealing surface of the cylinder head.
11. Clean the threads on the exhaust manifold bolts and stud/nuts.
INSTALLATION PROCEDURE