
K 2500 Suburban 4WD V8-393 6.5L DSL Turbo (1994)
Valve Cover: Service and Repair
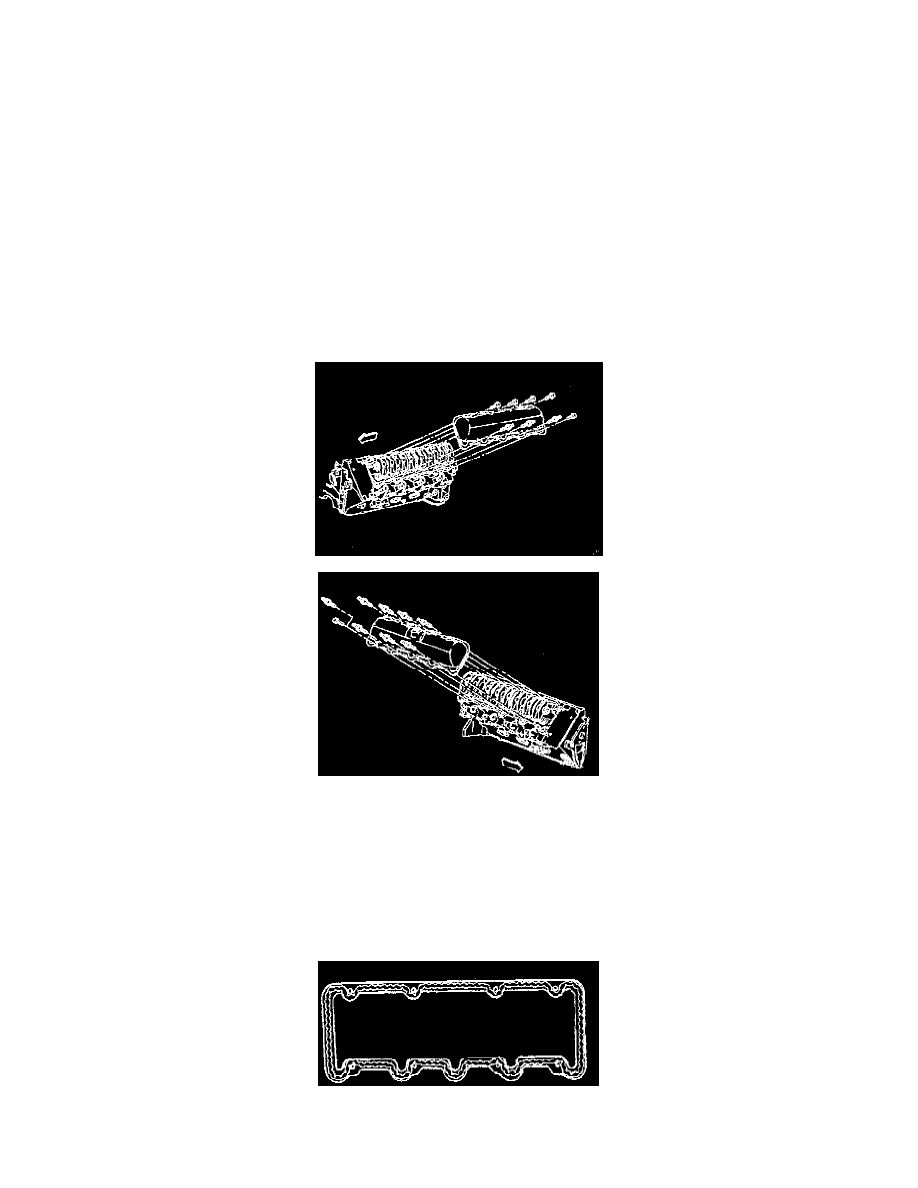
ROCKER ARM COVER REPLACEMENT
1. Remove the intake manifold.
2. Remove the fuel injection lines and clips (injection lines for # 5 and # 7 cylinders do not have to be removed for right side rocker arm cover
replacement).
NOTE:
-
Do not bend the fuel injector lines in order to ease the removal of the valve rocker arm cover. Damage to the fuel injector lines will occur.
-
Mark the fuel line clips and brackets in order to insure proper Installation.
3. Remove the CDR valve and hose (right side).
4. Remove the oil level indicator tube and bracket (left side).
5. Remove the fuel return line clip at the valve rocker arm cover stud.
6. Remove the wiring harness at the rear of the valve rocker arm cover from the clips and move aside.
7. Remove the valve rocker arm cover.
NOTE: Do not pry on the rocker arm cover. Prying on the rocker arm cover may cause damage to the sealing surfaces.
8. Clean the RTV from the valve rocker arm cover and cylinder head. All loose RTV or pieces that will cause Installation interference must be
removed.
9. Clean the oil and grease from the sealing surfaces on the valve rocker arm cover and cylinder head. Use a suitable solvent.
10. Inspect the valve rocker arm cover sealing flanges for distortion. Replace as necessary.
INSTALLATION
CAUTION: Do not allow the RTV sealant into the valve rocker arm cover bolt holes. This may cause a Valve locks condition, when the bolts are
tightened, damaging the cylinder head casting.
1. Apply a 5 mm (3/16 inch) bead of RTV sealant GM P/N 12345739 to the valve rocker am, covers, inboard of the bolt holes. The sealer must be
wet to the touch when the bolts are tightened.