K 2500 Suburban 4WD V8-6.0L VIN U (2001)

Notice: Refer to Fastener Notice in Service Precautions.
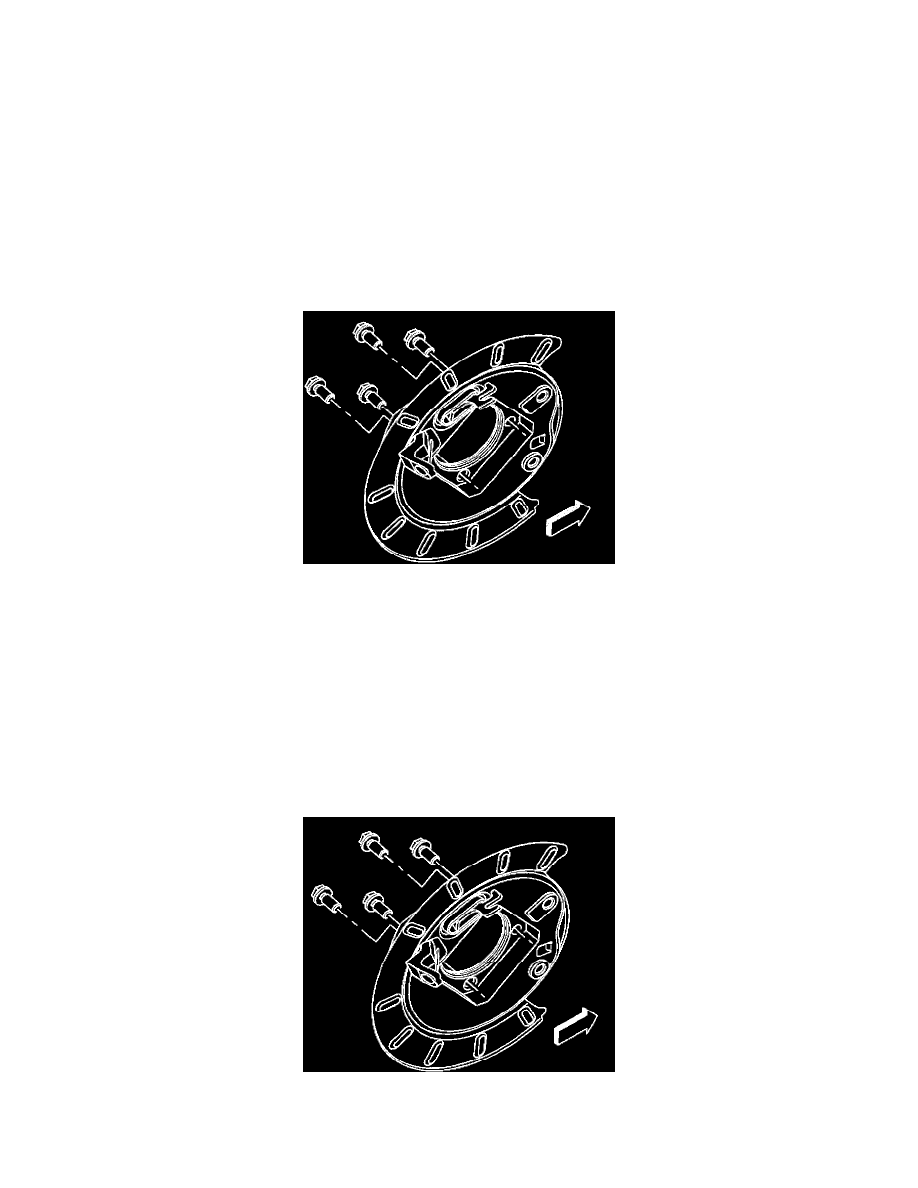
5. Install the caliper bracket mounting bolts.
^
For the 15 Series, tighten the brake caliper bracket mounting bolts to 175 Nm (129 ft. lbs.).
^
For the 25/35 series, tighten the brake caliper bracket mounting bolts to 300 Nm (221 ft. lbs.).
6. Install the tire and wheel assembly.
7. Remove the safety stands.
8. Lower the vehicle.
9. With the engine OFF, gradually apply the brake pedal to approximately 2/3 of it's travel distance.
10. Slowly release the brake pedal.
11. Wait 15 seconds, then repeat steps 9-10 until a firm pedal is obtained. This will properly seat the brake caliper pistons and brake pads.
12. Fill the master cylinder reservoir to the proper level with clean brake fluid.
Disc Brake Backing Plate Replacement Rear (15 Series)
Disc Brake Backing Plate Replacement Rear (1500 Series)
Removal Procedure
1. Release the park brake.
2. Raise and support the vehicle. Refer to Vehicle Lifting.
3. Remove the tire and wheel assembly.
4. Relieve the tension from the park brake cables by loosening the nut at the equalizer.
5. Remove the rear park brake cable from the park brake actuator lever.
6. Remove the park brake cable from the mounting bracket by depressing the locking tabs.
7. Remove the rotor.
8. Remove the axle shaft.
9. Remove the park brake shoe.
10. Remove the backing plate bolts.
11. Remove the backing plate from axle housing flange.
Installation Procedure
1. Install the backing plate to the axle housing flange.
2. Perform the following procedure before installing the backing plate bolts (15 Series only).
2.1.
Remove all traces of the original adhesive patch.
