
K 2500 Suburban 4WD V8-6.0L VIN U (2001)
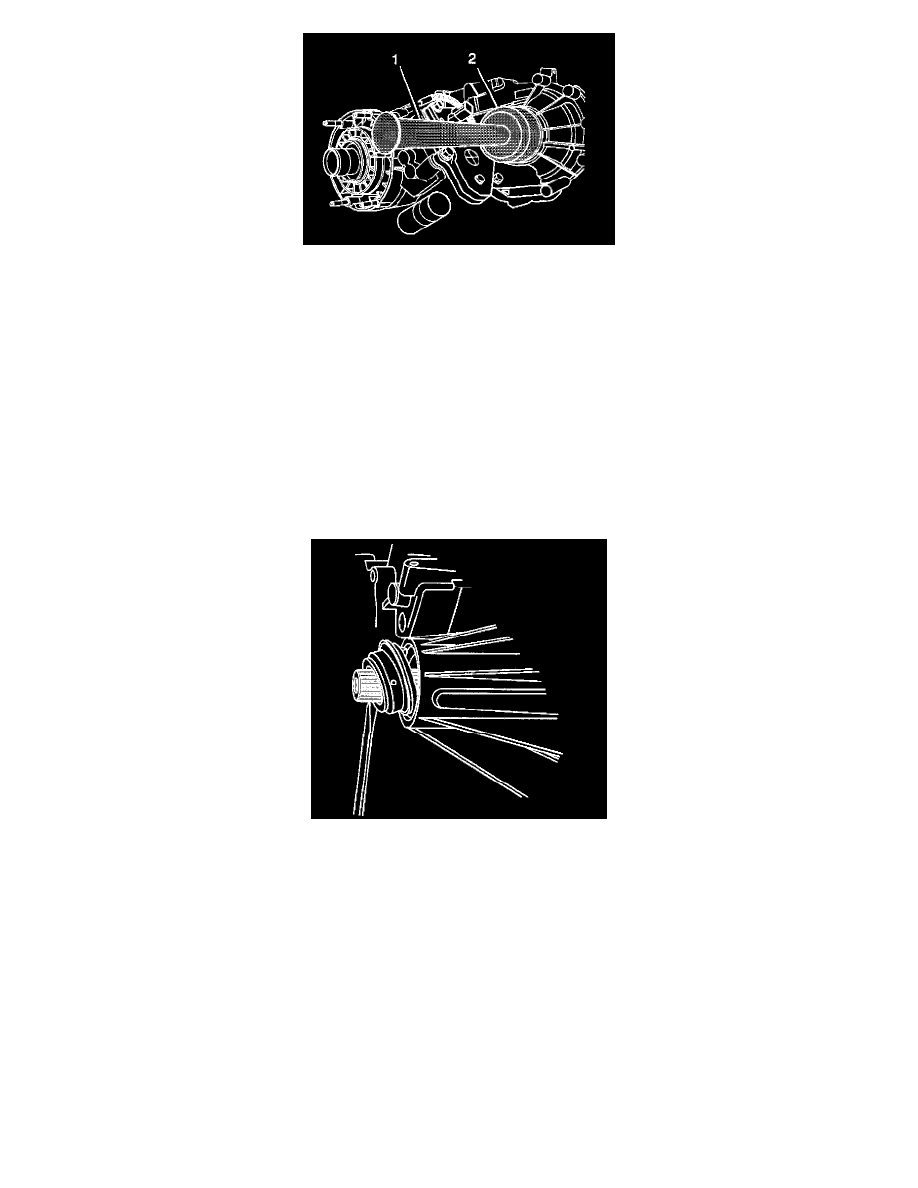
1. Install the J 43484 (2) to the J 8092 (1).
2. Install the transfer case front input shaft seal on the J 43484.
3. Using the J 43484 (2) and the J 8092 (1), install the transfer case output seal.
4. Install the front propeller shaft.
5. Check the transfer case fluid level.
6. Install the transfer case shield.
7. Lower the vehicle. Refer to Vehicle Lifting.
Rear
Transfer Case Output Shaft Seal Replacement - Rear
^
Tools Required
-
J 37668-A Rear Extension Housing Installer
Removal Procedure
1. Raise the vehicle. Refer to Vehicle Lifting.
2. Remove the transfer case shield from the cross member (if equipped).
3. Remove the rear propeller shaft.
^
For vehicles equipped with the one piece propeller shaft, refer to Propeller Shaft Replacement - One Piece.
^
For vehicles equipped with the two piece drive shaft, refer to Propeller Shaft Replacement Two Piece.
4. Remove the rear output shaft seal from the transfer case.
Installation Procedure