K 2500 Truck 4WD V6-262 4.3L (1988)

2.
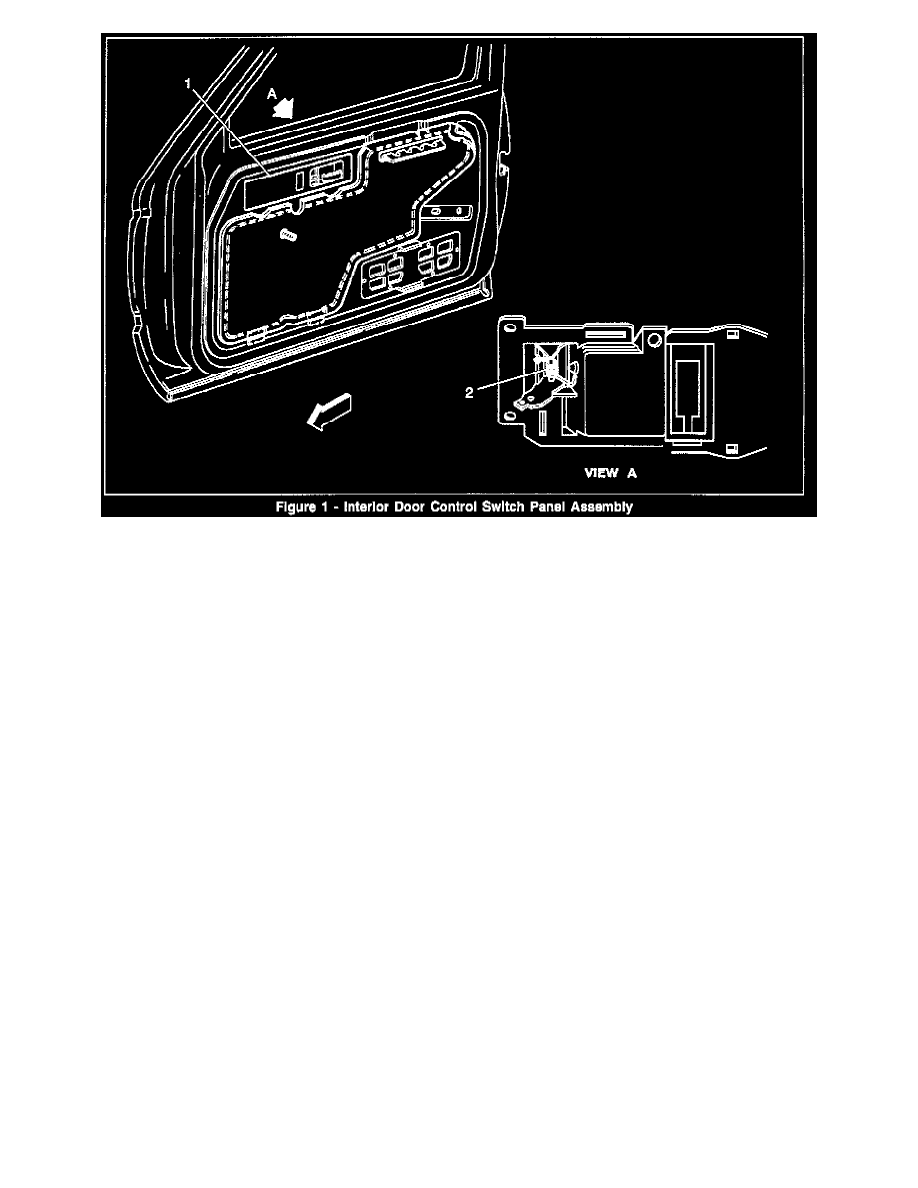
Vehicles without power locks and/or windows, remove the door control switch panel assembly (Figure 1, Item 1) from the interior door panel.
Vehicles equipped with power locks and/or windows, remove the door control switch panel (Figure 1, Item 1) and disconnect the electrical
connector.
3.
Remove the power door lock and door handle bezel by prying out.
4.
Remove the arm rest.
5.
Remove the trim panel from the door.
6.
Drill out six remote control handle rivets.
7.
Disconnect the control rods from the door handle and lock.
8.
Remove the pin in the door handle assembly using a punch.
Important:
Make sure the tip of the punch is smaller than the end of the pin holding the spring.
9.
Remove the broken door handle spring (Figure 1, Item 2).
10.
Install a new spring (Figure 1, Item 2).
11.
Install a new door handle pin.
12.
Reconnect control rods to the handle and lock assembly and secure the remote control assembly to door module with six rivets.
13.
Reinstall the door trim panel and arm rest.
14.
Reinstall the power lock and door handle bezel.
15.
Vehicles without power locks and/or windows, reinstall the door control switch panel assembly. If equipped with power locks and/or windows,
reinstall the door control switch panel assembly and reconnect the electrical connection.
16.
Reconnect negative battery cable.
