
K 2500 Truck 4WD V8-379 6.2L DSL VIN J FI (1992)
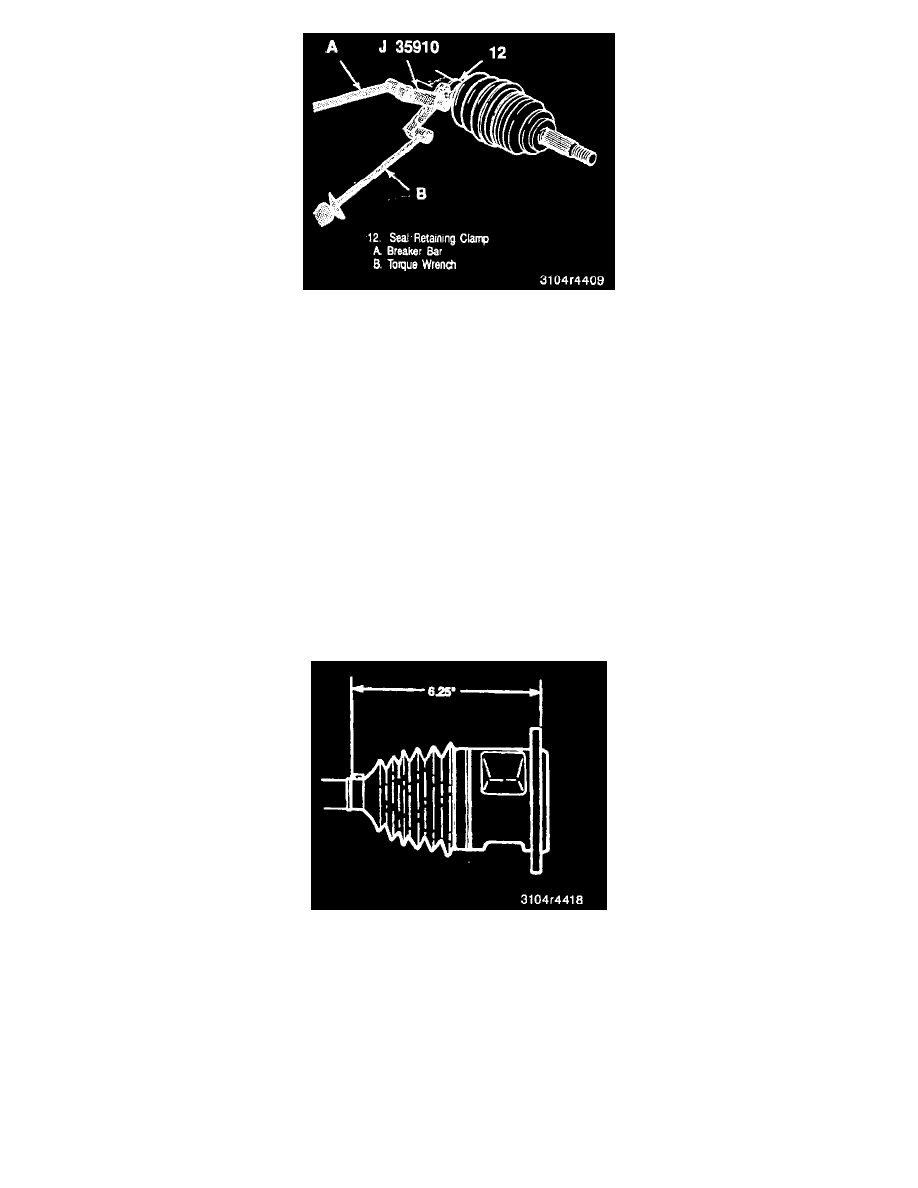
3. Crimp seal retaining clamp (12) with J 37910 to 137 Nm (100 ft. lbs.) as shown in the illustration.
4. Spacer ring (8) on axle shaft and beyond second groove as shown.
5. Slide tripot spider assembly against spacer ring (8) on shaft.
Important
-
Be sure that counterbore face of tri-pot spider (3) faces end of shaft.
6. Install shaft retaining ring (2) in groove of axle shaft with J 8059.
7. Slide tri-pot spider (3) towards end of shaft and reseat spacer ring (8) in groove on shaft.
8. Place approximately half of grease provided in seal (10) and use remainder to pack tri-pot housing (1).
9. Position larger clamp (9) on seal (10).
10. Slide tri-pot housing (1) over tri-pot spider assembly on shaft.
11. Slide large diameter of seal (10), with larger clamp (9) in place, over outside of tri-pot housing (1) and locate seal lip in housing groove.
12. Position the tri-pot assembly at the proper vehicle dimension as shown in the illustration.
Important
-
Seal (10) must not be dimpled, stretched or out of shape in any way. If seal is not shaped correctly, carefully insert a thin, flat, blunt tool (no
sharp edges) between large seal opening and housing (1) to let air escape. Shape seal properly by hand and remove tool.
13. Crimp seal retaining clamp (9) with J 37910 to 176 Nm (130 ft. lbs.).
Important
-
Make sure that seal (10), housing (1) and large clamp (9) all remain in alignment while crimping.
14. Retaining clamp protector (if equipped) over larger seal retaining clamp (9) and snap into position.