
K 2500 Truck 4WD V8-5.7L VIN R (1996)
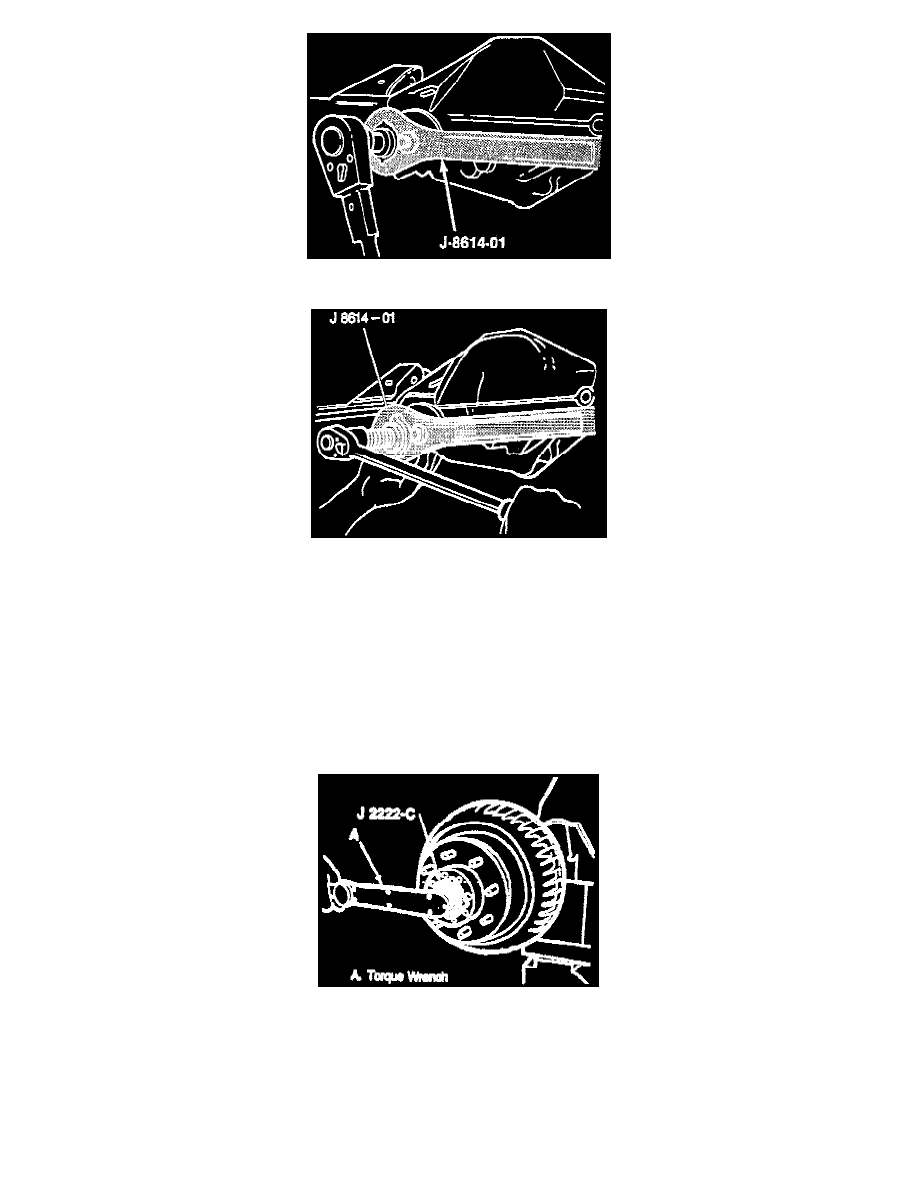
2. Nut using J 8614-01.
3. Flange using J 8614-01.
4. Oil seal.
-
Use the special nut and forcing screw to remove the flange.
-
Pry the oil seal from the bore. Do not damage the machined surfaces.
-
Thoroughly clean foreign material from the contact area.
Inspect
-
Oil seal mating surfaces for any burrs which may cause seal failure.
-
Flange deflector for any abnormality such as cracking or distortion.
-
Replace any part which shows any of the above conditions.
INSTALL OR CONNECT
NOTICE: Always use the correct fastener in the proper location. When you replace a fastener, use ONLY the exact part number for that application.
The manufacturer will call out those fasteners that require a replacement after removal. The manufacturer will also call out the fasteners that require
thread lockers or thread sealant. UNLESS OTHERWISE SPECIFIED, do not use supplemental coatings (paints, greases, or other corrosion inhibitors
on threaded fasteners or fastener joint interfaces. Generally, such coatings adversely affect the fastener torque and joint clamping force, and may
damage the fastener. When you install fasteners, use the correct tightening sequence and specifications. Following these instructions can help you
avoid damage to parts and systems.