
K 2500 Truck 4WD V8-6.6L DSL Turbo VIN 1 (2002)
Canister Vent Valve: Service and Repair
Evaporative Emission (EVAP) Canister Vent Valve Replacement - 1
REMOVAL PROCEDURE
1. Raise the vehicle. Refer to Lifting and Jacking the Vehicle.
2. Remove the evaporative emission (EVAP) canister vent valve bracket mount bolt.
3. Disconnect the EVAP canister vent valve electrical connector.
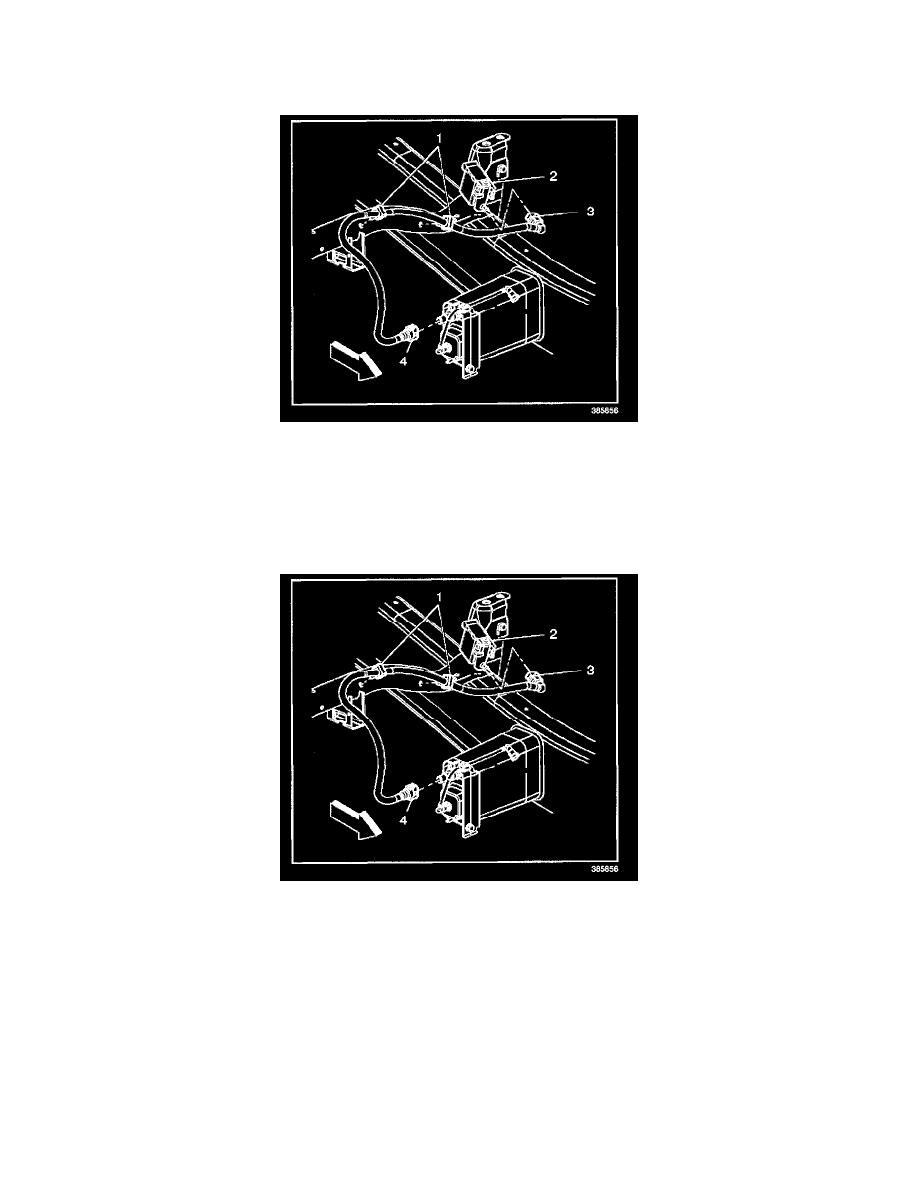
4. Remove the vent pipe (3) from the EVAP canister vent valve (2).
5. Detach the EVAP canister vent valve (2) from the EVAP canister vent valve bracket.
INSTALLATION PROCEDURE
1. Install the EVAP canister vent valve (2) to the EVAP canister vent valve bracket.
2. Connect the vent pipe (3) to the EVAP canister vent valve (2).
3. Connect the EVAP canister vent valve electrical connector.
NOTE: Refer to Fastener Notice in Service Precautions.
4. Install the EVAP canister vent valve bracket mount bolt.
Tighten
Tighten the bracket bolt to 12 N.m (106 lb in).
5. Lower the vehicle.