K 2500 Truck 4WD V8-6.6L DSL Turbo VIN 1 (2002)

5. Inspect the rear output shaft bushing for scoring or wear.
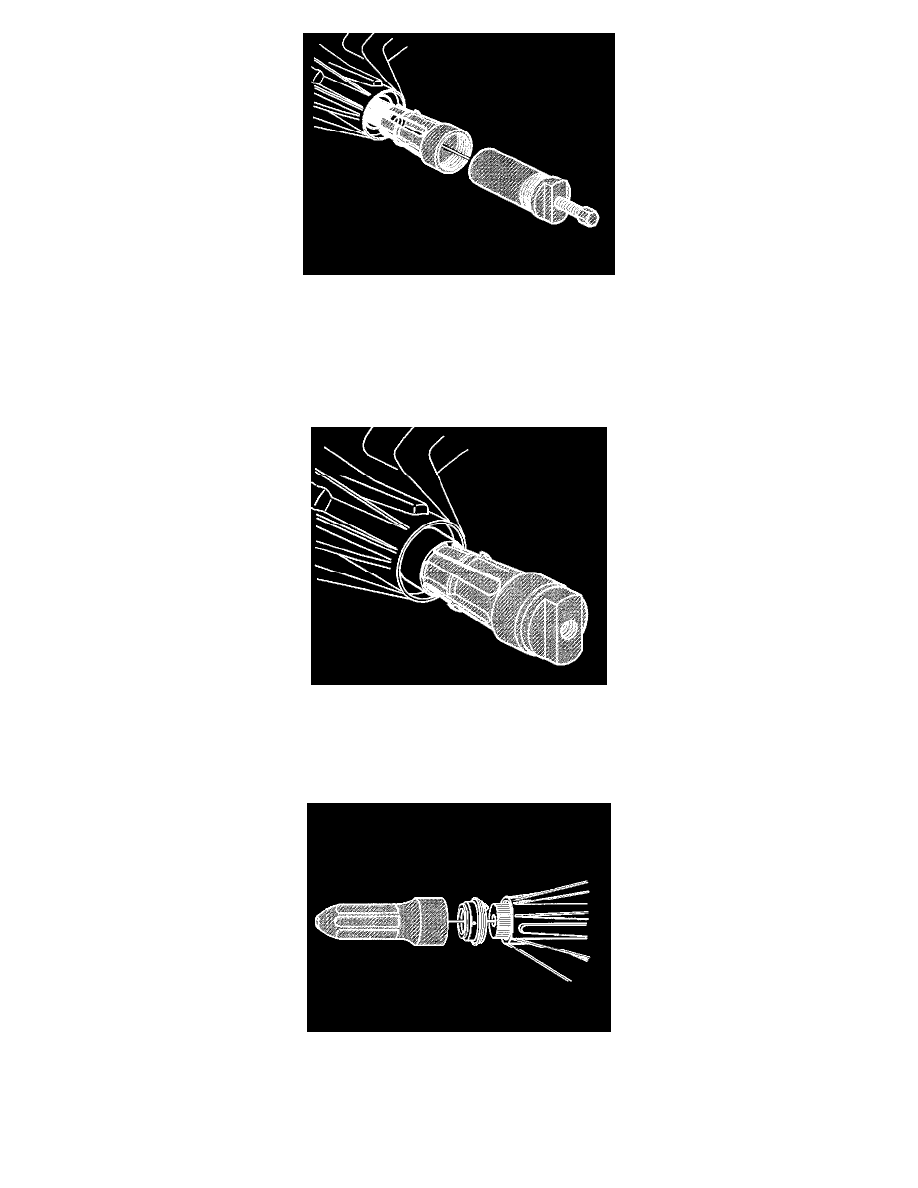
6. Remove the rear output shaft bushing if required, using the J 45380.
^
Install the finger section of the J 45380 in front of the bushing.
^
Install the tube and forcing screw to the finger section. Ensure the forcing screw is backed out.
^
Using a wrench on the forcing screw, remove the rear output shaft bushing.
Installation Procedure
1. Using the J 4538O, install a NEW rear output shaft bushing.
^
Install the bushing or the finger section of the J 45380.
^
Install the finger section to the main body of the J 45380.
^
Position the bushing and tool to the case.
^
Using a hammer and J 45380, install the bushing.
2. Position the transfer case rear shaft seal in the transfer case.
3. Using the J 37668-A, install the transfer case front output shaft.
4. Install the rear propeller shaft.
5. Check the transfer case fluid level.
6. Install the transfer case shield.
7. Lower the vehicle.
