
K 30 P/U 4WD V6-262 4.3L (1985)
dirt or foreign matter. Repair or replace parts as necessary.
3.
Install MC solenoid gauging tool J-33815-1 or equivalent over throttle side metering jet rod guide, Fig. 12, then reinstall solenoid adjustment
screw spring, solenoid, plunger, rich limit stop and solenoid adjusting screw.
4.
Holding MC solenoid plunger downward, turn solenoid adjusting screw clockwise until plunger just contacts gauging tool. Turn adjusting screw
counterclockwise until plunger just breaks contact with tool. Adjustment is correct when solenoid plunger contacts both solenoid stop and gauging
tool, Fig. 13.
5.
Turning solenoid adjusting screw clockwise, count the number of turns necessary to bottom solenoid against float bowl.
6.
Remove adjusting screw, rich limit stop, MC solenoid, plunger, adjusting screw spring, then the gauging tool.
7.
Reinstall adjusting screw spring, MC solenoid, plastic filler block, primary metering rods and springs, plunger, rich limit stop and adjusting screw.
8.
Turn adjusting screw clockwise until MC solenoid bottoms in float bowl, then turn screw counterclockwise the number of turns noted in step 5.
9.
Reinstall air horn using new gasket. Tighten air horn screws in sequence as outlined in the Carburetor section.
10.
Connect dwell meter to MC solenoid harness test lead.
11.
Disconnect and plug vacuum hoses as directed on vehicle emission label, then ground diagnostic test lead.
12.
Start engine and run until normal operating temperature is reached and dwell begins to fluctuate.
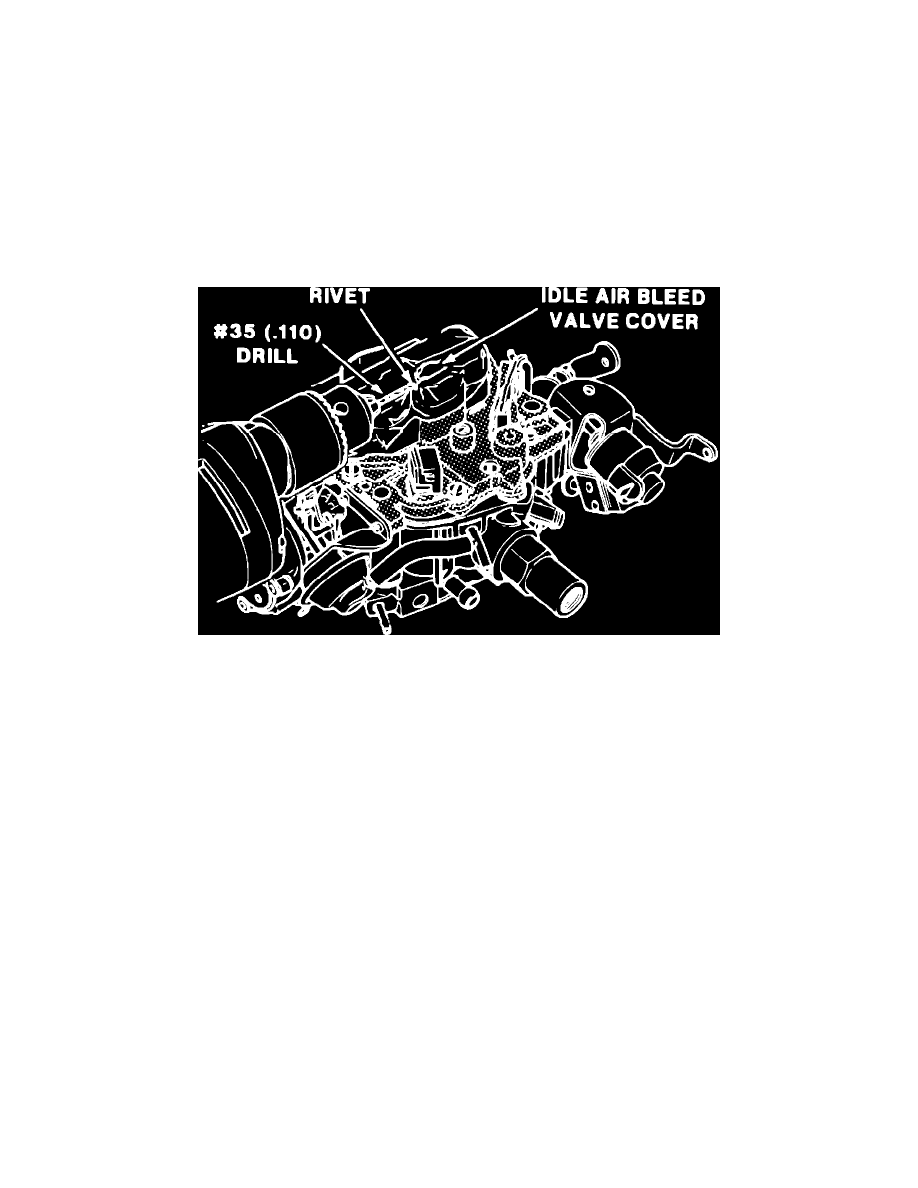
Fig. 6 Idle air bleed valve cover removal. V6-229 & 231 w/E2MC-ME carburetor