K 3500 Truck 4WD V8-454 7.4L (1994)

Expansion Block/Orifice Tube: Service and Repair
Tool Required: J 26549-E Orifice Tube Remover and Installer or Equivalent
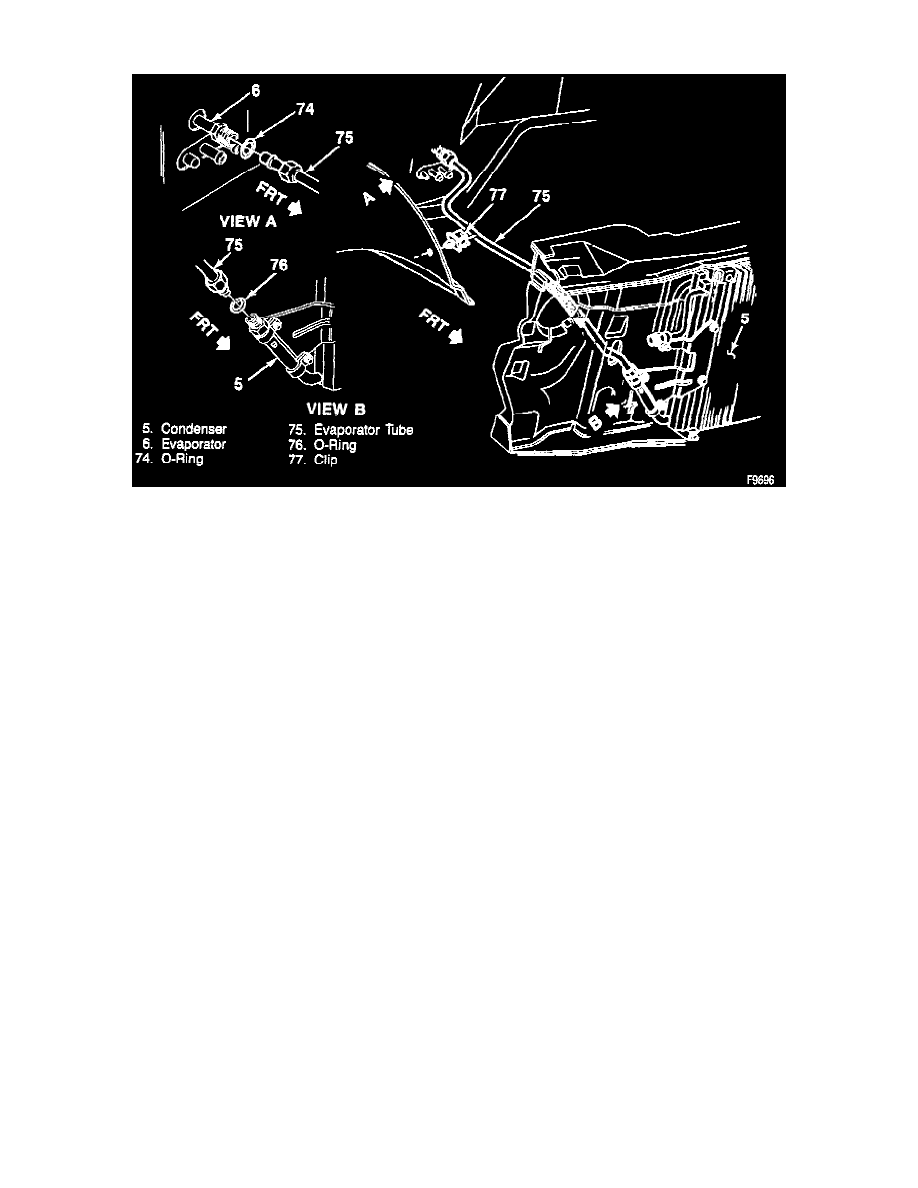
REMOVE OR DISCONNECT
1. Discharge and recover refrigerant from the system.
2. Grill.
3. Evaporator inlet tube (41) from condenser (32).
4. O-ring (42).
CAUTION: Cap or plug the open line.
5. Expansion (orifice) tube from the condenser outlet pipe, using J 26549-E or equivalent.
NOTE: In the event that difficulty is encountered during the removal of a restricted or plugged expansion (orifice) tube, the following procedure is
recommended:
A. Remove as much of any impacted residue as possible.
B. Carefully apply heat with heat gun (hair drier, epoxy drier or equivalent) approximately 7 mm (1/4 inch) from dimples on outlet pipe. Do not
overheat pipe.
CAUTION: If the system has a pressure switch near the expansion tube location, it should be removed prior to heating the pipe to avoid
damage to switch.
C. While applying heat, use expansion tube removal tools J 26549-E or equivalent to grip the expansion (orifice) tube. Use a turning motion
along with a push-pull motion to loosen the impacted expansion(orifice) tube and remove it.
INSTALL OR CONNECT
1. Expansion tube into condenser outlet pipe, using J 26549-E or equivalent.
2. New O-ring (42).
-
Coat C-ring with 525 viscosity refrigerant oil.
-
Insert the short screen end of the new orifice into the evaporator inlet tube.
3. Evaporator inlet tube (41) to condenser (32).
4. Grill.
5. Refrigerant to the system.
-
Check the system for leaks
