K 3500 Truck 4WD V8-454 7.4L (1994)

Adjusting Dimmer Switch
ADJUST
^
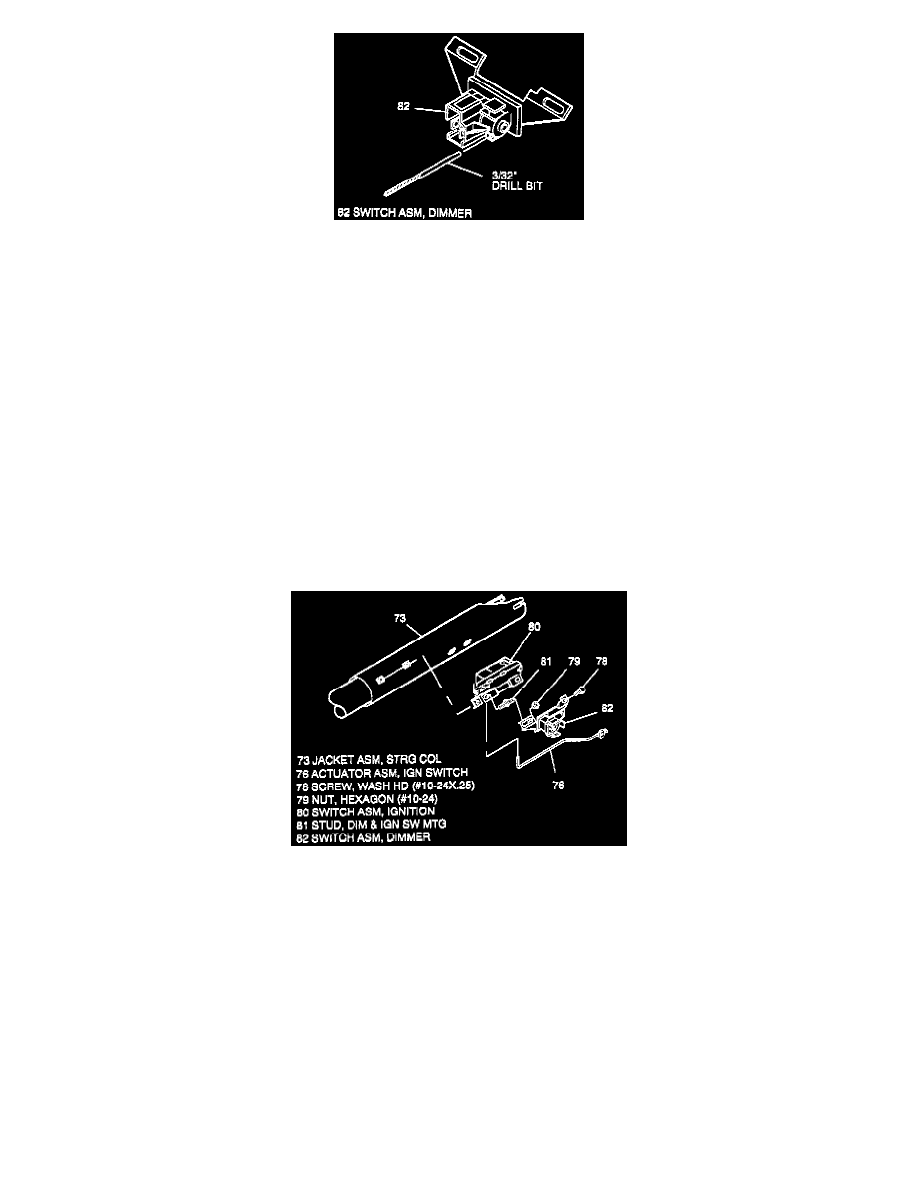
Dimmer switch (82).
A. Place 3/32-inch drill bit in hole on switch to limit travel.
B. Position switch on column and push against dimmer switch rod (77) to remove all lash.
C. Remove drill bit.
TIGHTEN
^
Tighten screw (78) and nut (79) to 4.0 Nm (35 lb.in.).
3. Vehicle wire harness to dimmer switch (82).
4. Negative (-) battery cable.
IGNITION SWITCH ASSEMBLY
REMOVE OR DISCONNECT
1. Negative (-) battery cable.
2. Washer head screw (78).
3. Hexagon nut (79).
Removing Ignition And Dimmer Switches
4. Dimmer switch assembly (82) from rod (77).
5. Dimmer & ignition switch mounting stud (81).
6. Ignition switch assembly (80) from ignition switch actuator assembly (76).
^
Ignition switch (80) from vehicle wire harness.
INSTALL OR CONNECT
NOTICE: Ensure all fasteners are securely seated before applying needed torque. Failure to do so may result in component damage or
malfunctioning of steering column.
1. Lock cylinder (20) to "OFF-LOCK" position.
NOTICE: Install ignition switch (80) to jacket (73) with switch in "OFF-LOCK" position. New ignition switch will be pinned in "OFF-LOCK"
position. Remove plastic pin after switch is assembled to column. Failure to do so may cause switch damage.
