
K 3500 Truck 4WD V8-454 7.4L VIN J SFI (1996)
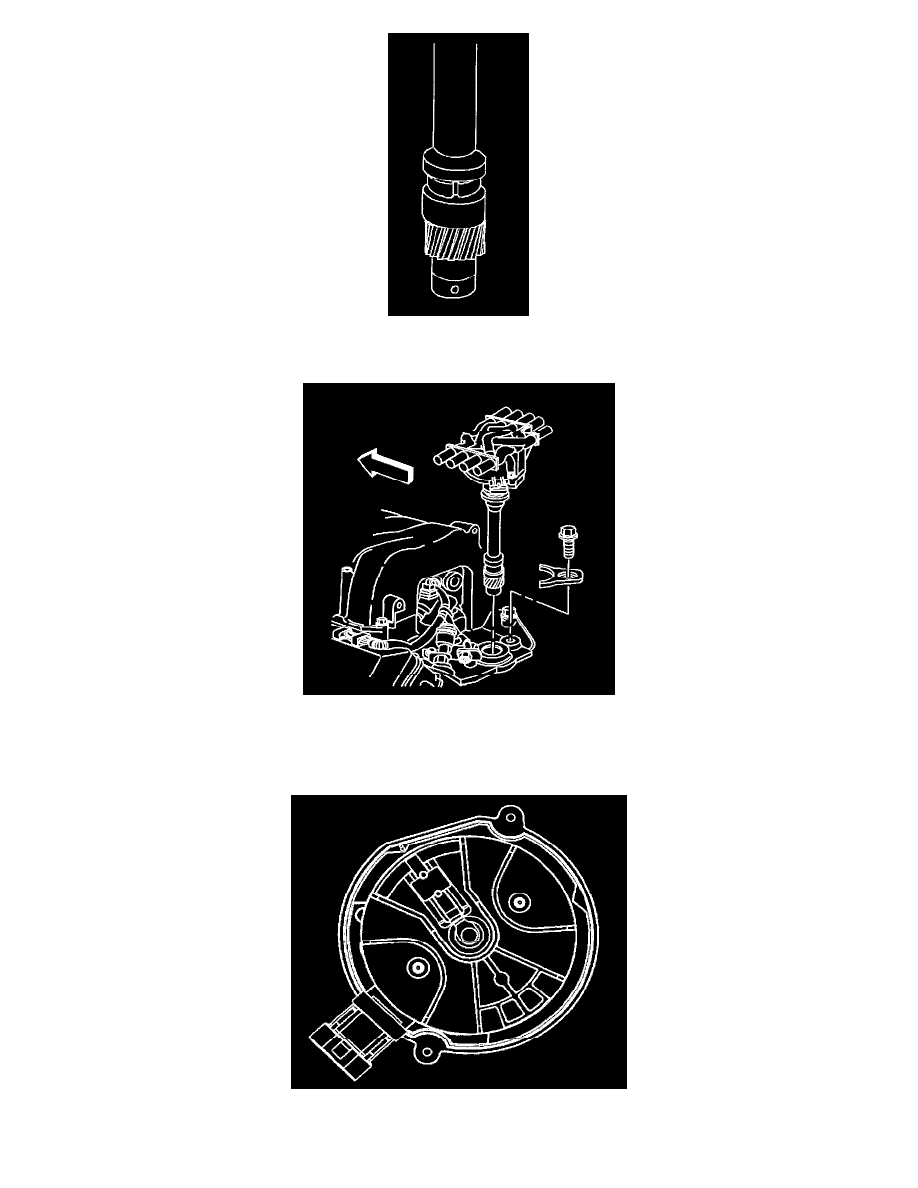
3. Align the pre-drilled indent hole in the distributor driven gear with the white painted alignment line on the lower portion of the shaft housing.
4. Using a long screwdriver, align the oil pump drive shaft in the engine with the mating drive tab at the end of the distributor shaft.
5. Guide the distributor into place.
6. Make sure the distributor is fully seated in the engine.
A. If the distributor is not fully seated, the oil pump drive shaft may not be aligned with the mating drive tab at the end of the distributor shaft.
B. Remove the distributor and align the oil pump drive shaft as stated above.
7. Once the distributor is fully seated, the rotor segment should be aligned with the pointer cast into the distributor base.
A. The pointer has a (8) cast into it, indicating the distributor is for an eight cylinder engine.