
K 3500 Truck 4WD V8-5.7L VIN R (1998)
1. Lubricate the caliper and the anchor plate sliding surfaces with Shell Aeroshell #5 or the equivalent.
2. Install the caliper assembly.
NOTICE: Make sure the brake hose is not twisted or kinked after installation. Damage to the hose could result.
NOTICE: Do not use NEVER SEIZE type products on the caliper V-ways and anchor plate guide way surfaces. These products are not lubricants
and result in high caliper slide forces which can cause increased wear of the brake pads.
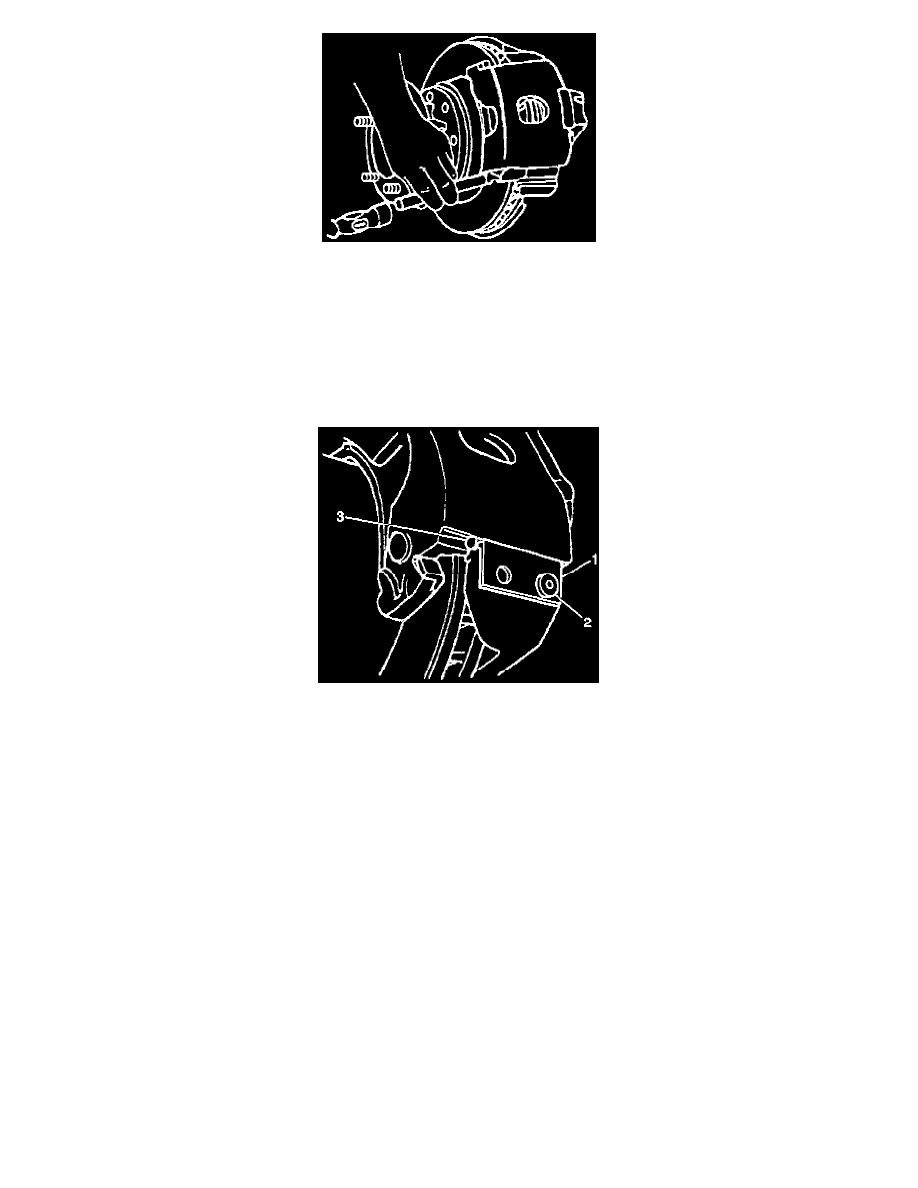
3. Install the spring and the support key using a brass punch and a hammer to drive the support key into place.
4. Install the caliper lock mounting bolt (2). The boss on the bolt must fit into the circular cutout in the key.
^
Tighten the bolts to 20 Nm (15 lb ft).
NOTICE: Refer to Fastener Notice in Service Precautions.
5. Install the brake hose.
^
Tighten the brake hose bolt to 45 Nm (33 ft. lbs.).
6. Bleed the brake system.
7. Install the tire and the wheel.
8. Lower the vehicle.
Rear Disc Brakes
REMOVAL PROCEDURE
1. Remove two-thirds of the brake fluid from the master cylinder.
2. Raise the vehicle.
3. Support the vehicle with safety stands.
4. Mark the relationship between the wheel and the hub.
5. Remove the tire and the wheel assembly.