
K 3500 Truck 4WD V8-5.7L VIN R (1998)
5. Install the propeller shaft.
-
Check the transfer case oil level and add oil as necessary. Refer to Approximate Fluid Capacities.
-
Lower the vehicle.
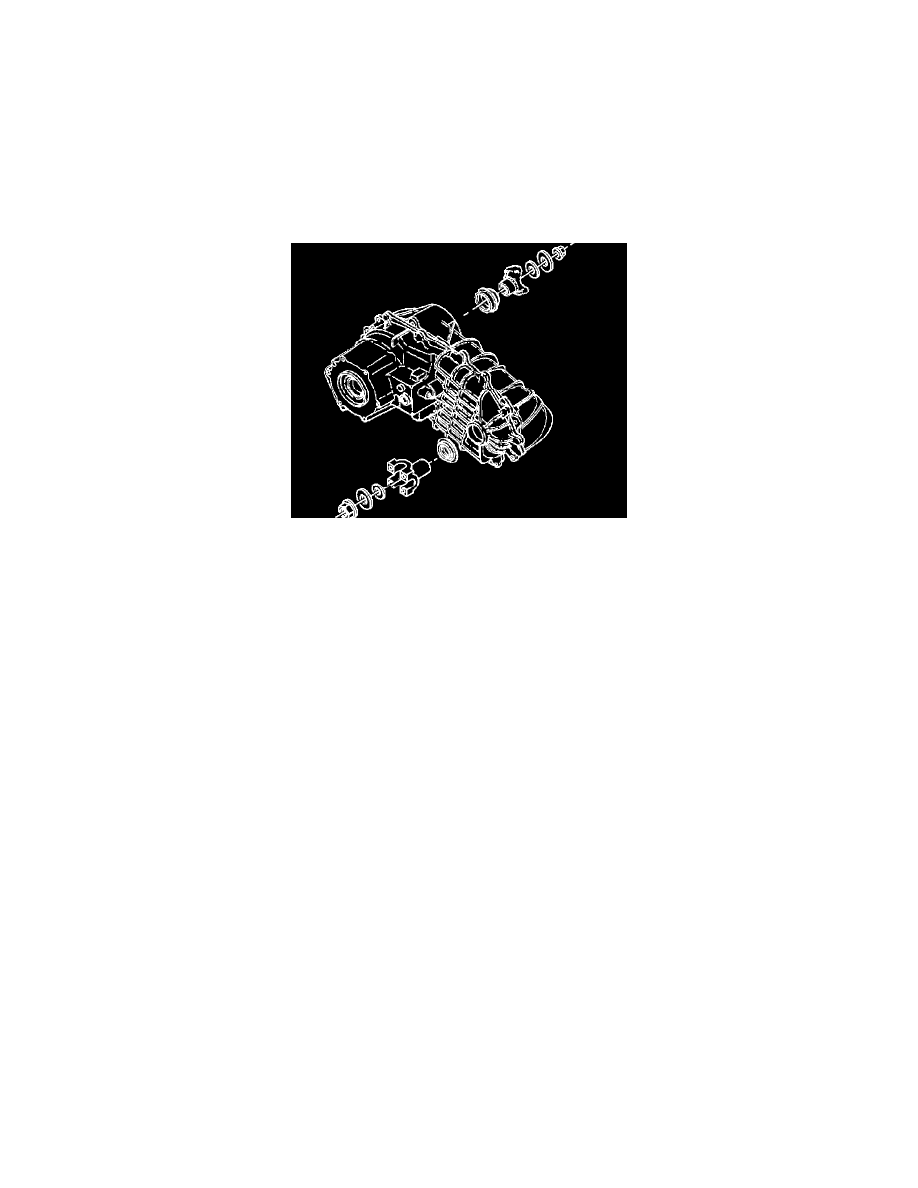
Transfer Case Output Shaft Seal Replacement (Borg-Warner)
REMOVAL PROCEDURE
IMPORTANT: This procedure applies to the front output shaft seal replacement and to the rear output shaft seal replacement.
1. Raise the vehicle. Refer to Vehicle Lift Points.
2. Remove the front or the rear propeller shaft. Refer to Propeller Shaft Replacement (Front Axle-All Except NP8) or Propeller Shaft Replacement
(System Balanced Assembly) in Propeller Shaft.
3. Remove the propeller shaft yoke nut and the flat washers.
The yoke nut and the flat washers are not used at the rear on some models.
4. Remove the propeller shaft yoke.
5. Remove the transfer case shield. Refer to Shield Replacement
6. Remove the seal.
Use a screwdriver in order to remove the seal. Do not damage the sealing bore.
INSTALLATION PROCEDURE
-
Tools Required J29162 Front Output Shaft Seal Installer (NV241 Transfer Case)
1. Install the seal using the following procedure:
1.1.
Lubricate the seal lips with petroleum jelly or with transmission oil.
1.2.
Install the seal using the J29162
1.3.
For the K30 with dual rear wheels, install the Borg-Warner transfer case.
2. Install the transfer case shield. Refer to Shield Replacement.
3. Install the propeller shaft yoke.
4. Install the flat washers and the nut, if used.
-
Tighten the rear propeller shaft yoke nuts to 170 Nm (125 ft. lbs.).
-
Tighten the front propeller shaft yoke nut to 225 Nm (165 ft. lbs.).
NOTICE: Refer to Fastener Notice in Service Precautions.