K 3500 Truck 4WD V8-6.0L VIN U (2002)

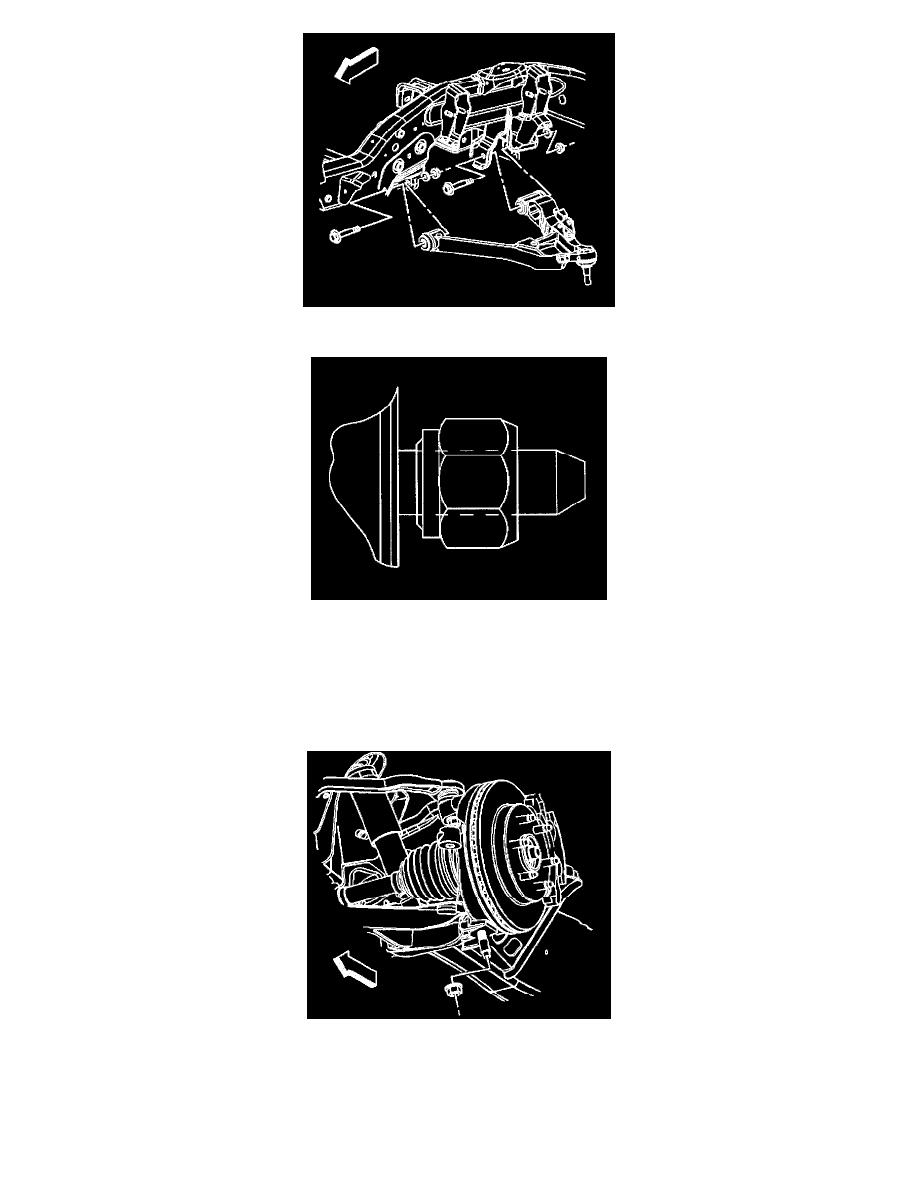
3. install the lower control arm 25/35-series bolts.
4. Install the washers with the shoulder facing the arm.
Notice: Refer to Fastener Notice in Service Precautions.
5. Install the lower control arm retaining nuts.
^
Tighten the nuts to 150 Nm (110 ft. lbs.).
6. Install the wheel drive shaft.
7. Connect lower ball joint stud to the steering knuckle.
8. Install the retaining nut to the lower ball joint stud.
^
Tighten the nut to 100 Nm (74 ft. lbs.).
9. Install the torsion bars.
10. Install the shock absorber lower nut and bolt.
11. Install the stabilizer shaft links to the lower control arm.
