
K 3500 Truck 4WD V8-8.1L VIN G (2002)
^
Tools Required
-
J 43779 Dowel Pin Installer
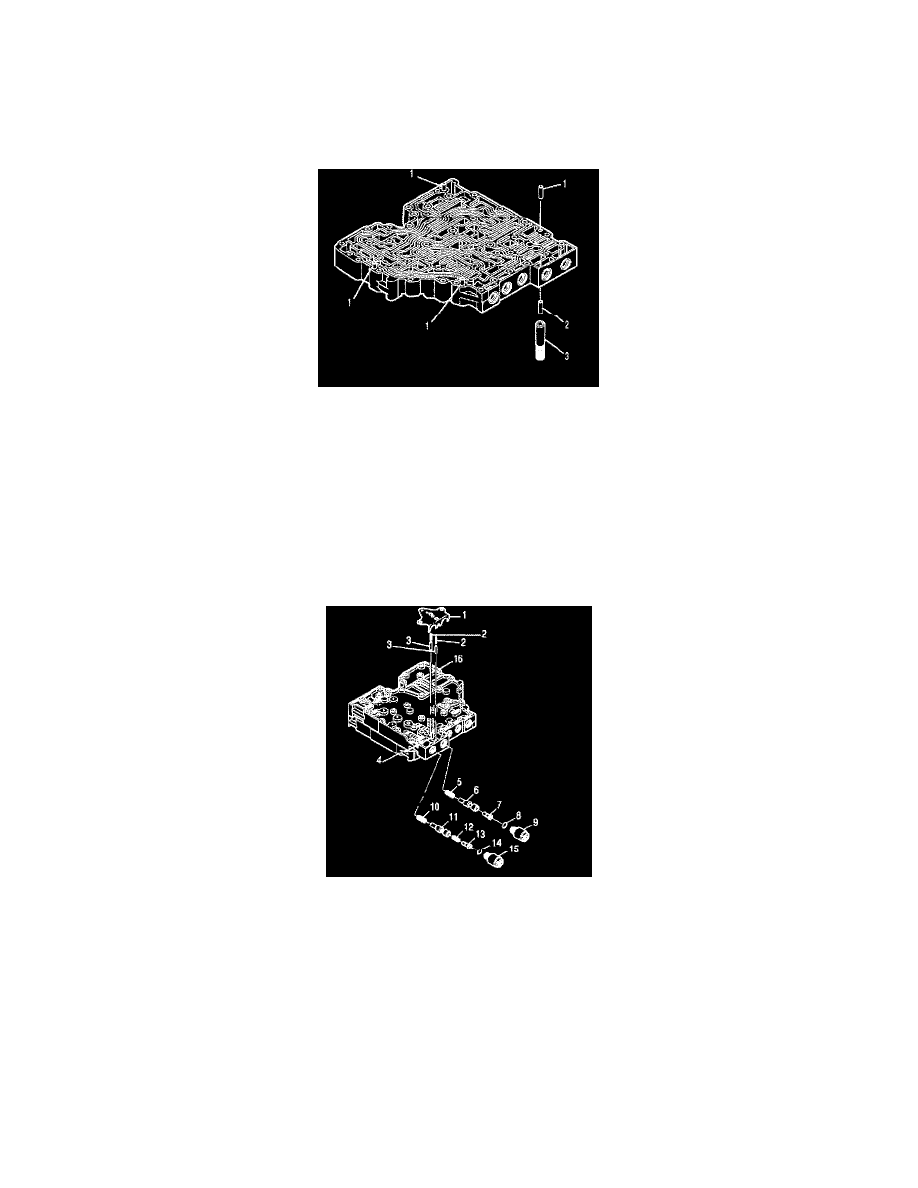
Important: The main valve body has five replaceable dowel pins. Do not replace a dowel pin unless it is damaged. DO NOT mark the main valve
body surface when installing or removing dowel pin(s). Use only gentle tapping on tool J 43779 dowel pin installer. Heavy or continued hammering
on tool J 43779 will damage the main housing surface.
1. Carefully drive out damaged dowel pins.
2. Place a replacement dowel pin in tool J 43779 (3).
3. Install tool J 43779 (3) with the dowel pin into the dowel pin hole.
4. Gently tap tool J 43779 until the tool touches the main valve body surface.
5. Ensure the dowel pin is installed to a height of 10.7 - 11.3 mm (0.42 - 0.44 inch) above the main valve body surface.
Assembling the Control Valve Module
^
Tools Required
-
J 33163 Valve Tray Set
-
J 43773 Valve Spring Compressor
1. Position the main valve body assembly (4) on the work table with the hydraulic passages facing up.
2. Align separator plate (2) with main valve body dowel pins (3).
3. Install separator plate (2).
4. Align shift valve body assembly (1) with main valve body dowel pins (3).
5. Install shift valve body (1) onto separator plate (2).