
K Tahoe 4WD V8-4.8L VIN V (2000)
Tighten the quarter panel trim screws to 2 N.m (18 lb in).
3. Install the door sill plate.
4. Install the garnish molding.
5. Install the Third Pillar trim panel.
6. Install the rear seat.
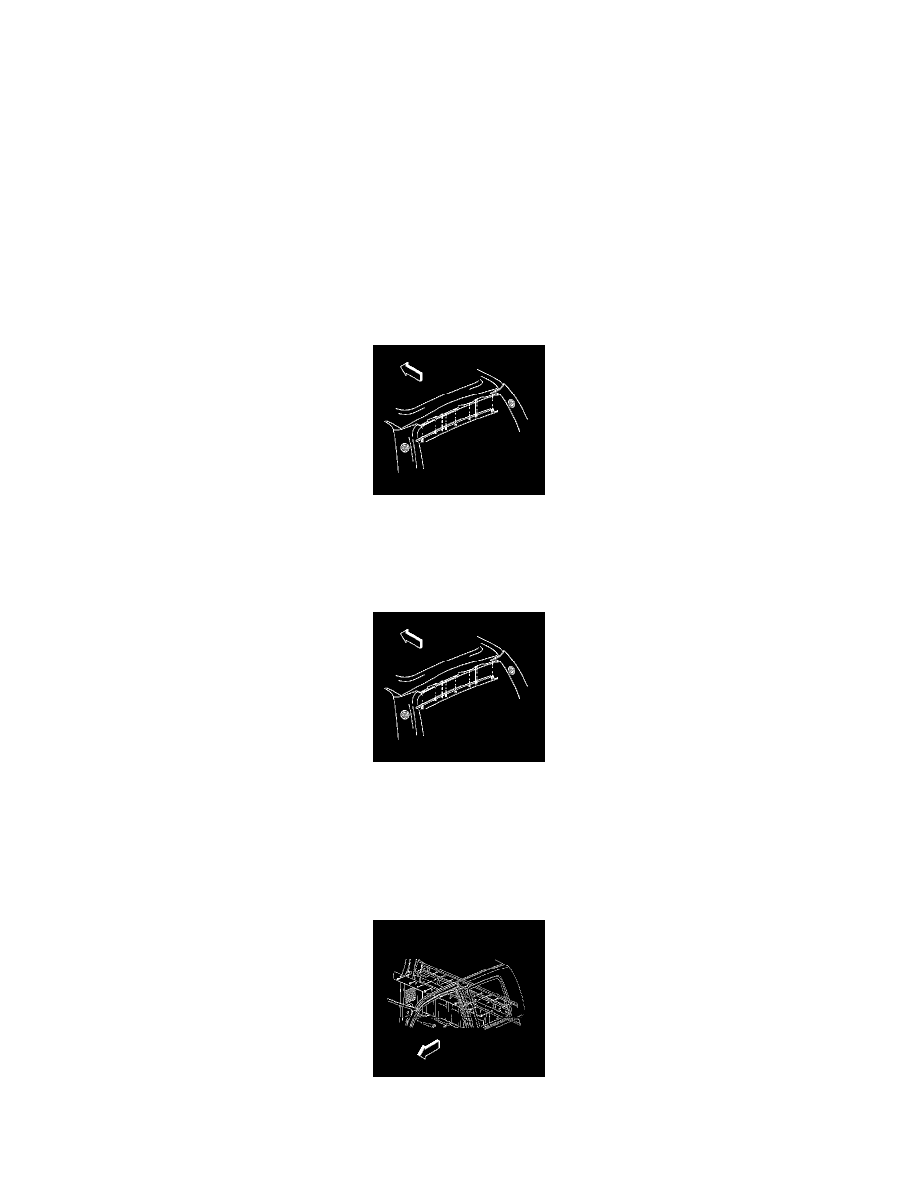
Rear Upper Garnish Molding Replacement (Tahoe/Yukon/Escalade/Suburban)
Rear Upper Garnish Molding Replacement (Tahoe/Yukon/Escalade/Suburban)
Tools Required
J 38778 Door Trim Pad Clip Remover
Removal Procedure
1. Use the J 38778 in order to remove the rear upper garnish molding.
Insert the J 38778 and work along the front edge of the trim panel from one end to the other.
2. Remove the rear upper garnish molding from the vehicle.
Installation Procedure
Install the roof rear upper garnish molding to the vehicle until it clicks into place.
Rear Window Lower Garnish Molding Replacement
Rear Window Lower Garnish Molding Replacement
Removal Procedure
1. Lightly pull the lower edge of the molding in order to release the clips. On extended cab fold the rear bench seat up. This will move the assembly
forward so that the molding can be accessed.
2. Lift the molding up and away from the glass in order to release the upper retainers.