
K Tahoe 4WD V8-4.8L VIN V (2000)
Crankshaft Seal Retainer: Service and Repair
^
Tools Required
-
J41476 Front and Rear Cover Alignment (at crankshaft seal area)
Removal Procedure
1. Remove the flywheel. Refer to Engine Flywheel Replacement.
2. Remove the engine rear cover -to-engine block bolts. Refer to Engine Rear Cover Removal.
3. Remove the engine rear cover-to-oil pan bolts.
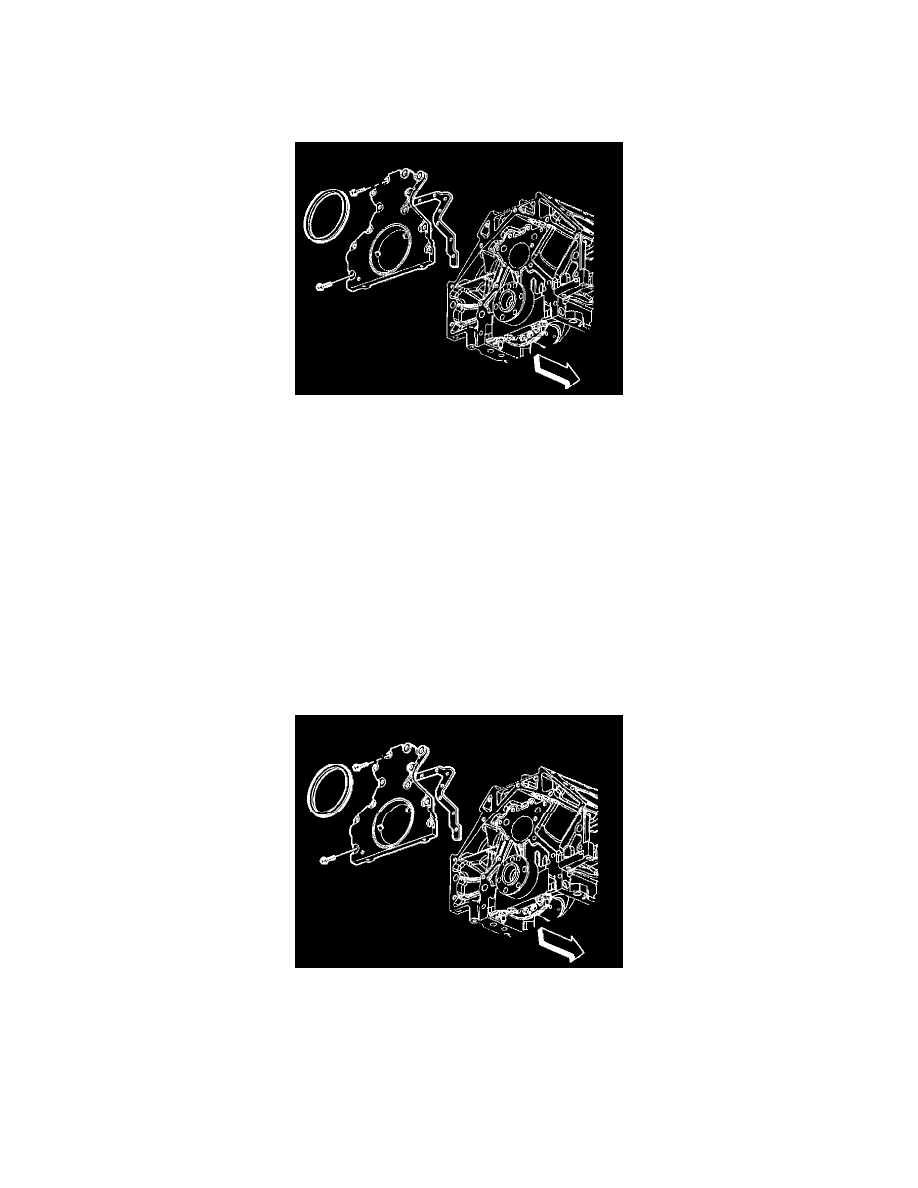
4. Remove the rear cover and gasket.
5. Discard the rear cover gasket.
6. Remove the crankshaft rear oil seal from the cover.
7. Discard the oil seal.
8. Clean and inspect all parts. Refer to Engine Rear Cover Clean and Inspect.
Installation Procedure
Important:
^
Do not reuse the crankshaft oil seal or rear cover gasket.
^
Do not slide the rear cover gasket across the oil pan gasket.
^
The special tool in this procedure is used to properly align the crankshaft rear oil seal.
^
The crankshaft rear oil seal MUST be centered in relation to the crankshaft.
^
An improperly aligned rear cover may cause premature rear oil seal wear and/or engine assembly oil leaks.
1. Apply a 5 mm (0.20 inch) bead of GM P/N 12378190 to the corner were the oil pan meets the engine block.
2. Install the rear cover, gasket and bolts to the engine.
3. Tighten the cover bolts finger tight. Do not overtighten.
Important: To properly align the rear cover, J41476 must be installed onto the rear of the crankshaft with the tool mounting bolts parallel to the oil
pan surface.