K Tahoe 4WD V8-4.8L VIN V (2000)

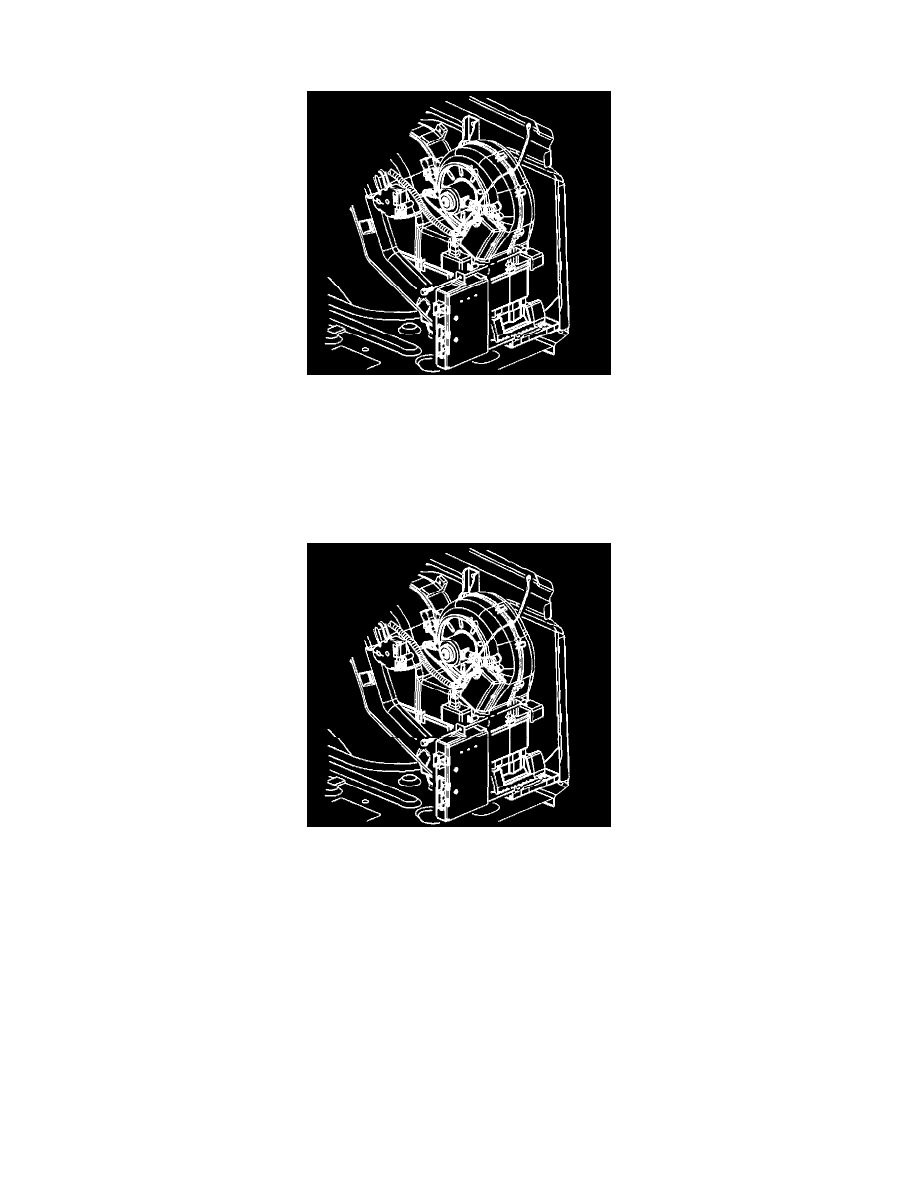
Suspension Control Module: Service and Repair
Removal Procedure
1. Remove the right side interior trim panel. Refer to Trim Panel Replacement - Rear Quarter (Regular Cab Pickup) or Trim Panel Replacement
-Rear Quarter (Extended Cab Pickup) or Trim Panel Replacement - Rear Quarter (Utility Left) or Trim Panel Replacement - Rear Quarter (Utility
Right) or Trim Panel Replacement - Rear Quarter (Suburban Left) or Trim Panel Replacement -Rear Quarter (Suburban Right) in Interior Trim.
2. Disconnect the electrical connectors from the module.
3. Remove the screw.
4. Slide the module from the bracket and remove the module from the vehicle.
Installation Procedure
1. Install the module to the vehicle by sliding the module into the bracket.
Notice: Refer to Fastener Notice in Service Precautions.
2. Install the screw.
-
Tighten the screw to 1.6 Nm (14 inch lbs.).
3. Connect the electrical connectors to the module.
4. If you are replacing the module you must recalibrate the module by performing the following procedure:
-
Connect the scan tool to the Data Line Connector (DLC).
-
Turn the ignition ON with the engine OFF.
-
Proceed per the instructions on the scan tool readout.
5. Install the right side interior trim panel. Refer to Trim Panel Replacement - Rear Quarter (Regular Cab Pickup) or Trim Panel Replacement -Rear
Quarter (Extended Cab Pickup) or Trim Panel Replacement - Rear Quarter (Utility Left) or Trim Panel Replacement - Rear Quarter (Utility Right)
or Trim Panel Replacement - Rear Quarter (Suburban Left) or Trim Panel Replacement -Rear Quarter (Suburban Right) in Interior Trim.
